


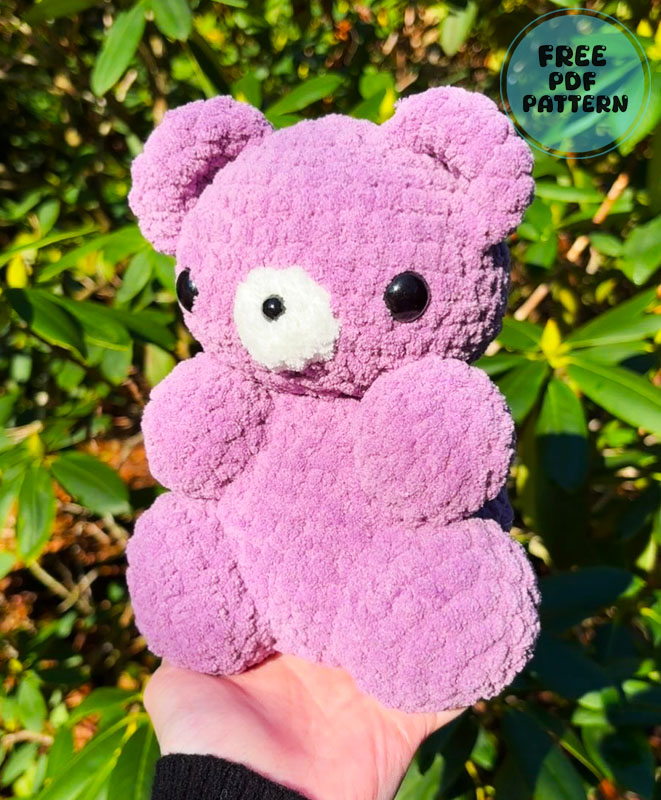
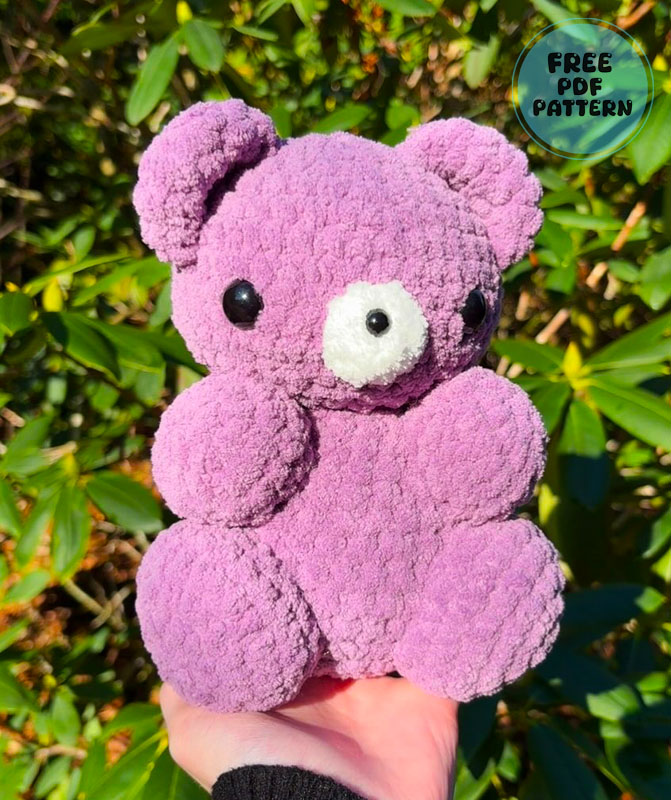
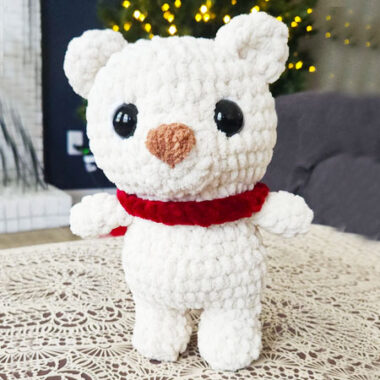
How about making a beginner-level pink teddy bear? Although the amigurumi pattern does not have a very detailed description, this is acceptable since the toy is at the beginner level. The toy has a very small muzzle and the toy’s nose is much smaller. We can say that these features seem to add a cute air to the teddy bear. A pink color tone was used when making the toy. So I think this toy was designed for a girl.
Teddy Bear Purly Crochet Pattern Step by Step
It is very easy to personalize this teddy bear. All you have to do is change the color of the toy. Now if you are ready, let’s take a look at the details of the crochet teddy bear and start making the toy.
Designer: madscrochet
MATERIALS
YARN (I used Bernat Blanket weight 6)
Crochet Hook (I used 6.5mm)
Safety Eyes (I used 16mm )
Stuffing (I used Poly-fil)
Darning Needle
Scissors
ABBREVIATIONS
Mr: Magic Ring
Sc: Single Crochet
St: Stitch
Dec: Decrease
Inc: Increase
FO: Fasten off
HEAD
Row 1: 6sc in Mr (6)
Row 2: Inc in all (12)
Row 3: (1sc, inc) repeat 6 times (18)
Row 4: (2sc, inc) repeat 6 times (24)
Row 5: (3sc, inc) repeat 6 times (30)
Row 6: (4sc, inc) repeat 6 times (36)
Row 7: sc 12, Inc, sc 16, Inc,sc 6 (38)
Row 8-11: sc in every stitch (4 rows) (38)
Row 12: (Sc4,dec) repeat 6 times sc2 (32)
Row 13: (Sc3,dec) repeat 6 times sc2 (26)
Row 14: (Sc2,dec) repeat 6 times sc2 (20)
Place Safety Eyes Between Rows 9&10 (10 stitches apart) Start stuffing!
Row 15: (scl,dec) repeat 6 times sc2 (14)
Row 16: Decrease every stitch (7)
Finish off and weave in to hide tail.
BODY
Row 1: 6sc in Mr (6)
Row 2: Inc in every stitch (12)
Row 3: (1sc, Inc) repeat 6 times (18)
Row 4: (2sc, Inc) repeat 6 times (24)
Row 5: (3sc, Inc) repeat 6 times (30)
Row 6: (4sc, Inc) repeat 6 times (36)
Row 7-9: sc in all (3 rows) (36)
Row 10: (4sc, dec) repeat 6 times (30)
Row 11: sc in all (30)
Row 12: (3sc, dec) repeat 6 times (24)
Row 13: sc in all (24)
Row 14: (2sc, dec) x6 (18)
Start stuffing
Row 15: sc in all (18)
Row 16: (1sc, dec) (12)
Finish off leaving long tail for sewing.
ARMS (Make Two)
Row 1: 6sc in Mr (6)
Row 2: Inc in all (12)
Row 3: (1sc, Inc) repeat 6 times (18)
Row 4: sc in all (18)
Row 5: (1sc, dec) repeat 6 times (12)
Stuff lightly
Finish off leaving long tail for sewing.
LEGS (Make two)
Row 1: 6sc in Mr (6)
Row 2: Inc in all (12)
Row 3: (1sc, Inc) repeat 6 times (18)
Row 4: (2sc, Inc) repeat 6 times (24)
Row 5: sc in all (24)
Row 6: (2sc, dec) repeat 6 times (18)
Finish off leaving long tail for sewing
*Leave stuffing the leg till you are sewing onto body it will be much easier when it’s halfway sewn on.
SNOUT
Row 1: 6sc in Mr (6)
Row 2: 1sc, inc, 2sc, inc, 1sc (8)
Fo leaving long tail for sewing.
Place a small safety eye between rounds I and 2 in the center of the snout.
EARS (Make two)
Row 1: 6sc in Mr (6)
Row 2: Inc in all (12)
Row 3: sc 2, Inc X2, 4sc, Inc X2, sc 2 (16)
Row 4: 3sc, Inc, 7sc, Inc, 3sc (18)
Row 5: sc in all (18)
Fo leaving a long tail for sewing. (do not stuff)
Fold the ears and Sew them onto rows 4 & 8 of the head.
SEWING
Sew body to head in between rows 15 & 16 of head.
Sew legs Between rows 4 & 10 of body (Don’t forget to lightly stuff legs as you sew).
Sew arms between rows 11 & 16 of body.
Sew snout Between rows 9 & 12 in the center of both eyes.

