


The amigurumi teddy bear is a very new design and you can see contemporary design techniques in this toy. Although many of us have been very interested in this type of toys in recent years, making an amigurumi toy requires both patience and time. Over the years, making amigurumi toys has become easier. In fact, it would be a more accurate term to say that amigurumi toys have become easier.
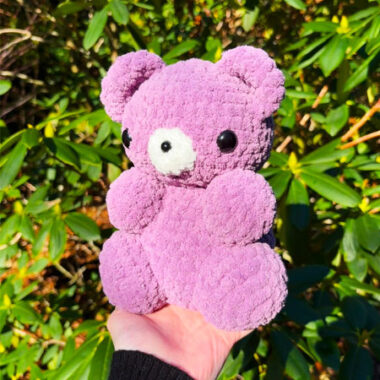
No Sew Chubby Bear Crochet Toy
Now I want to introduce one of these toys to you. Who doesn’t have time to make this cute teddy bear amigurumi toy? A very cute teddy bear that you can finish in a short time by preparing the necessary materials. You don’t need to sew when making a crochet teddy bear.
Designer: nooks_hooks
ABBREVIATIONS
MR – magic ring
Sc – single crochet
Dc – double crochet
Inc – increase
Inc3 – 3 sc in a single stitch
Dec – decrease
Bob – bobble stitch – 5 unfinished dc
MATERIALS
• Yarn (I used mostly Hobbii Honey Bunny)
• One or two colors (for t-shirt variation)
• Hook (4.5mm)
• 10 mm safety eyes
• Stuffing
• Stitch marker
• Darning needle
BODY
The bear is made from the bottom up. If you are making a bear without a t-shirt, ignore the color changes!
Start in the bear body color:
1. 8 sc in a MR
2. 8 inc = 16
3. (1 sc, 1 inc) x 8 = 24
4. 8 sc, 1 bob, 6 sc, 1 bob, 8 sc = 24
5. 1 bob, 23 sc = 24
6. (4 sc, 1 dec) x 4= 20
For the t-shirt bear, color change to the shirt color here.
7. (3 sc, 1 dec) x 4 = 16
In the following round, make sure to align the arm bobbles with the leg bobbles you made in round 4.
For the t-shirt bear, make sure to do these bobbles in the color of the bear, not the t-shirt!
8. 5 sc, 1 bob, 6 sc, 1 bob, 3 sc = 16
9. 8 dec = 8
For the t-shirt bear, color change back to the color of the bear. Stuff the body.
10. (1 inc, 1 inc3) x 4 = 20
11.-13. 20 sc (3 rounds!)
14. (2 sc, 1 dec) x 5 = 15
Place safety eyes between rows 13 and 14, roughly 4 stitches apart.
15. (1 sc, 1 dec) x 5 = 10
Stuff the head
16. 5 dec = 5
Close up the last round, fasten off and weave in the ends.
Give your bear a good squish to flatten up the bottom of the bum!
EARS
Pattern
Do this on both sides of the head: With the yarn in the color of your bear on your hook, insert your hook horizontally between rows 14 and 15, on the side of the head.

In this same stitch as your hook is currently in, crochet the following 4 stitches: 1 sc, 2 dc, 1 sc = 4
Fasten off and weave in the ends.

T-SHIRT BORDER
Optional: For the t-shirt bear, surface crochet a border using SCs around the bottom of the t-shirt. Make sure your hook is pointing from the bottom of the bear to the top! Fasten off and weave in the ends.
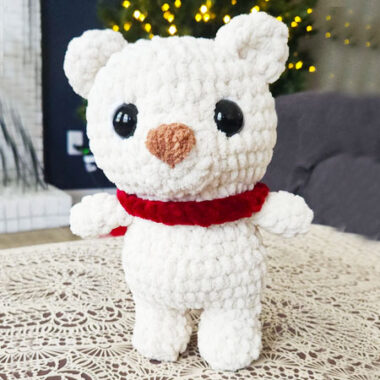
NOSE
Embroider a little nose between rows 12 and 13, roughly 2 stitches wide.
FACE SHAPING
Attach yarn to your needle. Insert your needle at the bottom of the head, slightly offset to the right (A). The needle should come back out of the plushie right under the right eye (B).

Insert your needle again to the left of the right eye (C) and come back out to the right of the left eye (D). Insert your needle under the left eye (E) and come back out at the bottom of the head, slightly offset to the left (F). Tie your two strands together and pull them tight such that the eyes are pulled downward/inward. Double knot the two ends together to make sure they are secure, and then weave in the ends.
