


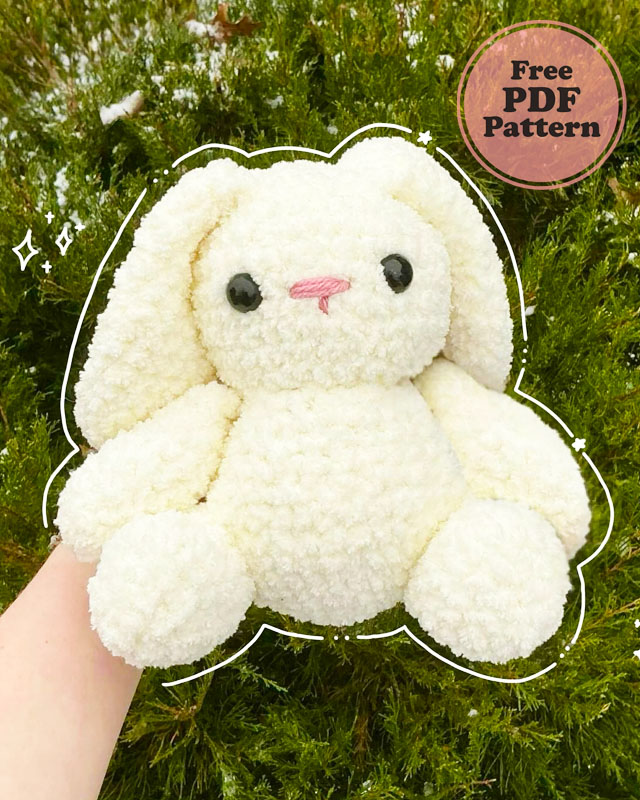
I am with you with a very cute and plush bunny amigurumi. The first thing that comes to my mind when I see the bunny is a Marshmallow. The yarn brand recommended by the designer to make this bunny with a very soft texture is Alize Baby Soft Plush. You can use a different brand of yarn, but you may not get the same texture and look. Therefore, it is very important to use the suggested materials. The recommended crochet hook size for making the toy is 5mm.
Amigurumi Marshmallow the Velvet Bunny Pattern
Let’s take a look at the pattern of the bunny made with beginner crochet techniques.
Designer: cozycrochetbyj
Supplies
• Alize baby softy plus yarn in light and dark brown for bear, white and pink for bunny
• 5 mm crochet hook
• safety eyes
• stitch marker
• scissors polyfill
Abbreviations
• ch-chain
• slst-slip stitch
• sc-single crochet
• inc-increase
• dec- decrease
• cc-color change
• fo-finish off
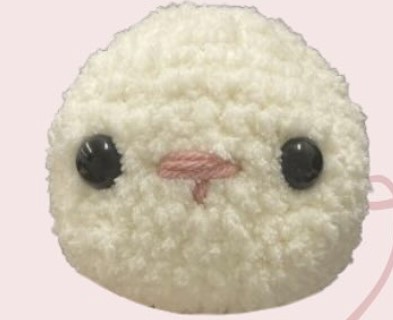
Head
In main color
Rnd 1: 6 sc in magic ring (6)
Rnd 2: inc x6 (12)
Rnd 3: (sc, inc) repeat 6 times (18)
Rnd 4: (2 sc, inc) repeat 6 times (24)
Rnd 5: (3 sc, inc) repeat 6 times (30)
Rnd 6: (4 sc, inc) repeat 6 times (36)
Rnd 7-12: sc around (36) (6 rounds)
Place safety eyes in round 9 with 6 st in between them
Rnd 13: (4 sc, dec) repeat 6 times (30)
begin to stuff
Rnd 14: (3 sc, dec) repeat 6 times (24)
Rnd 15: (2 sc, dec) repeat 6 times (18)
fo and finish stuffing.
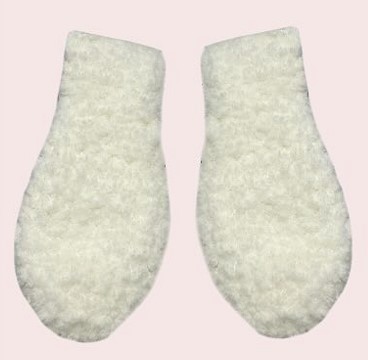
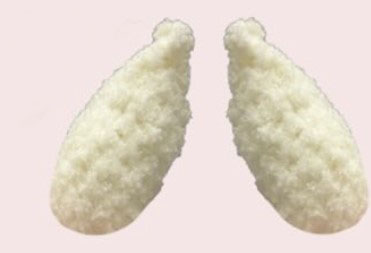
Ears x2
In white yarn
Rnd 1: 6 sc in magic ring (6)
Rnd 2: inc x6 (12)
Rnd 3: sc around (12)
Rnd 4: (sc, inc) repeat 6 times (18)
Rnd 5-9: sc around (18) (5 rounds)
Rnd 10: (7 sc, dec) repeat 2 times (16)
Rnd 11: sc around (16)
Rnd 12: (6 sc, dec) repeat 2 times (14) 13: sc around (14)
Rnd 14: (5 sc, dec) repeat 2 times (12)
Rnd 15-18: sc around (12) (4 rounds) fold in half and sc 6 sc across fo and leave tail for sewing
Nose
in pink yarn, embroider a nose between the eyes in rounds
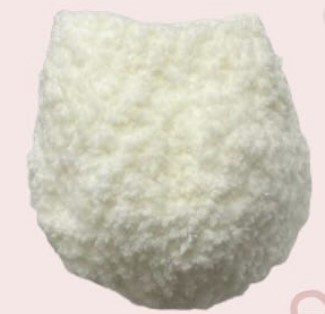
Body
In main color:
Rnd 1: 6 sc in magic ring (6)
Rnd 2: inc x6 (12)
Rnd 3: (sc, inc) repeat 6 times (18)
Rnd 4: (2 sc, inc) repeat 6 times (24)
Rnd 5: (3 sc, inc) repeat 6 times (30)
Rnd 6: (4 sc, inc) repeat 6 times (36)
Rnd 7-10: sc around (36) (4 rounds)
Rnd 11: (4 sc, dec) repeat 6 times (30)
Rnd 12: sc around (30)
begin to stuff
Rnd 13: (3 sc, dec) repeat 6 times (24)
Rnd 14-15: sc around (24) (2 rounds)
Rnd 16: (2 sc, dec) repeat 6 times (18)
Rnd 17-18: sc around (18) (2 rounds)
fo, leave long tail for sewing.
finish stuffing.
Arms x2
starting in main color
Rnd 1: 6 sc in magic ring
Rnd 2: inc x6 (12)
Rnd 3-8: sc around (12) (6 rounds)
Rnd 9: (2 sc, dec) repeat 3 times (9)
Rnd 10-11: sc around (9) (2 rounds)
stuff
fold in half and sc 4 across the top.
fo and leave tail for sewing
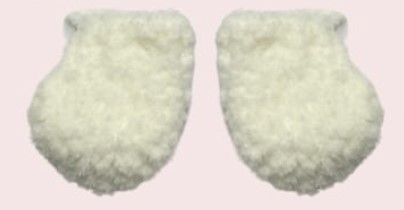
Legs x2
starting in main color
Rnd 1: 6 sc in magic ring (6)
Rnd 2: inc x6 (12)
Rnd 3: (sc, inc) repeat 6 times (18)
Rnd 4-5: sc around (18) (2 rounds)
begin to stuff
Rnd 6: (10 sc, 4 dec) (14)
Rnd 7: (10 sc, 2 dec) (12)
Rnd 8-10: sc around (12) (3 rounds)
finish stuffing
fo and leave tail for sewing.
Assembly
attach head to body
sew ears on either side of the head on round 3
sew the arms right below the head on either side of the body sew the legs on either side of the body between rounds 5-9


