


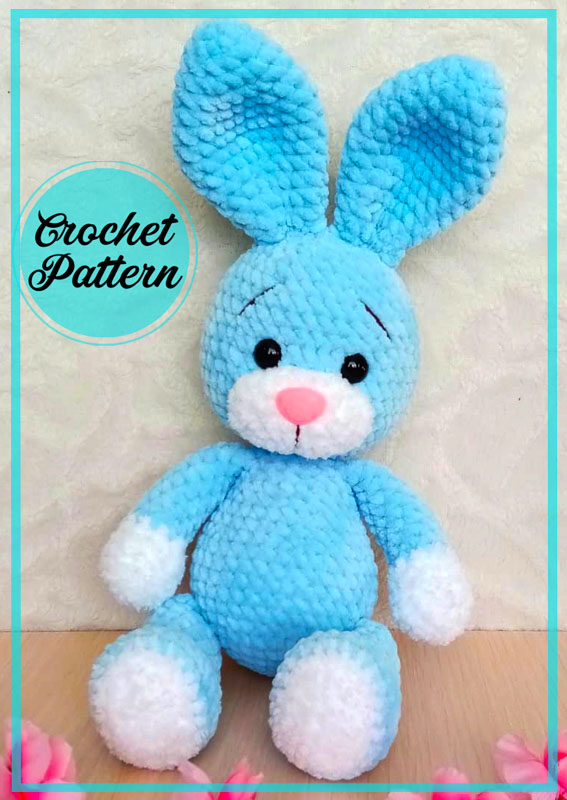
Hello Guys Are you looking for cute bunny amigurumi? Yeah! You have come to the right address. Today’s crochet bunny amigurumi pattern is a specially prepared pattern. Besides being easy, it is extremely cute. The fact that the ends of the arms and legs of the amigurumi are not white makes the bunny quite impressive. Also, the harmony of her pink nose with the blue color is really great.
Blue Plush Velvet Bunny Crochet Free Pattern
Bunny’s eyebrows could have been a little more prominent, but this is still really beautiful. I think it is a very good decision to have eyes made of beads. Amigurumi free pattern is completely free. Now let’s crochet the bunny amigurumi step by step.
Designer: lovetoys_for_you
According to this description, the toy turns out to be 25 – 27 cm excluding the ears, depending on the density of your knitting, the size of your hook and the batch of yarn.
Necessary materials
1. Himalaya Dolphin Beby plush yarn
– Main color No. 325
– Additional color No. 301
For additional color, you can also use Alize Softy Plus yarn, white.
2. Filler (synthetic fluff, holofiber)
3. Plastic spout on a secure mount with a cap 14 * 19 mm
4. Plastic eyes on a secure mount with a plug with a diameter of 12-14 mm
5. Hook No. 4 or No. 3, 5
6. Thread in the color of the main thread for tightening and sewing on parts
7. Thread for eyebrow embroidery
8. Needle for sewing parts and tightening
9. Filler (synthetic fluff, holofiber)
10. Decorative items (optional)
11. Lighter for singing threads
Abbreviations
MR – Amigurumi Magic ring
sc : Single Crochet
inc : Increase
dec : Decrease
st: Stitch
ch : Chain

Muzzle
We start with an additional color.
Round 1. Make a chain of 7 air loops, in the second loop from the hook (3sc in one st); 4 sc; (3sc in one st); 4 sc (14)
The marker runs from the bottom, from the side.
Round 2. 3 inc; 4 sc; 3 inc; 4 sc; (20)
Round 3. (1sc 1inc) * 3times; 4sc; (1sc; 1inc) * 3times; 4sc (26)
Round 4. 26 sc without change
Tie another 2 sc, fasten the yarn and trim.
Insert the nose between the 2nd and 3rd rows.

Tail
We do not fill the tail or fill it very weakly.
Start with an additional color.
Round 1. 5 sc in MR (5)
Round 2. 5 inc (10)
Round 3. (1 sc; 1 inc)*5 time (15)
Round 4. 15 sc without change (15)
Round 5. (1 sc; dec)*5 time (10)
Fasten the thread, cut.

Ears (2 parts)
Start with in the main color. Do not stuff the ears.
Round 1. 6 sc in MR (6)
Round 2. 6 inc (12)
Round 3. (1 sc; 1 inc) *6 time (18)
Round 4-5. 18 sc without changes(2 row)
Round 6. (2 sc; 1 inc) *6 time (24)
Round 7-9. 24 sc without changes (3 row)
Round 10. (6 sc; 1 dec) *3 times (21)
Round 11. (5 sc; 1 dec) *3 times (18)
Round 12. 18 sc without changes
Round 13. (4 sc; 1 dec) *3 times (15)
Round 14. 15 sc without changes
Round 15. (3 sc; 1 dec) *3 times (12)
Round 16. (2 sc; 1 dec) *3 times (9)
Fasten the thread, cut.

Arms (2 parts)
We fill the arms as crochet. We start with complementary color.
Round 1. 6 sc in MR (6)
Round 2. 6 inc (12)
Round 3. ( 3sc; 1 inc)* 3 times (15)
Round 4-5. 15 sc without changes(2 row)
The marker runs along the inside of the arm
Round 6. (3 sc; 1 dec)* 3 times (12)
Fill the bottom of the arm with filler.
Change the color to the main one.
Round 7. ( 4 sc; 1 dec)* 2 times (10)
Round 8 -16. 10 sc (9 rows)
Fill the arm with filler, do not fill the last three rows.
Fasten the thread, cut.
We will sew the arms and legs into the body by simply folding them together.
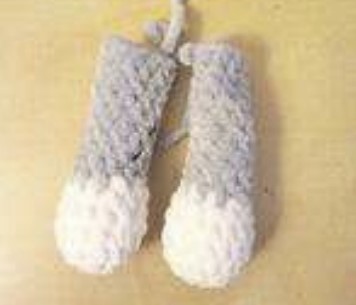
Legs (2 parts)
We fill the legs as we crochet.
We start with an additional color.
Round 1. Make a chain of 6 ch, in the second loop from the hook 4 sc; (3sc in one st); 3 sc; 1 inc (12)
Round 2. 1 inc; 3 sc; 3 inc; 3 sc; 2 inc (18)
Round 3. 1sc; 1inc; 3sc; (1sc; 1inc)* 3times; 3sc; (1sc; 1inc)* 2times (24)
Change the color to the main one
Round 4 – 6. 24 sc unchanged (3 rows) marker located at the back legs
Round 7. 6 sc; 6 dec; 6 sc (18)
Round 8. 1 sc; 1dec; 4 sc; 2 dec; 4 sc; 1 dec; 1 sc (14)
Fill the bottom of the leg with filler
Round 9 – 15. 14 sc without change (7 rows)
Add filler to the leg. We do not fill the last three rows.
Round 16. (5 sc; dec) * 2 times (12)
Round 17. 12 sc without change;
Tie 2 more sc, fasten thread, trim.

The body fits together with the head
We start crocheting from the body.
We fill in the course of crocheting. We start with the main color.
Round 1. 6 sc in MR(6)
Round 2. 6 inc (12)
Round 3. (1 sc; 1 inc) *6 time (18)
Round 4. (2 sc; 1 inc) *6 time (24)
Round 5. (3 sc; 1 inc) *6 time (30)
Round 6. (4 sc; 1 inc) *6 time (36)
In the next row we will sew the legs. The marker goes down the middle of the back.
Round 7. 6 sc; 6 sc with leg; 12 sc; 6 sc with leg; 6 sc (36)
Round 8-12. 36 sc without change (5 rows)
Round 13. (4 sc; 1 dec) *6 time (30)
Round 14-15. 30 sc without change (2 row)
Round 16. (3 sc; 1 dec) *6 time (24)
Round 17. 24 sc without change
Round 18 . (4 sc; 1 dec) *4 times (20)
Gradually fill the body with filler.
In the next row we will sew the arms.
Round 19. Pre-align the arms with respect to the legs, the distance between the arms in front and behind will be 5 sc and 5 sc, we will sew together with the arms. Total in the row (20) sc.
Round 20. (2sc; 1 dec) *5 time (15)
Round 21. (3sc; 1 dec) *3 times (12)
We fill the body with filler to the end.
We continue crocheting. (I remind you that we knit the body together with the head)

We start to knit the head
Start with main color. We fill in the course of crocheting.
Round 1. 12 inc (24)
Round 2. (1 sc;1 inc) *12 time (36)
Round 3. (5 sc; 1 inc) *6 time (42)
Round 4. 42 sc without changes
Round 5. (13 sc; 1 inc) *3 times (45)
Round 6 – 7. 45 sc without changes (2 row)
Round 8. (13 sc; 1 dec) *3 times (42)
Round 9 – 10. 42 sc without changes (2 row)
We begin to fill the head with filler, first very well, more tightly, you need to distribute the filler in the neck area so that the head does not dangle.
Round 11.(5 sc;1 dec) *6 time (36)
Round 12 – 14. 36 sc unchanged (3 rows)
Insert eyes between 9 and 10 rows
Round 15. (4 sc; 1 dec) *6 time (30)
Round 16. (3 sc; 1 dec) *6 time (24)
Round 17. (2 sc; 1 dec) *6 time (18)
Round 18. (1 sc; 1 dec) *6 time (12)
Fill your head with filler.
Round 19. 6 dec (6) pull the hole, fasten the thread and hide
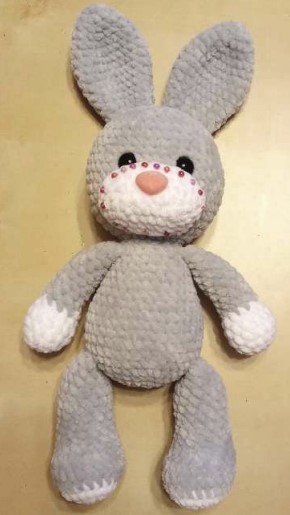
Assembly and design
Sew the muzzle between rows 2 and 10, flattening it a little.
Tighten the head:
– Insert a needle with a thread in color, from the bottom in the middle, at the junction of the body and head, between row 21 of the body and row 1 of the head.
– Bring it out under the left eye from the outer edge, stepping back to the other edge of the eye.
– Insert the needle and bring it out at the original point, tighten it not too much.
– Next, bring the needle out under the right eye from the outer edge, stepping back to the other edge of the eye.
– Insert the needle and bring it out at the original point, tighten it not too much.
– Tie the thread and do the above again.
– Tie the thread, cut it and hide it in the head.
Sew the ears on the top of the head, squeezing them a little on the sides.
Shape the muzzle. Embroider the eyebrows.
We sew the tail so that it serves as a support when sitting.


