


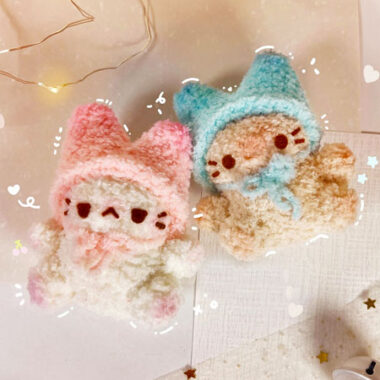
I try to share amigurumi toys at all levels as much as possible. Today I will share a very simple kitty amigurumi pattern. Made using velvet yarn, this crochet cat is quite small and looks very cute. However, it needs to be made with velvet yarn, because if you use a different yarn, the amigurumi toy will be very small. Now you can get started right away by downloading the pdf pattern.
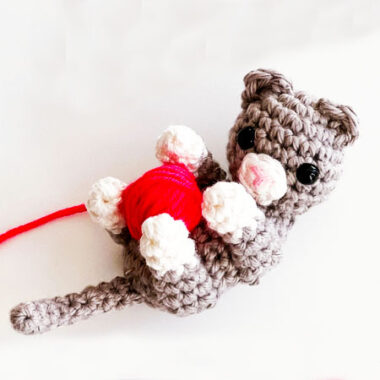
Little Kitty Martha Amigurumi Pattern
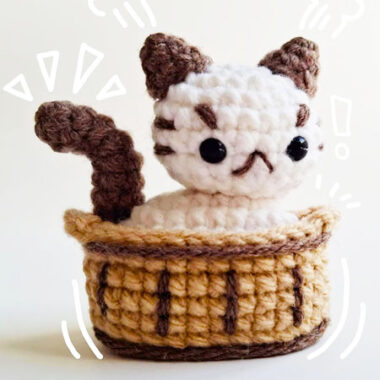
I don’t really like sitting cat amigurumi toys, to be honest, because sitting toys usually don’t have arms and legs, and I don’t like that very much. But here we see that the legs and arms of the crocheted kitty are slightly highlighted.
Designer: honeybunscrochet
Materials
• 2 colors of yarn (i used brown and white by home chenille slim)
• crochet hook (i used a 5.5mm)
• safety eyes / felt
• yarn needle
• polyfill
• Stitch Marker
Abbreviations
st: stitch
slst: slip stitch
ch: chain
sc: single crochet
inc: increase
dec: decrease
bbl: bobble stitch
blo: back loop only
mr: magic ring
fo: fasten off
Head and Body
Starting in white
R1: 6sc in a MR (6)
R2: inc around (12)
R3: (1sc, inc) (18)
R4: (2sc, inc) (24)
R5: sc around (24)
(w) = white yarn
(B) = brown yar
R6: (W) 10sc, (B) 3 sc, (W) 11 sc (24)
R7: (W) 9sc, (B) 5 sc, (W) 10 sc (24)
R8: (W) 9sc, (B) 5 sc, (W) 10 sc (24)
continue rows 9-12 in white yarn
R9: 2sc, dec (18)
R10: dec around (9)
Place safety eyes between R7 & R8, 5-6 st apart. begin to stuff head, do not f.o.
R11: inc around (18)
R12: 1sc, inc (27)
R13: (W) 17sc, (B) 5sc, (W) 5sc (27)
R14: (W) 17sc, (B) 5sc, (W) 5sc (27)
R15: (W) [3sc, dec] x3, 2sc, (B) 1sc, dec, 2sc, (W) 1sc, dec, 2sc (22)
The rest of the body will be completed in white.
R16: 13sc, bbl, 5sc, bbl, 2sc (22)
R17: BLO (2sc, dec) x5, 2sc (17)
begin to stuff the body
R18: (both loops) (1sc, dec) x5, 2sc (12)
R19: dec around (6)
FO, weave in tail
Ears x2
R1: 3sc in MR (3)
R2: inc around (6)
fold ear in half, slst across the fold.
F.o., leave a tail for sewing. Sew on ears between rows 2 & 4.
Top paws x2
R1: 4sc in MR (4)
R2: sc around (4)
Sew between rows 12 & 13 (4-5 st apart)
Tail
in Brown
ch 9
Starting in second ch from hook, sc 8.
F.o., leave a tail for sewing.
Sew tail to the center of R17 on the back of the kitty!
Nose
option 1: embroider a nose in the shape of a letter “T”
option 2: cut out a triangle out of felt.
Attach between the eyes

Whiskers
option 1: embroider 3 lines on each cheek using yarn or thread
option 2: cut out 6 small strips of felt, attach 3 on each cheek.
Congratulations! you’ve made your own kitty:)

