


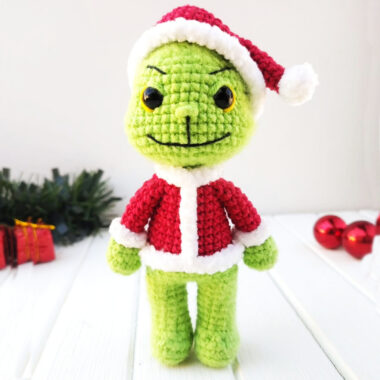
I am with you today with the Santa Claus amigurumi doll pattern. The amigurumi doll I want to introduce to you today can be said to be at the beginner level. Especially our followers who want to make many crochet Santa Claus toys can prefer this toy. Usually, these types of toys can be preferred as gifts at Christmas and therefore you will need to make a few of these toys.
Little Santa Claus Crochet Pattern
It is a pity that the amigurumi doll does not have legs, but if you want to make an easy amigurumi toy and if the toy you make should be able to stand up as in the picture, you need to crochet the body of the toy as seen in the photo.
Designer: deenisediilva_
MATERIALS:
– Amigurumi yarn – Red and whipped cream
– Charm yarn – White
– Wool or white amigurumi
– I used a 1.75mm needle
– Black sewing thread
– Scissors
– Glue (I use fabric glue)
– Half pearls
– Stuffing
ABBREVIATION
– Am – magic ring
– ch – chain
– sc – single crochet
– slst – slip stitch
– BLO – pick up only the back loop
– inc – increase
– dec – decrease

Size: 7cm
LET’S START – Don’t forget to exercise your hands
ARMS (2x)
Color Chantilly
1. MR – 6sc
2nd and 3rd – 6sc
Change color – Red
4th to 7th – 6sc
Leave thread for sewing
HEAD/BODY
Chantilly color
1. MR 6sc
2. 6inc -12sc
3. sc, inc (6x) – 18sc
4 to 6 – 18sc
7. sc, dec (6x) – 12sc
8. 6dec
COLOR CHANGE – Red
9. 6sc – BLO
10. 6inc – 12sc
11. sc, inc (6x) – 18sc
12. 8sc, inc (2x) – 20sc
13 to 16 – 20sc
17. 8sc, dec (2x) -BLO – 18sc
Stuffing
18. 2sc, dec (6x) – 13sc
19. 6dec
Finish off with inverted Am. With the wool, go back to row 18 (BLO) and make sc throughout the row.
Sew on the arms
Embroider the eyes
NOSE
Embroider the nose using a tapestry needle and the same color thread as the head.
Insert it behind the head, coming out right in the center of the nose. I made 2 turns, or do the other model by passing it through the 1st turn several times.
BEARD
1. 15ch, go back to the second ch and do:
2. 2sc, hdc, inc hdc, inc hdc, inc hdc, inc hdc, sl st, 2sc
Fasten, glue or sew to Santa Claus
MUSTACHE
Using amigurumi yarn on a tapestry needle, insert it behind the head, coming out right in the center of the nose and go back drawing the mustache.
HAT – red
1. MR 6sc
2nd and 3rd 6sc
4. sc, inc – 9sc
5. 2sc, inc -12sc
6. 3sc, inc -15sc
7. 4sc, inc -18sc
8. 5sc, inc – 21sc
9. 21sc
CHANGE COLOR – white
10. 21sc
Fasten off and glue to Santa’s head
BAG
1. MR 6sc
2. 6inc
3. sc, inc – 18sc
4 to 7. 18sc
8. sl st, heart, sl st – Repeat all around. – BLO
Fasten off!
With a tapestry needle, pass a cord around the bag to close the mouth.
Your Mini Santa Claus is ready.

