


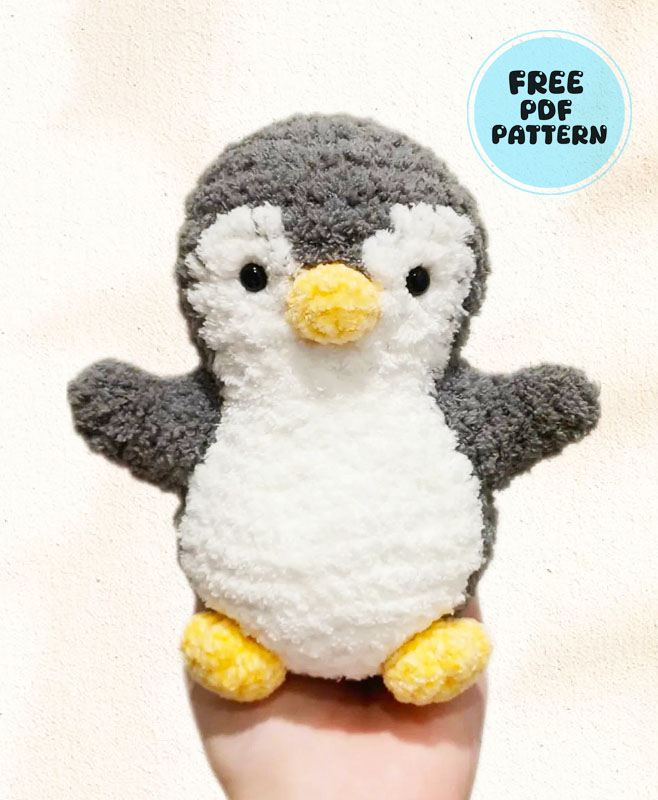
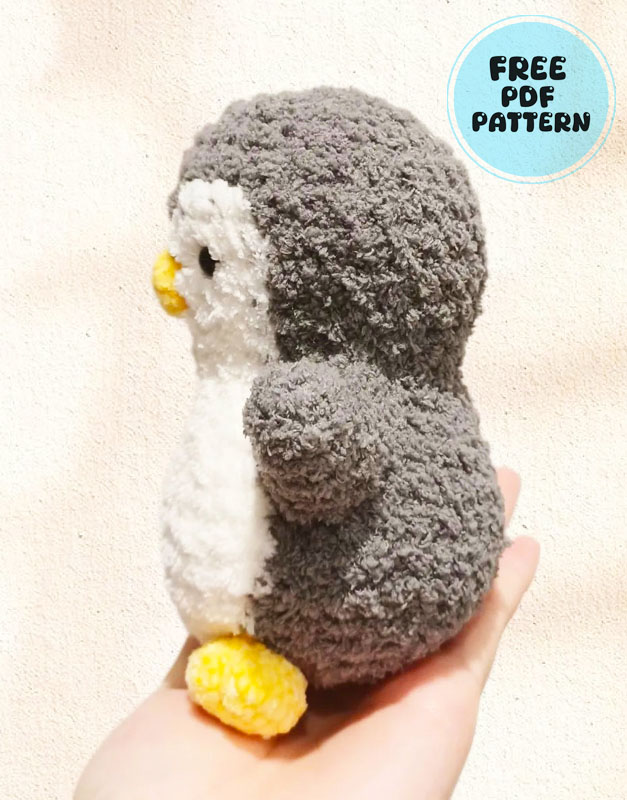
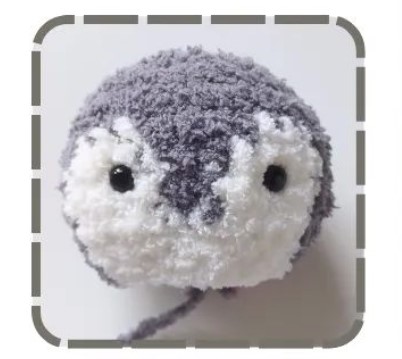
I want to introduce you to one of the cutest penguin patterns I have seen recently. The crocheted penguin has a very furry design. Using this type of yarn can be a bit difficult. However, since it is a very detailed amigurumi pattern, I don’t think there will be a problem even if you use this yarn. The crocheted penguin looks as soft as a snowflake.
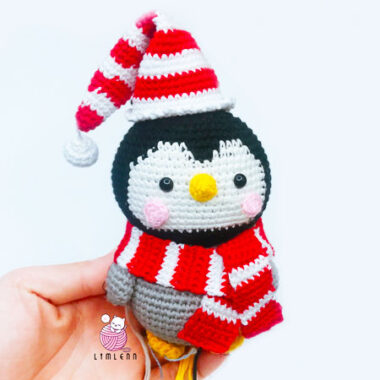
Little Penguin Fluffy Snow Amigurumi Pattern
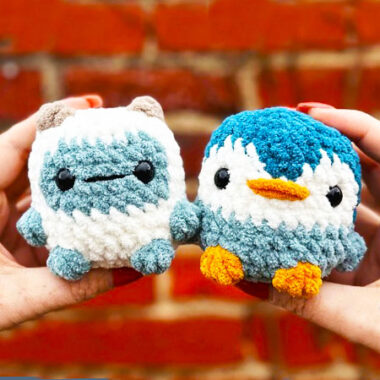
Yellow, gray and white yarns are used in making the crocheted penguin. Although the size of the toy is sufficient, remember that the toy is large because the yarn is thick. If you use a thin yarn or a thin crochet hook, the toy will be very small.
Designer: purfect.crochet
NOTES:
• this pattern is written in US terminology.
• You may work this pattern in continuous rounds or by slip stitching into the 1st stitch of the round.
• Please do not copy or modify this pattern (any part) as your own even though this is a free pattern.
• You may sell the finished plushie and credit me as the designer.
• Please tag and give credit to me (@purfect.crochet) if you post your finished plushie on social media or use this pattern.
thank you! 🙂
MATERIALS:
Yarn (I used fluffy yarn & 2mm chenille & acrylic yarn)
• Dark grey fluffy yarn- Main color of body
• White fluffy yarn- 2nd main color of body
• Yellow/ orange 2mm chenille Beak & feet 2.5 & 4 mm crochet hook
7mm safety eyes (or embroider eyes)
Stitch marker, Scissors, Stuffing
Needle for sewing
ABBREVIATIONS:
MC = Magic circle
R = Round/ Row
CH = Chain
St = Stitch
dec = Decrease
FO = Fasten off
SC = Single crochet
INC = Increase
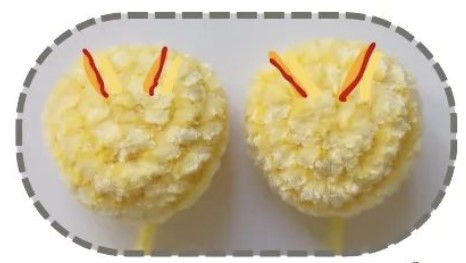
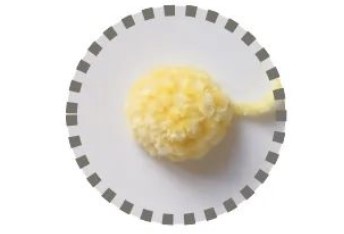
FEET (MAKE 2):
Using yellow/ orange 2mm chenille yarn and 2.5mm crochet hook
R1: 3sc in MC (3)
R2: 4sc in each st (12)
R3: 2sc, (4sc in the same st, 3sc) x2, 4 sc in the same st, sc (21)
R4-5: (2 rounds): sc around (21)
R6: (sc, dec) x 7 (14)
Stuff slightly
R7: 7 dec (7)
R8: sc around (7)
F.O, Leave a long tail for sewing
Cut a long piece of yellow/ orange 2mm chenille yarn, insert needle from the bottom of the feet and into the first marked line, pull the yarn tight and create a dent. Repeat this step 3 more times for the next 3 marks.
BEAK:
Using yellow/ orange 2mm chenille yarn and 2.5mm crochet hook
Chain 3
R1: Start from 2nd chain from hook, sc, 3sc in the same stitch, work on other side of chain, sc, 3sc in the same stitch (8)
R2: (sc, inc) x 4 (12)
R3-4 (2 rounds): sc around (12)
F.O, leave a long tail for sewing.
FLIPPERS/ HANDS (MAKE 2):
Using dark grey yarn and 4mm crochet hook
R1: 4sc in MC (4)
R2: (sc, inc) * 2 (6)
R3: sc around (6)
R4: 2sc, 2inc, 2sc (8)
R5: 2sc, 4inc, 2sc (12)
R6: 5sc, 2 inc, 5sc (14)
Stuff slightly, F.O, leave a long tail for sewing
MAIN BODY
Using dark grey and white fluffy yarn and 4 mm crochet hook
• Due to the amount of color changes, whenever you see the letters bold & underlined like this, that means you’re crocheting in white.
R1: 6sc in MC (6)
R2: 6 inc (12)
R3: (sc, inc) x 6 (18)
R4: (2sc, inc) x 6 (24)
R5: (3sc, inc) x 6 (30)
R6: sc around (30)
R7: 10sc, 3sc, 4sc, 3sc, 10sc (30)
R8-9 (2 rounds): 9sc, 5sc, 2sc, 5sc, 9sc (30)
Insert safety eyes between R8-9, 5 sts apart
R10: 4sc, dec, 3sc, sc, dec, 4sc, dec, 3sc, sc, dec, 4sc, dec (25)
R11: 3sc, dec, 3sc, dec, 3sc, dec, 3sc, dec, 3sc, dec (20)
R12: 7sc, 8sc, 5sc (20)
Start stuffing
R13: 4sc, inc, 2sc, 2sc, inc, 4sc, inc, 4sc, inc (24)
R14: 5sc, inc, 2sc, 3sc, inc, 5sc, inc, 5sc, inc (28)
R15: 6sc, inc, 2sc, 4sc, inc, 6sc, inc, 6sc, inc (32)
R16: 7sc, inc, 2sc, 5sc, inc, 7sc, inc, 7sc, inc (36)
R17: 8sc, inc, 2sc, 6sc, inc, 8sc, inc, 8sc, inc (40)
R18-19 (2 rounds): 12sc, 18sc, 10sc (40)
R20: 13sc, 16sc, 11sc (40)
Continue stuffing
R21: (2sc, dec) x 3, 2sc, dec, (2sc, dec) x 3, (2sc, dec) x 3 (30)
R22: (3sc, dec) x 2, 2sc, sc, dec, 3sc, dec, (3sc, dec) x 2 (24)
R23: (sc, dec) x 3, sc, dec, sc, dec, sc, dec, (sc, dec) x 2 (16)
R24: (2sc, dec) x 4 (12)
R25: 6dec (6)
Finish stuffing, F.O, pull close and weave in all ends.
DETAILS:
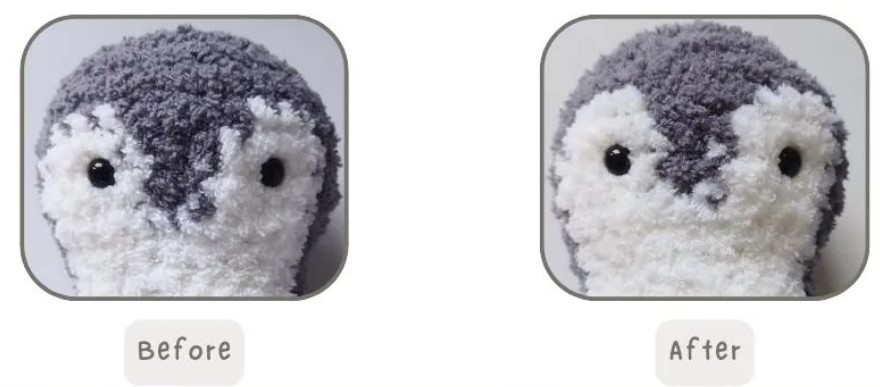
1. Cut a long strand of white yarn, go through and around the edges of the white area to make it look neater.
2. Sew the beak onto the head, the top of the beak should be the same height as the bottom of the eyes. The width should be 1 st away from each eye.
3. Sew on the hands/ flippers to the body. (At the edge of white, the top should reach R10, and the bottom at R16)
4. Sew the feet to the bottom of the body. (At R23, 4 sts apart)
The toy is ready!

