


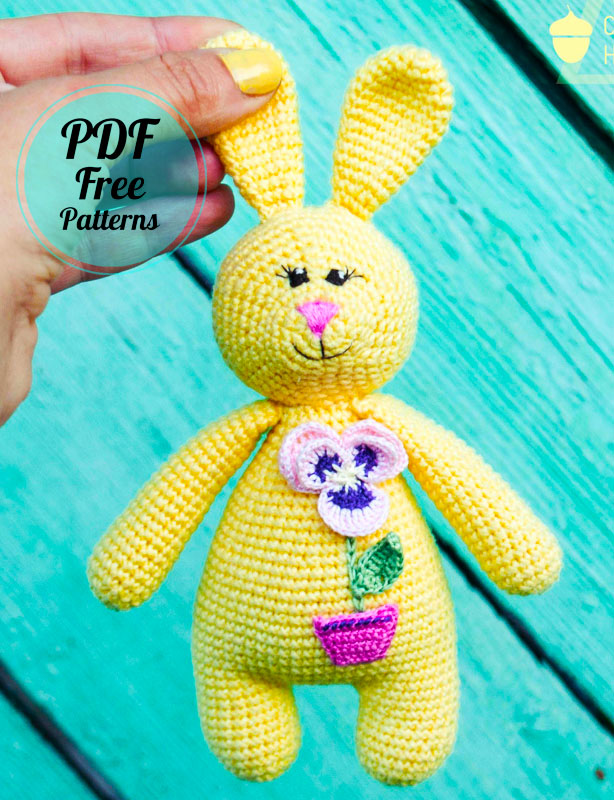
Friends, today I will share a rattle bunny amigurumi pattern. The pattern today is a little different. You place the rattle inside the body of the amigurumi. Crochet bunny is very easy to make. A beautiful pattern was prepared using quite a lot of visuals. You can start making this cute bunny by finding the appropriate rattle for the amigurumi bunny. You can do it without a rattle if you wish. If you’re ready, let’s start.
Rattle Yellow Bunny Amigurumi Pattern
Although the crochet bunny is easy to make, the embroidery on its body will be very difficult for amateurs. My advice would be to choose a different crochet toy pattern if you are not an expert in amigurumi and embroidery.
Designer: sagulina_na
Abbreviations
MR – Amigurumi Magic ring
sc : Single Crochet
inc : Increase
dec : Decrease
st: Stitch
ch : Chain

Legs:
1 Rnd – 6sc in MR (sc).
2 Rnd – inc in each loop (crochet 2 sc in one loop) – (12)
3 Rnd – 1 sc, inc – (18)
We crochet 7 rows without change, cut the yarn.
We crochet the second leg in the same way, we do not cut the yarn, we make 7 ch and connect the two legs.

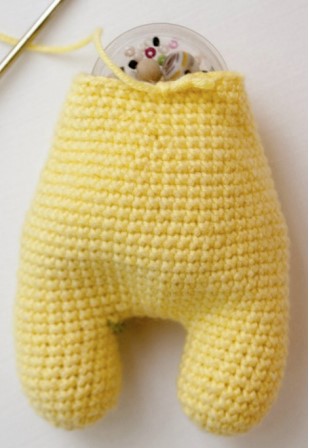
Body:
1 Rnd body, tie legs and ch sc,18+7+18+7 –(50)
2 Rnd –18sc (leg), increase in the first loop of the inc, crochet 5sc, inc, 18sc(leg), inc, crochet 5 sc, inc. – (54)
3-9 Rnd crochet without change.
10 Rnd – 7sc, dec (crochet 2 sc together) – (48)
11-14 Rnd – crochet without change
15 Rnd – 6sc , dec – (42)
16-18 Rnd – crochet without change
19 Rnd – 5sc , dec – (36)
20-21 Rnd – crochet without change
We are preparing a rattle, pour ceramic and wooden beads and beads into a plastic container (I have a jar for beads). And we start stuffing our feet. I stuff tight. If we insert a rattle inside, then we make sure that it is in the middle, we stuff it tightly around.22 Rnd – 4sc , dec – (30)
23-24 Rnd – crochet without change
25 Rnd – 3sc , dec – (24)
26-27 Rnd – crochet without change
We fix the yarn and cut, leaving tail for stitching the parts. Stuff tightly and evenly.
Upper paws:
1 Rnd – 5 sc in MR (sc).
2 Rnd – inc in each loop (10)
3 Rnd – 1 sc, inc – (15)
4-24 Rnd crochet without change, cut the yarn, leaving long tail for sewing the paw to the body.
We stuff the paws tightly by 2/3, but not evenly to the top of the stuffing should be less and sew to the body on the sides symmetrically.

Tail:
1 Rnd – 6 sc in MR (sc).
2 Rnd – inc in each loop (crochet 2 sc in one loop) – (12)
3 -4 Rnd – without change
5 Rnd – every two columns dec (6)
We stuff and sew to the body.

Head:
1 Rnd – 6 sc in MR (sc).
2 Rnd – inc in each loop (crochet 2 sc in one loop) – (12)
3 Rnd – 1 sc, inc – (18)
4-5 Rnd – crochet without change
6 Rnd – 2 sc, inc – (24)
7 Rnd – 3 sc, inc – (30)
8 Rnd – 4 sc, inc – (36)
9 Rnd – 5 sc, inc – (42)
10 Rnd – 6 sc, inc – (48)
11-17 Rnd – crochet without change
18 Rnd – 6sc , dec (42)
19 Rnd – 5sc , dec (36)
20 Rnd – 4sc , dec (30)
21 Rnd – 3sc , dec (24)
22 Rnd – 2sc , dec (18)
23 Rnd – 1sc , dec (12)
Stuff head.
24 Rnd and then some dec, close to the end.

Ears (2 pcs):
1 Rnd – 6 sc in MR (sc).
2 Rnd – inc in each loop (crochet 2 sc in one loop) – (12)
3 Rnd crochet without change
4 Rnd – 1 sc, inc – (18)
5-8 Rnd – crochet without change
9 Rnd – 4 sc, dec (15)
10-12 Rnd – crochet without change
13 Rnd – 3sc, dec – (12)
14 Rnd crochet without change
15 Rnd – 2sc , dec – (9)
16 Rnd – crochet without changes, cut off the yarn, leaving the tip for sewing. We do not stuff the ear, fold it in half and sew it to the head. We embroider the nose with yarn, I have this “iris”, but you can also floss. Eyes can be made from beads, half beads, etc., but if you are making a toy for a very young child, it is better to embroider eyes.

Flower

Congratulations – you’re done!


