


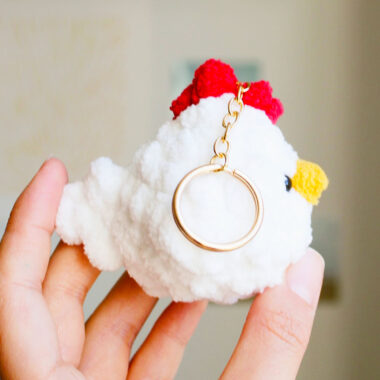
I would like to introduce you to a very stylish design for crocheting a chicken from momigurum_i. Of course, this amigurumi pattern is offered to you free of charge, like all other patterns. Please note that the original version of the pattern is in Russian. The size of the crocheted toy is approximately 8 cm excluding its legs and approximately 11-12 cm with its legs.
Little Chicken for Easter Crochet Pattern
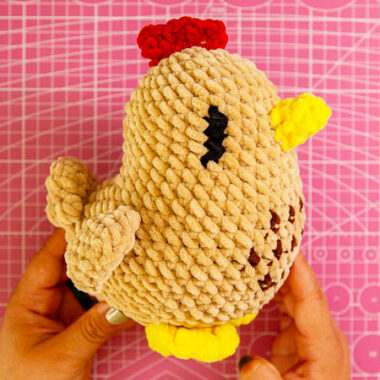
The designer used Alize Cotton Gold Hobby yarn and a 2 mm crochet hook to make such a small chicken. The description of the amigurumi pattern is quite detailed, and the author has many photos and explanations. This amigurumi pattern will help you create your own chicken for Easter.
Designer: momigurum_i
You will need:
– Yarn Alize Cotton Gold Hobby yellow (code 187) basic.
– Yarn Alize Bahar brown (code 179) for the beak of inozes;
– YarnArt Jeans yarn of cherry color (code 66) for a comb;
– Eyes on a secure fastening or a little black yarn (threadmuline) for embroidery;
– Your favorite hook 2.0mm;
– Sewing needle for sewing on details and face embroidery;
– Any filler to your taste (I use holofiber or synthetic fluff, which is available);
– Marker for marking stitches
(desirable!), if it is not, it is not scary, you can mark the end of the row with a thread of a contrasting color;
– Scissors;
– Inspiration and a couple of cups of hot coffee, tea or cocoa navash =)
Abbreviations
MR – Amigurumi Magic ring
sc : Single Crochet
inc : Increase
dec : Decrease
st: Stitch
dc : Double Crochet
hdc: Half Double Crochet
sl-st : Slip Stitch
ch : Chain
Head and body:
Head
Start with yellow yarn:
RND1: 6 sc in MR (6)
RND2: 6 inc (12)
RND3: (1sc, 1inc)*6 (18)
RND4: (2sc, 1inc )(24)
RND5-9: 24sc (24)
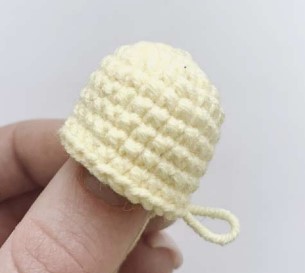
The head is ready , but we do not cut the yarn, from this place we will continue to crochet the body of our Chicken.
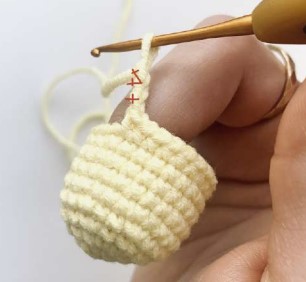
Body
We collect a chain of 3 ch, in the second loop from the hook we crochet:
RND1:1inc, 1sc (chain), 24sc, 2sc (chain) (29)
RND2:2inc, 26sc, 1inc (32)
RND3:(1sc, 1inc)*2, 27sc, 1inc (35)
RND4:(2sc, 1inc)*2, 28sc, 1inc (38)
RND5-6: 38sc (38)
RND7:2sc, 1dec, 17sc, 1dec, 15sc (36)
RND8:(4sc, 1dec)*6 (30)
RND9-10: 30sc (30)
Stuff your head and body with filler as you crochet
RND11:(3sc, 1dec)*6 (24)
RND12:(2sc, 1dec)*6 (18)
RND13:(1sc, 1dec)*6 (12)
RND14:6dec (6)
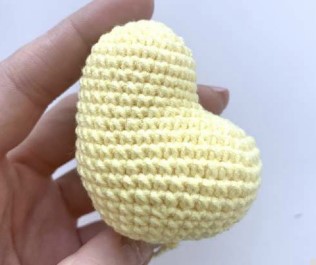
Fill the part tightly with filler, then cut the thread, pull off the hole with it, secure and hide it inside the product.
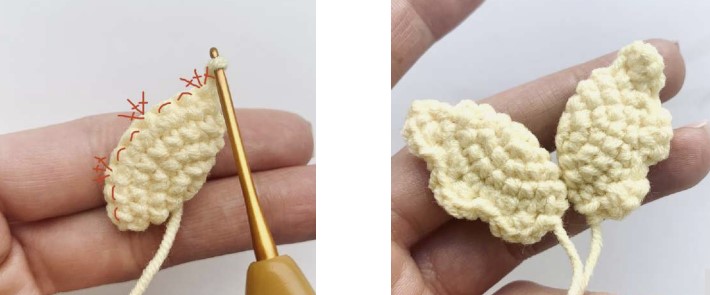
Wings:
2 details
We crochet with yellow yarn:
RND1:6sc in MR (6)
RND2:6inc (12)
RND3:(1sc, 1inc)*6 (18)
RND4:18sc (18)
Fold the wing in half and crochet 9sc through both side. Then make ch, turn crochet over and continue:
RND5:(3sc in one st, 2slst)*3.
Cut the yarn, leaving a tail for sewing the wing to the body.
Legs:
2 details
Make a chain of 10ch, starting in the second loop from the hook, make 3slst (for half loops), then make 3ch.
Make a 2slst chain and one in the center between two fingers. Make 2ch again, crochet 1slst into the second half from the hook and 1slst into the center.
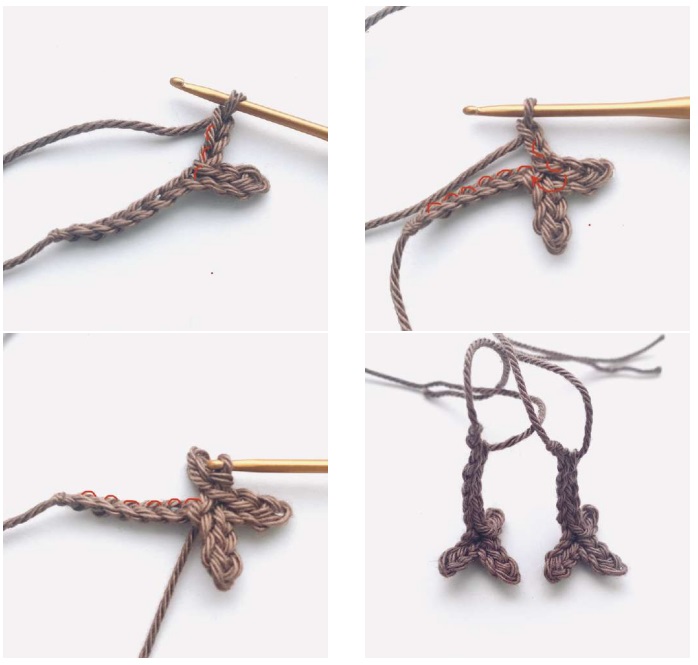
Now make 6slst along the chain you typed in kb at the beginning .
The leg needs to be spread a little with your fingers, giving it the necessary shape – the leg is ready.
We crochet the second leg in the same way =)
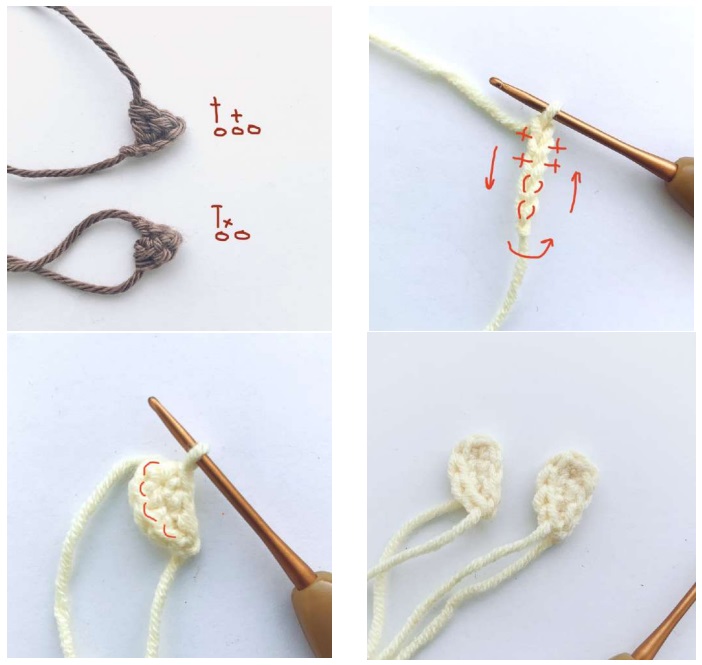
Beak and tail:
The chick’s beak consists of two parts, which are crocheted and sewn separately.
Top: Make a 3ch chain, crochet 1 sc behind the second half loop from the hook, then 1dc on the next. Cut the yarn, leaving a small tail for sewing to the head.
Bottom: make a chain of 2ch, in the first loop crochet 1 sc, 1 hdc.
Tail
The tail consists of two feathers, which are crocheted according to the scheme:
We put on a chain of 5ch, in the second loop from the hook we crochet: 1inc, 1sc, 2slst (go to the other side of the chain), 2slst, 2sc . Then crochet another 4slst .
The tail is ready!
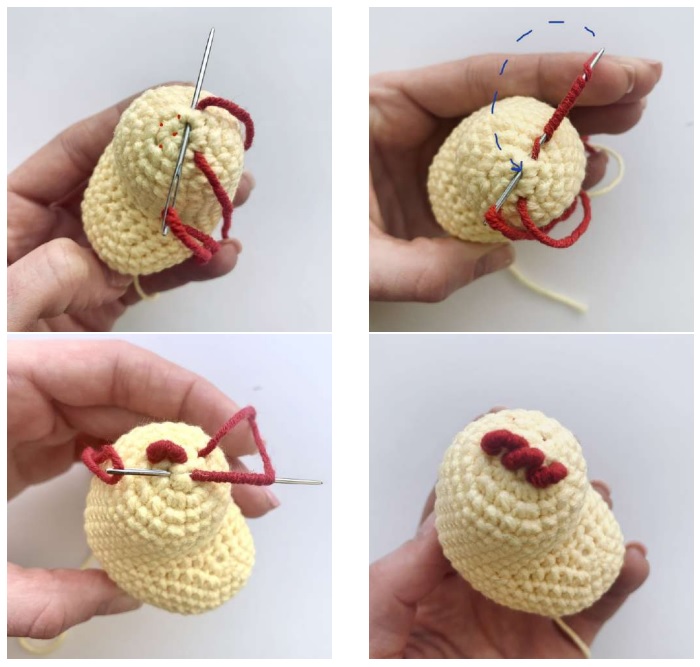
Comb
In order to make a comb, we need a needle and a piece of cherry (or other red) yarn.
We will embroider it like a French knot, the comb will consist of 3 elements.
First, outline the location of your parts . Insert the needle as shown in photo 1 and wrap it with yarn 10 times . Then carefully pull the needle through the wound loops and insert it into the place where the needle end in photo 2 is.
Do the same for the remaining 2 pieces of the comb.
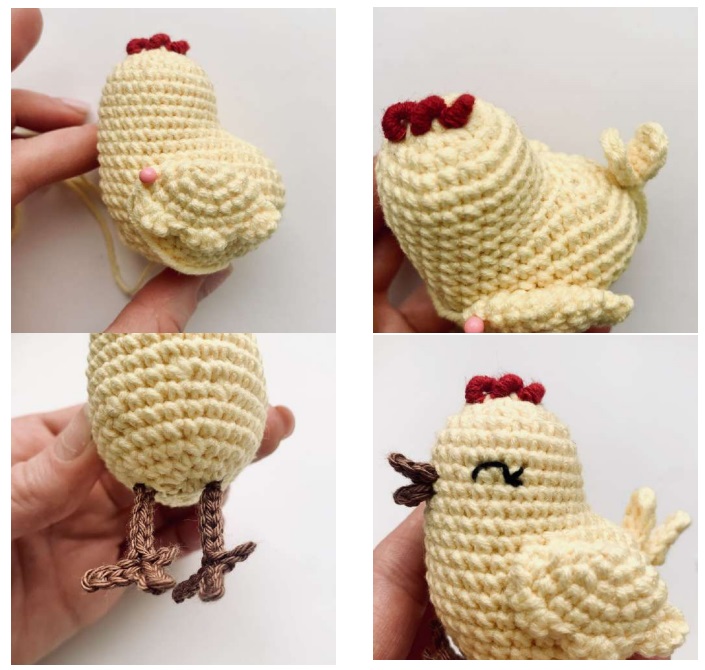
Assembly:
Sew the wings in the area of the 5th row of the body as shown in photo 1.
Sew the tail to the 3rd row of the body (in the area of the ch chain ).
Sew the legs symmetrically on both sides at the bottom of the body in the area of the penultimate row.
Sew the upper part of the beak between 7 and 8 rows of the head, the lower part under it between 8 and 9 rows.
Using a needle and black yarn (mule thread), embroider the chicken’s eyes.
