


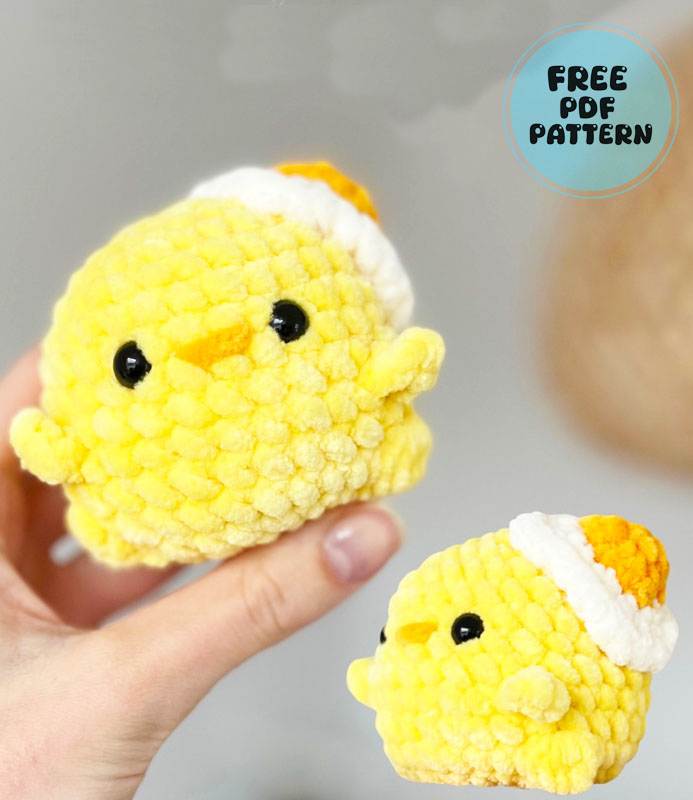
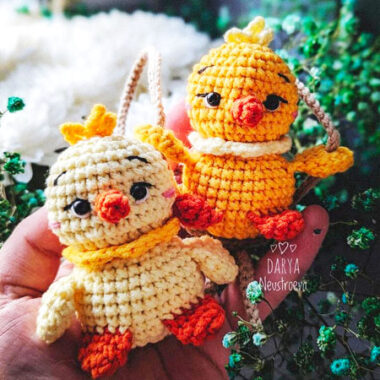
I have shared quite a few examples of chick amigurumi toy patterns with you and that’s why I haven’t shared a crochet chick for a long time, but you will see that there are differences in the amigurumi toy I will share today. The toy has a fried egg-shaped hat.
Chick with Fried Egg Hat Crochet Pattern
Actually, making such a design may seem easy, but I think the purpose here is to make your child love such things. I think it is a remarkable toy especially for children who don’t like eggs.
Designer: therapyonmyhook
Materials:
• Yarn in the colors of your choice
• Crochet hook
• Needle for sewing
• Safety eyes
• Scissors
• Stuffing
List of abbreviations:
mr: magic ring
sc: single crochet
inc: increase
dec: decrease
sl st: slip stitch
hdc: half double crochet
dc: double crochet
B06: booble stitch with 6 loops on your hook
FO: fasten off
Chick:
R1: 7 sc in mr (7)
R2: inc x 7(14)
R3: (sc, inc) x 7(21)
R4: (2 sc, inc) x 7(28)
R5-R8 (4 rounds): sc around (28)
R9: 5 sc, wing*, 9 sc, wing*, 14 sc (28)
R10+R11 (2 rounds): sc around (28)
R12: 4 sc, B06, 10 sc, B06, 12 sc (28)
Add safety eyes between R7 and R8, 4 stitches apart.
R13: (2 sc, dec) x 7(21)
R14: (sc, dec) x 7(14)
Stuff the chick.
R15: dec x 7(7)
Cut the yarn, FO and close the hole.
Embroider a beak between the eyes.

*Wing:
Chain 3, work a sc in the 2nd chain from hook and work a hdc in the next chain.
Fried egg:
In white:
R1: 6 sc in mr (6)
R2: inc x 6 (12)
R3: (sc, inc) x 6 (18)
R4: inc, hdc, 2x dc inc, sl st, inc, dc inc, hdc, sl st sc, inc, hdc, 2x dc inc, sl st, 2x hdc, sc (26)
Work a sl st into the first stitch.
Leave a long tail for sewing.
Cut the yarn, FO and close the hole.
Sew onto the head of your chick.

In yellow:
R1: 6 sc in mr (6)
R2: inc x 6 (12)
Work a sl st into the first stitch.
Leave a long tail for sewing.
Cut the yarn, FO and close the hole.
Sew onto the middle of the white part.
