


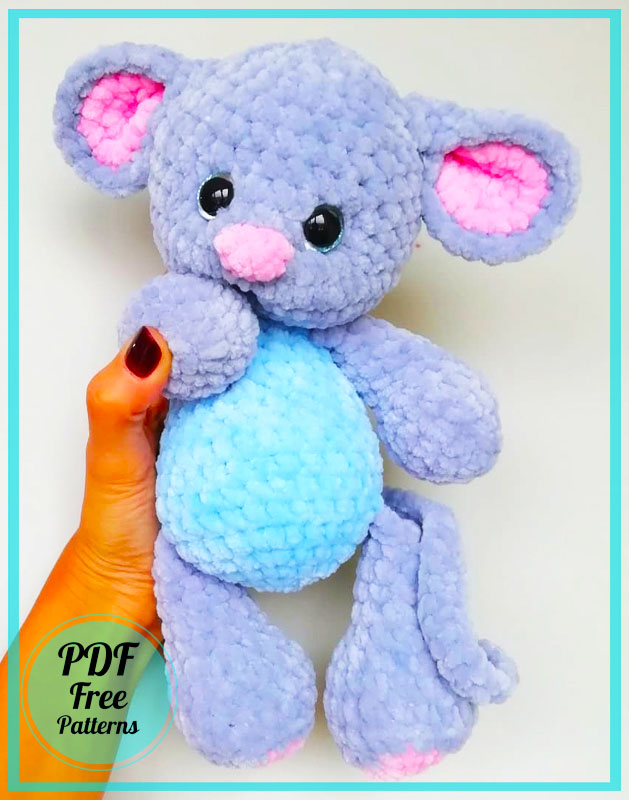
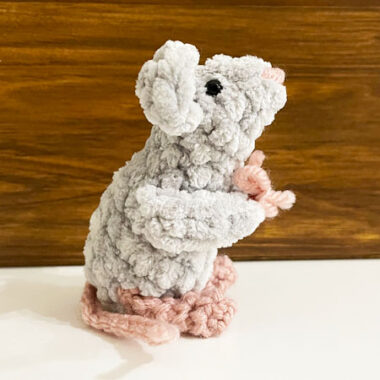
Hello friends. Today we will make a plush mouse amigurumi. The crochet mouse pattern is completely free. First of all, I have to say this. It is also quite large in size. However, the large size is related to the rope used. Its size is getting bigger as velvet rope is used. The pattern has been prepared in great detail so that our new friends will be able to accompany us. The construction of amigurumi is supported by visuals. In this way, you will be able to do it very easily. If you are ready to make mouse amigurumi, let’s get start.
Plush Velvet Mouse Crochet Pattern Step by Step
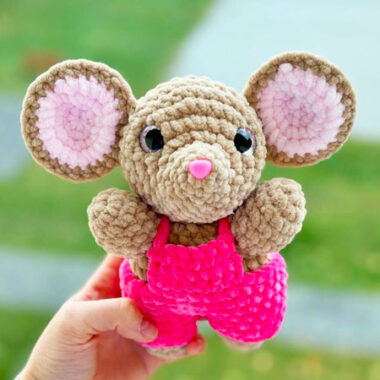
Although contrasting colors were used in the making of the mouse amigurumi toy, its body made of blue looks quite striking. Another detail is the tightening process done on the face of the toy. You also need to pay attention to this part. Now, if you are ready, let’s crochet the toy step by step.
Designer: toys_plyushka
Materials
When crocheting, I used hook #4. Himalaya yarn dolphin baby. For convenience, use a marker.
Abbreviations
MR – Amigurumi Magic ring
sc : Single Crochet
inc : Increase
dec : Decrease
st: Stitch
ch : Chain
BLO : Crochet into back loops only

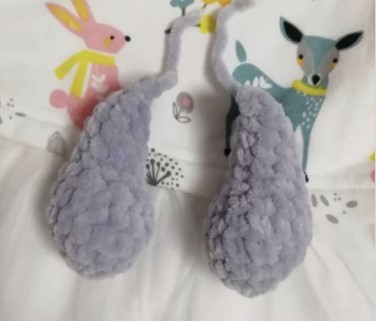
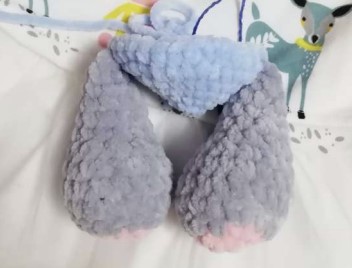
Legs (two parts)
Starting with a pink yarn
1 Rnd: 6 sc in MR
2 Rnd: 6 inc = 12 st
Change to gray yarn
3 Rnd: (1 sc 1 inc) *6 =18 st
4 Rnd: 18 sc BLO
5-6 Rnd: 18 sc
7 Rnd: 4 dec. 10 sc =14 st
8 Rnd: (5 sc 1 dec.) *2 =12 st
9 Rnd: 12 sc
10 Rnd: (4 sc 1 dec.) *2 =10 st
11-12 Rnd: 10 sc
We stuff the bottom of the foot tightly, and the top is loose.
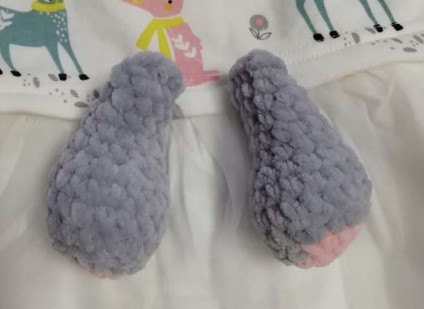
We fold, sew together the parts with 5 sc, cut the yarn, fasten, hide.
Note: When sewing, make sure that the legs look a little at the tummy with decreases, i.e. there is a slight clubfoot effect 🙂 Accordingly, either untie a couple of loops in the last row or, conversely, make a couple of offset loops.
Arms (two parts)
gray yarn
1 Rnd: 5 sc in MR
2 Rnd: 5 inc = 10 st
3 Rnd: (1 sc 1 inc) *5 =15 st
4-5 Rnd: 15 sc
6 Rnd: 4 dec 5 sc = 11 st
7 Rnd: 1 sc 1 dec 8 sc =10 st
8-11 Rnd: 10 sc
We do not stuff very tightly.
We fold, sew together the parts with 5 sc, cut the yarn, fasten, hide.
Note: When sewing, keep in mind that the foot is reduced to the body.
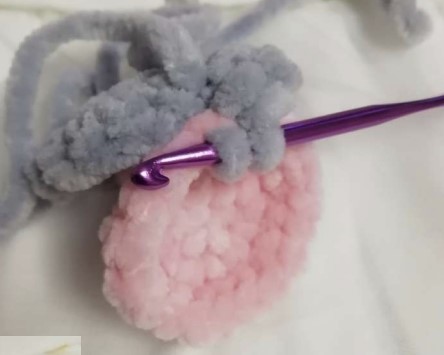
Ears (2 parts)
The first piece is pink
1 Rnd: 6 sc in MR
2 Rnd: 6 inc. = 12 st
3 Rnd: (1 sc 1 inc.) *6 = 18 st
Connecting loop Cut the yarn.
Next, we crochet the same detail in gray, but do not cut the yarn! We put a pink part on top of the gray part, insert the hook into the place of the connecting loop of the pink part and into the next gray loop, crochet the parts together further:
(2 sc 1 inc.) *6 = 24 st
Next, fold the ear in half and crochet both sides together with 3 sc.
We cut the yarn (leaving a little for sewing the ear to the head), we fix it.
Similarly, we crochet the second ear.

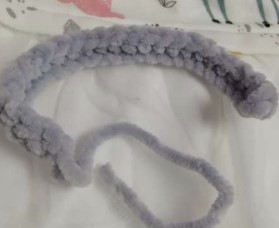
Tail
We collect 26 ch. We crochet, starting from the second loop 25 sc.
We fix the yarn, cut it, leave a little length for sewing.
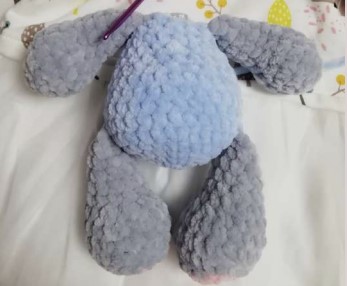
Body and Head
We start with a blue (or any color) yarn
1 Rnd: 6 sc in MR
2 Rnd: 6 inc = 12 st
3 Rnd: (1 sc 1 inc) *6 =18 st
4 Rnd: (2 sc 1 inc) *6 =24 st
5 Rnd: (3 sc 1 inc) *6 =30 st
6 Rnd: 4 sc 5 sc with left leg 12 sc 5 sc with right leg 4 sc
7-9 Rnd: 30 sc
10 Rnd: 8 sc (1 sc 1 dec) *5 8 sc =25 st
11 Rnd: 25 sc
12 Rnd: (3 sc 1 dec) *5
13 Rnd: 20 sc
14 Rnd: 8 sc 1 dec 1 sc 1 dec 1 sc 1dec 4 sc
15 Rnd: 4 sc 5 sc with left arm 3 sc 5 with right arm stuff as you crochet.
We pay special attention to the tummy 🙂
16 Rnd: (2 sc 1 dec) *4 1sc =13 st
17 Rnd: 1 dec 11 sc = 12 st
We change to a gray yarn.
We begin to crochet a head.
18 Rnd: 12 inc = 24 st
19 Rnd: (1sc 1 inc) *12 = 36 st
20 Rnd: 17 sc (1 inc 1 ст) *6 7 sc = 42 st
21-22 Rnd. 42 st
23 Rnd: 22 sc 6 dec 8 sc = 36 st
24-25 Rnd: 36 sc
26 Rnd: (4sc 1 dec) *6= 30 st
27 Rnd: 30 sc
28 Rnd: (3sc 1 dec) *6= 24 st
29 Rnd: 24 sc
You can insert eyes at this stage. Approximately between 24 and 25 rows.
30 Rnd: (2sc 1 dec) *6= 18 st
31 Rnd: (1sc 1 dec) *6 = 12 st
31 Rnd: 6 dec
Pull the hole, fasten the yarn and hide.
We make a tightening of the eye, in the photo the left eye, the right one is done in the same way. Sew ears, tail.
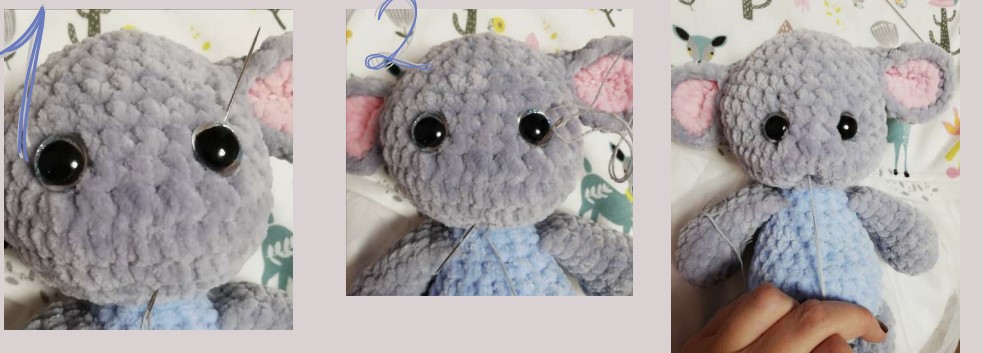
We embroider a spout, you can use plush, or you can use cotton yarn.


