


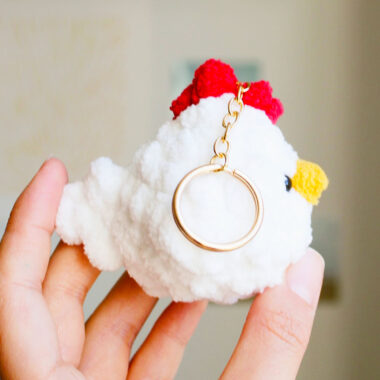
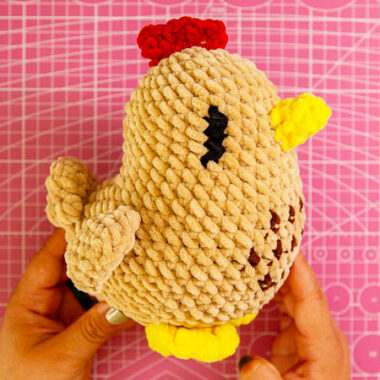
I would like to share with you a chick amigurumi pattern named Jagger, designed by Lyudmila Savchenko. The height of the crochet toy is about 13 cm. To make such a small chick, the designer used Himalaya Dolphin Baby plush yarn and 3-3.5 mm crochet. The pattern description is quite detailed, includes photos and explanations of the stages of making, and will help you make a plush chick for Easter.
Jagger Little Chick Crochet Pattern Step by Step
As you all know, yellow is preferred in such chick toys and you need to use plush yarn. Now if you are ready, let’s start and crochet the chick amigurumi toy step by step. ! We stuff the toy as we crochet. In the place where the tail is attached, we fill it loosely, but at the same time we direct the tail up.
Designer: Lyudmila Savchenko
Materials
– Himalaya Dolphin baby plush yarn, or its analogues.
– Color is yellow # 80313 (main), orange # 80316 (for legs and beak), red # 80352 (scallop).
– Consumption of the main color 40gr, additional 10 g each
– Hook No. 3-3.5
– Eyes on a secure mount 8-9 mm.
– Holofiber
Abbreviations
MR – Amigurumi Magic ring
sc : Single Crochet
inc : Increase
dec : Decrease
st: Stitch
ch : Chain

Tail
1 Rnd: 4MR
2 Rnd: 1inc,1 sc, 1 inc, 1 sc=6
3 Rnd: (1inc, 1 sc)*3=9
4 Rnd: (2sc, 1inc)*3=12
5 Rnd: 12sc. Fasten the yarn, cut it off.

Beak
1 Rnd: 4MR
2 Rnd: (1inc, 1 sc)*2=6
Fasten the yarn, cut it off.

Wing 1
1 Rnd: 6 ch,
2 Rnd: into second loop from hook 1 inc, 3 sc, (1 hdc, 2 dc, 2 hdc in 1 st)., 2 sc, 1 inc = 14
3 Rnd: 5 slst, (1 sc, 1 hdc in one loop), (1hdc, 1 sc in one st), 1 inc, 1 sc, 5 slst = 17
Fasten the yarn, cut it off.

Wing 2
1 Rnd: 6 ch,
2 Rnd: into second loop from hook 1 inc, 3 sc, (2 hdc, 2 dc, 1 hdc in 1 st)., 2 sc, 1 inc = 14
3 Rnd: 6 slst, 1 sc, 1 inc, (1 sc, 1 hdc in 1 loop), (1 hdc, 1sc in 1 st), 4 slst = 1
We fix the yarn, cut it off.
Feet 2 times
1 Rnd: 6MR
2 Rnd: (1inc, 1 sc)*3=9
3 Rnd: 1 sc, 1inc, 4 sc, 1 inc, 2 sc=11
Fasten yarn, cut it off.
Body and head
1 Rnd: 8MR
2 Rnd: 8inc =16
3 Rnd: (1sc, 1 inc)*8=24
4 Rnd: (2 sc, 1 inc)*8=32
5 Rnd: 5 sc with foot, 1 sc, 5 with foot, 21 sc = 32
6 Rnd: (7sc, 1 inc)*4 =36
7 Rnd: 36 sc
8 Rnd: In this row we make a tail. 21sc, apply 6 sc of the lower half of the tail and sew together with the body, 9 sc = 36

Note that the tail is centered on the back. If the marker has shifted, then focus on the legs, and change the number of sc tied along the body.

9 Rnd: 21sc, 6 sc sew together with the upper half of the tail, 9 sc = 36
10 Rnd: 20 sc, 4 dec, 8 sc=32
11 Rnd: 20 sc, 3 dec, 6 sc=29
12 Rnd: (5 sc, 1 dec)*4, 1 sc=25
13 Rnd: (3 sc, 1 dec)*5=20
14 Rnd: 2 sc with wing, 5 sc, 2 sc with wing, 11sc = 20
15 Rnd: 20 inc=40
16 Rnd: (1 inc, 19 sc)*2=42
17 Rnd: 42 sc
18 Rnd: 42sc
19 Rnd: 6 sc, 3 sc together with the beak, 33 sc=42
20 Rnd: (5sc, 1 dec)*6=36
21 Rnd: (4sc, 1 dec)*6=30
22 Rnd: 30sc
Eyes between rows 19 and 20, pull back from the beak 2 loops on each side.
23 Rnd: (3sc, 1 dec)*6=24
24 Rnd: 24sc
25 Rnd: 24sc
26 Rnd: (1sc, 1 dec)*8=16
27 Rnd: 8dec =8
28 Rnd: 4 dec, pull off the hole, fasten the yarn and cut off.

Comb
On the head we find the center on the crown. We attach a red yarn to this loop. Further in the direction of the back of the head we crochet according to the scheme.
(3hdc into one, 1 slst) * 3. Fasten yarn, cut it off

Congratulations!
Your little chicken is ready. Send me your work on this pattern. I will be glad to see them!
