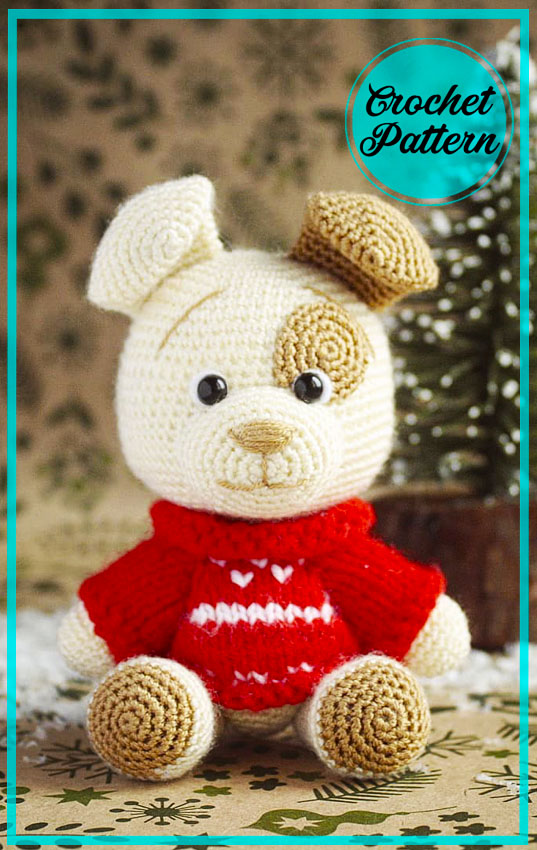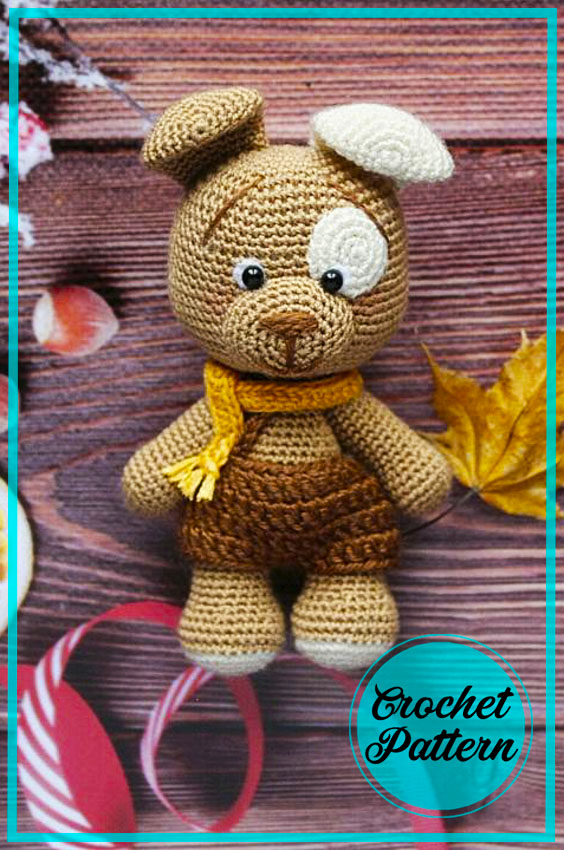
Hello friends, today I will share a very popular and sought after dog amigurumi pattern. First of all, I have to say this. Making crochet dog amigurumi is not very likely for beginners. Because it consists of quite different colors and crochet techniques. In addition, the appearance of the loops is quite pronounced. Therefore, even the smallest mistake you make may cause a bad appearance on its outer surface. Therefore, to make good dog amigurumi, it will be in your favor to practice a little first.
Hello Guys. Today we will knit lovely dog amigurumi!
Designer: @barberry_store
Materials:
Yarn for little dogs: YarnArt Begonia, hook 1.25 mm
Yarn for big dogs: YarnArt Baby (hook 2 mm) and Alize Softy (2.5 mm)
Size: 13 cm (a little dog), 22 cm (a big dog)
Abbreviations
AR – Amigurumi Magic ring
MR – Amigurumi Magic ring
App – application
ll – lift loop
sc : Single Crochet
inc : Increase
dec : Decrease
tr : Triple Crochet/ Treble Crochet
st: Stitch
dc : Double Crochet
hdc: Half Double Crochet
sl-st : Slip Stitch
ch : Chain
..in : make increase into same stitch as many as the number which is given in front of “inc” abbreviation (exp; 3inc, 4inc..).
FLO : Crochet into front loops only
BLO : Crochet into back loops only
BL : Bobble Stitch – do 5dc all in the same stitch and then yarn over and pull through all the loops on your hook (the original loop + 1 loop for each partially completed dc).
! There is no pattern for a sweater.
Head is designed by Tatyana Kostochenkova (Crochet dog Bruno).
Head
With light-beige yarn:
R 1: 6 sc in mc (6)
R 2: 6 inc (12)
R 3: (1 sc, inc)*6 (18)
R 4: (2 sc, inc)* 6 (24)
R 5: (3 sc, inc)* 6 (30)
R 6: (4 sc, inc)* 6 (36)
R 7: (5 sc, inc)*6 (42)
R 8: (6 sc, inc)*6 (48)
R 9: (7 sc, inc)*6 (54)
R 10-17: 54 sc (54)
R 18: (8 sc, inc)*6 (60)
Make eyes at the level of R 17-18, at the distance of 7 stitches from each other.
R 19: (9 sc, inc)*6 (66)
R 20-22: 66 sc (66)
R 23: (9 sc, dec)*6 (60)
R 24: (8 sc, dec)*6 (54)
R 25: (7 sc, dec)*6 (48)
R 26: (6 sc, dec)*6 (42)
R 27: (5 sc, dec)*6 (36)
R 28: (4 sc, dec)*6 (30)
R 29: (3 sc, dec)*6 (24)
R 30: (2 sc, dec)*6 (18)
R 31: (1 sc, dec)*6 (12)
R 32: 6 dec (6)
Fasten off, cut the yarn.Muzzle
With light-beige yarn:
R 1: 6 sc in mc (6)
R 2: 6 inc (12)
R 3: (3 sc, 3 inc)*2 (18)
R 4: (3 sc, (1 sc, inc)*3)*2 (24)
R 5: (3 sc, (2 sc, inc)*3)*2 (30)
R 6-7: 30 sc (30)
Fasten off, leaving a tail for sewing.
Stuff and sew the muzzle to the head. Embroider a nose.
Ears (make 2)
One ear with light-beige yarn, other with brown yarn.
R 1: 6 sc in mc (6)
R 2: 6 inc (12)
R 3: (1 sc, inc)*6 (18)
R 4: (2 sc, inc)* 6 (24)
R 5: (3 sc, inc)* 6 (30)
R 6-8: 30sc (30)
R 9: (3 sc, dec)*6 (24)
R 10: 24 sc (24)
R 11: (10 sc, dec)*2 (22)
R 12: 22 sc (22)
R 13: (9 sc, dec)*2 (20)
R 14: 20 sc (20)
Fold top of ear flat and sc through both sides across.
Fasten off, leaving a tail for sewing.
Spot for eye
You can crochet with brown yarn or cut spot from felt.
Body
With light-beige yarn:
R 1: 6 sc in mc (6)
R 2: 6 inc (12)
R 3: (1 sc, inc)*6 (18)
R 4: (2 sc, inc)* 6 (24)
R 5: (3 sc, inc)* 6 (30)
R 6: (4 sc, inc)* 6 (36)
R 7-9: 36 sc (36)
R 10: (4 sc, dec)*6 (30)
R 11-14: 30 sc (30)
R 15: (3 sc, dec)*6 (24)
R 16-17: 24 sc (24)
R 18: (2 sc, dec)*6 (18)
R 19-20: 18 sc (18)
R 21: (1 sc, dec)*6 (12)
R 22: 6 dec (6)
Fasten off, leaving a tail for sewing.
Legs (make 2)
With brown yarn:
R 1: 6 sc in mc (6)
R 2: 6 inc (12)
R 3: (1 sc, inc)*6 (18)
R 4: (2 sc, inc)* 6 (24)
R 5: (3 sc, inc)* 6 (30)
With light-beige yarn:
R 6-8: 30 sc (30)
R 9: (3 sc, dec)*6 (24)
R 10: (2 sc, dec)*6 (18)
R 11-20: 18 sc (18)
R 21: (1 sc, dec)*6 (12)
R 22: 6 dec (6)
Fasten off, leaving a tail for sewing.
Hands (make 2)
With light-beige yarn:
R 1: 5 sc in mc (5)
R 2: 5 inc (10)
R 3: (1 sc, inc)*5 (15)
R 4: (2 sc, inc)*5 (20)
R 5-7: 20 sc (20)
R 8: (2 sc, dec)*5 (15)
R 9-20: 15 sc (15)
R 21: (1 sc, dec)*5 (10)
R 22: 5 sc (5)
Fasten off, leaving a tail for sewing.
Tail
With light-beige yarn:
R 1: 6 sc in mc (6)
R 2: 6 inc (12)
R 3: (1 sc, inc)*6 (18)
R 4: 18 sc (18)
R 5: (1 sc, dec)*6 (12)
Stuff and sew to the body.
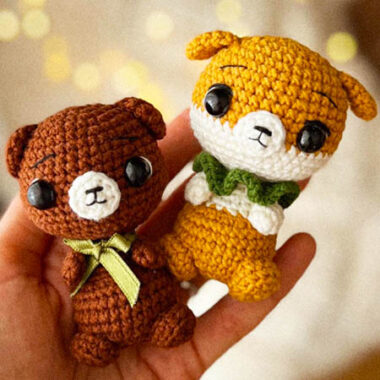
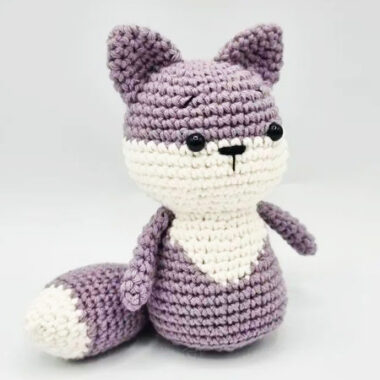
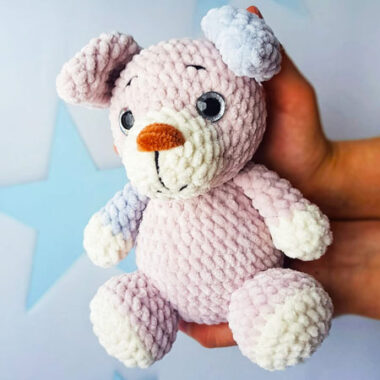
You can sew ears like at this photo:


