


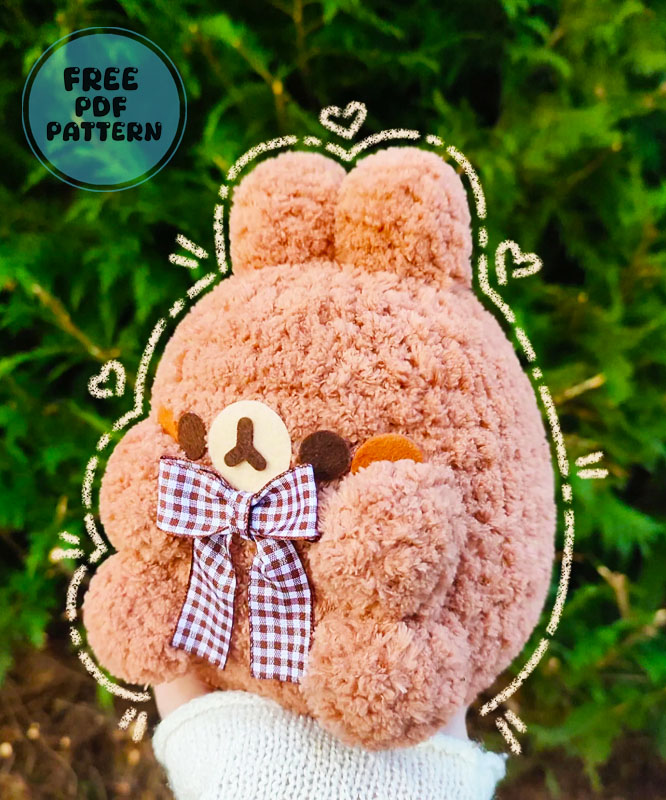
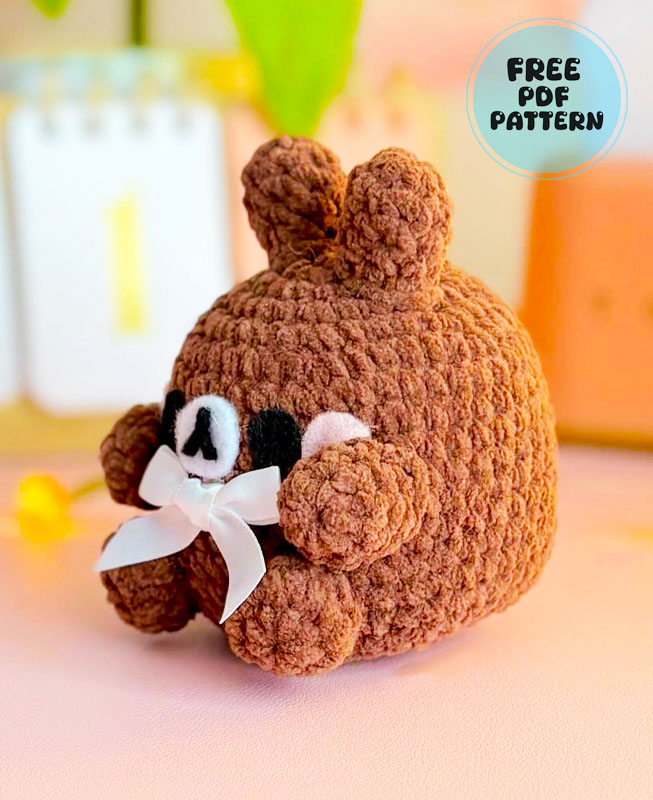
We continue the bunny amigurumi toy series with a magnificent Molang figure. Crocheted molang made in chocolate colors draws attention especially with its chubby structure. The details on the face of the crocheted toy with short legs and short ears are made using felt. How to do these operations is included in the amigurumi instructions in a very detailed way.
Choco Molang Crochet Pattern Step by Step
It is recommended that you use Alize Softy brand yarn in making the toy. It is recommended that you use a very thick crochet hook such as 7 mm when making the toy, but these measurements may vary depending on the type of yarn.
Designer: sparklyadi
Materials:
– Brown yarn
– used Alize Softy Mega.)
– Crochet hook (I used a 7 mm crochet hook.)
– Stitch marker (optional)
– Sewing needle
– Scissors
– Stuffing
– Felt (Beige, dark brown, light brown)
– Checkered ribbon (optional, any type of ribbon is fine too.)
Abbreviations:
Mr: Magic ring
Sc: Single crochet
Inc: Increase
Dec: Decrease
Fo Fasten off
(… X): Repeat
Head + Body:
R1 – 8 sc into mr (8)
R2 – Inc x 8 (16)
R3 – 1 sc, inc × 8 (24)
Note: Your plushie should have a slight curve to it after the dec and inc of round 9 and 10.
R4 – 3 sc, inc × 6 (30)
R5 – 4 sc, inc × 6 (36)
R6 – 5 sc, inc × 6 (42)
R7 to 8 – sc around for two rounds. (42)
R9 – 12 sc, (1 sc, dec) × 6, 12 sc (36)
R10 – 12 sc, (1 sc, inc) × 6, 12 sc (42)
R11 to 15 – sc around for 5 rounds. (42)
R16 – 5 sc, dec x 6 (36)
R17 – 4 sc, dec × 6 (30)
R18 – 3 sc, dec × 6 (24)
*Start stuffing.*
R19 – 1 sc, dec × 8 (16)
*Add more stuffing if needed.*
R20 dec around (8)
Fo, and sew the hole shut.

Ears (Make 2) :
R1 – 8 sc into mr (8)
R2 to 5 – sc around for 4 rounds. (8)
*Stuff lightly.*
Fo, leave a long tail for sewing.
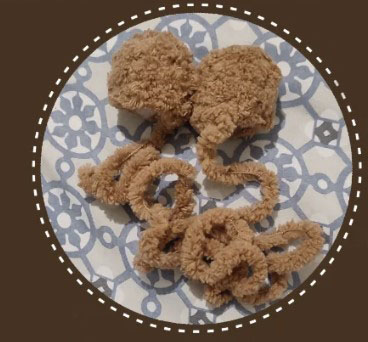
Hands (Make 2) :
R1 – 8 sc into mr (8)
R2 to 4 – sc around for 3 rounds. (8)
– Do not stuff the hands.
Fo, leave a long tail for sewing.
Feet (Make 2) :
R1 – 8 sc into mr (8)
R2 – inc around (16)
R3 – dec around (8)
*Stuff lightly.*
Fo, leave a long tail for sewing.

Tail :
R1 – 6 sc into mr (6)
R2 – inc around (12)
R3 – dec around (6)
*No need to stuff the tail.*
Fo, and leave a long tail for sewing.

Assembly part 1
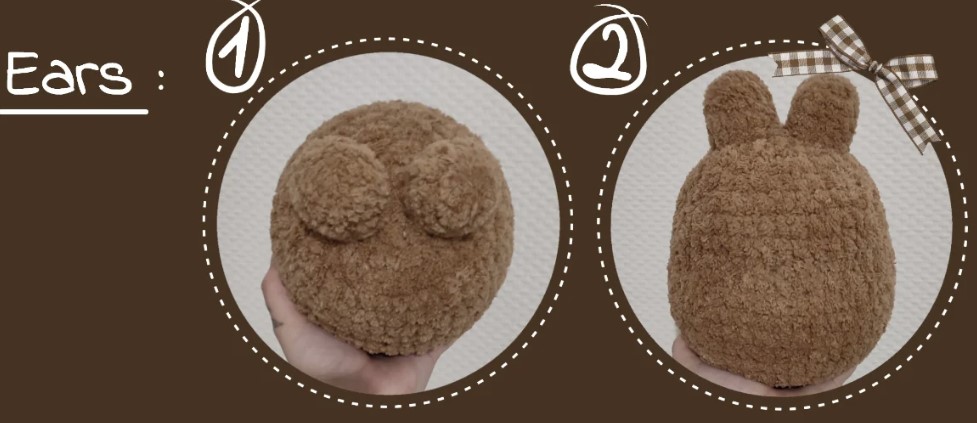
1 – Sew the ears on top of the head, between round 1 and 4, look at the 1st and 2nd picture for reference.
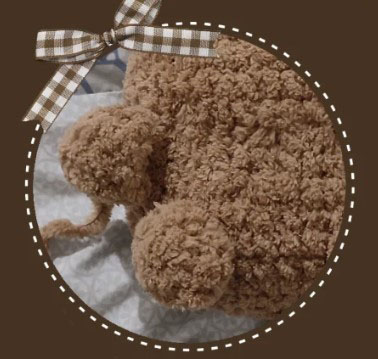
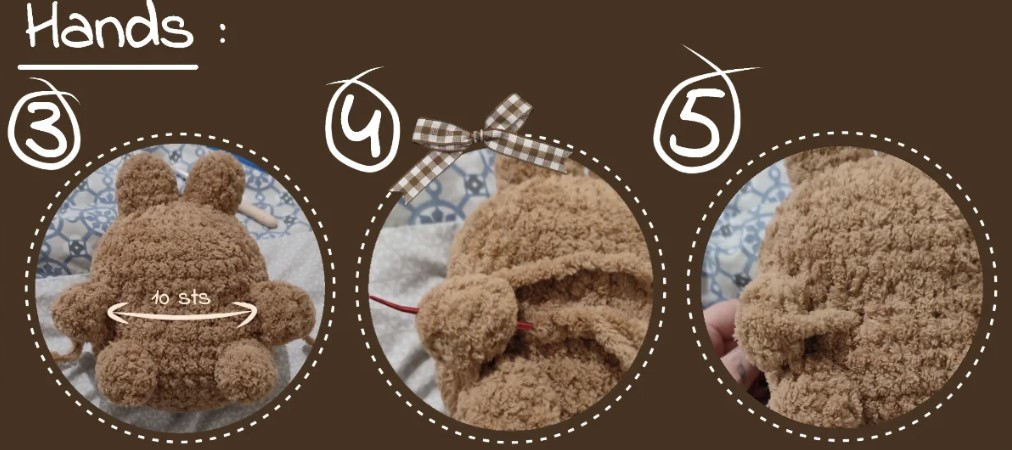
2 – Sew one side of the hands between round 8 and 12, 10 stitches apart, once done, pass your needle through the middle of the hands, bend the hands inwards and sew them to the body, look at the 3rd, uth, and 5th picture for reference.
Assembly part 2:
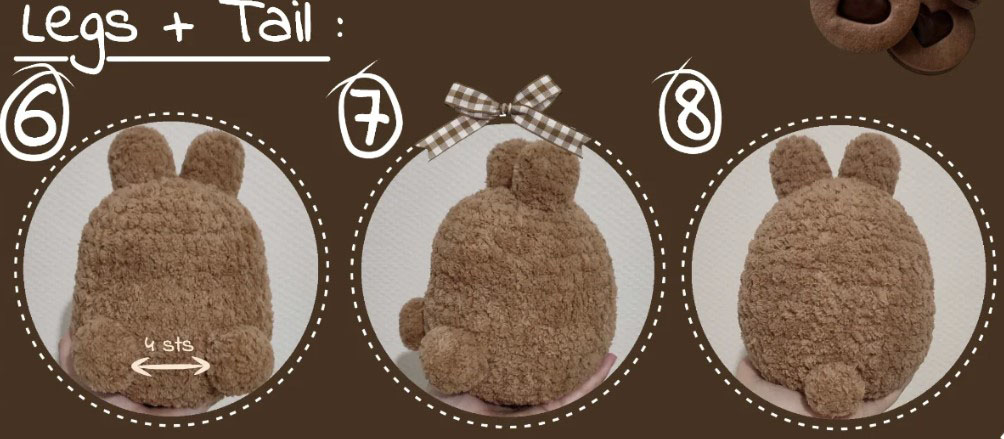
3 – Sew the legs between round 11 and 15, 4 stitches apart, look at the 6th and 7th picture for reference.
4– Sew the tail on the back, between round 15 and 18, look at the 8th picture for reference.
Note: It’s optional, but I like to sew the ears together, so they’re glued against each other.
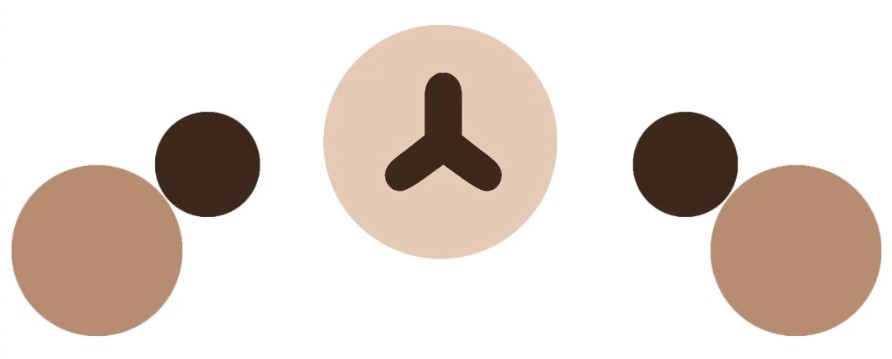
Felt expression
I glued the eyes on round 8, the mouth and the brown blush between round 7 and 10, and the bow right under the mouth, but you can glue your expression wherever you feel like it!
That’s it. Molang Bunny is Ready!
