


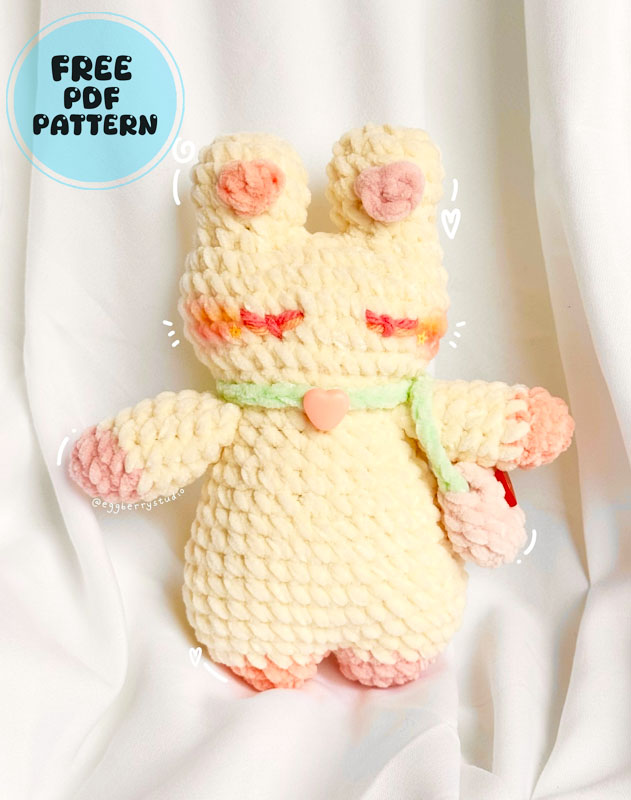
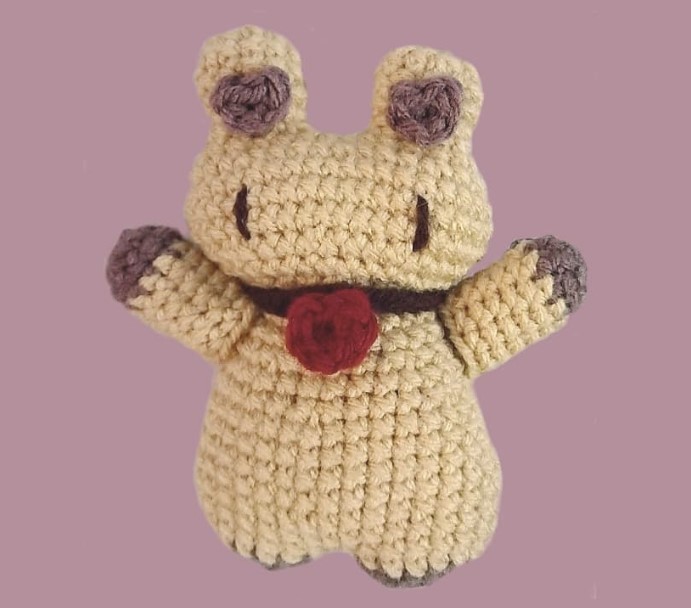
Today we are adding a new one to the amigurumi bunny toys and I am bringing you together with an unusual design. We see that cotton yarn is used in the original photo of the toy, but I would like to state that the photo you see above is a test product of the toy. It is clear that the crocheted bunny has an unusual design and we first notice this from the tiny ears.
Candy the Bunny PDF Crochet Pattern
Since the name of the toy is Candy, I recommend that you use colors that will remind you of candy. Now, if you are ready, let’s crochet the cute bunny together.
Designer: croissant_cain
Materials
1. Crochet hook (I used 4mm)
2. Yarn in colors of your choice. I’ve used two variations. (White, Pink, Green, Red), (Beige, Brown, Dark Brown, Dark Red)
3. Stuffing
4. Darning needle
5. Scissors
6. Felt, Glue (optional)
Abbreviations
Sc – single crochet
hdc – half double crochet
dc – double crochet
inc – increase
dec – decrease
MR – magic ring
ch – chain
slst – slip stitch
FO – fasten off

Ears + Head (white/beige)
EARS: Base: ch5 (5)
R1: start from 2nd ch from hook and do 3sc, 3sc in next ch, 2sc, inc (10)

R2: (2sc, inc) repeat 3 times, sc (13)
R3-R4: sc around (13) (2 rounds)
R5: (sc, dec) repeat 4 times, sc (9) (stuff it)
FO the first ear but DO NOT FO the second ear. Instead, ch2 and connect it to the first stitch of R5 of the first ear.
Make a sc while connecting which will count as the 1st stitch of R6.
HEAD:
R6: We’re gonna do (2sc, inc) repeat 7 times, sc (29)
Here’s a breakdown of R6- {(2sc, inc) repeat 3 times} on second ear, 2sc on ch2, {inc, (2sc, inc) repeat 2 times, 2sc} on first ear, (inc, sc) on ch2 (29)
R7: (3sc, inc) repeat 7 times, sc (36)
R8-R10: sc around (36) (3 rounds)
R11: (3sc, dec) repeat 7 times, sc (29)
R12: sc around (29)
R13: (sc, dec) repeat 9 times, 2sc (20)
Stuff it and stuff more at the cheeks on the sides.
R14: (sc, dec) repeat 6 times, 2sc (14)
R15: dec X 7 (7)
FO and sew the hole to close it. No need to leave a tail.

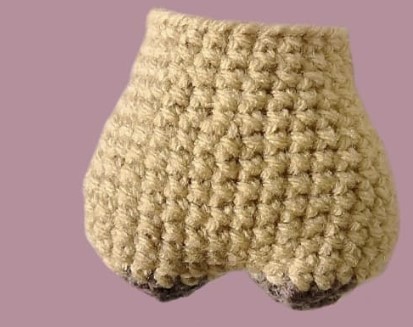
Legs + Body
I used pink/brown for legs and white/beige for body
LEGS:
R1: 5sc in MR (5)
R2: inc X 5 (10)
R3: 3sc, 3inc, 4sc (13)
FO the first leg but DO NOT FO the second leg. Change the color to beige, chi and connect it to the first stitch of R3 of the first leg. Make a sc and this will count as the first stitch of R4
R4: 4sc, 3inc, Ilsc, 3inc, 7sc (34)
Here’s a breakdown for R4: (4sc, 3inc, 6sc) on second leg, sc on ch, (4sc, 3inc, 6sc) on first leg, sc on ch (34)
R5-R8: sc around (34) (4 rounds)
R9: 6sc, dec, 15sc, dec, 9sc (32)
R10-R11: sc around (32) (2 rounds)
R12: (4sc, dec) × 5, 2sc (27)
R13: sc around (27)
R14: (4sc, dec) repeat 4 times, 3sc (23)
R15-R16: sc around (23) (2 rounds)
FO and stuff the body. Leave a long tail to sew later.
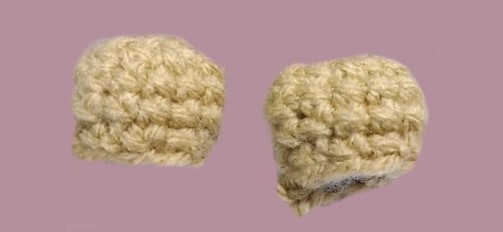
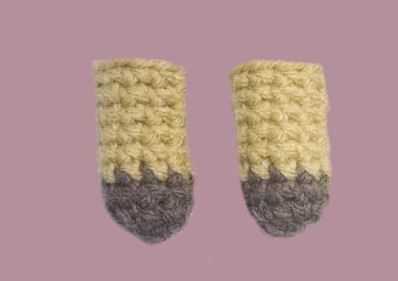
Arms X 2
Start with Brown/Pink
R1: 5sc in MR (5)
R2: inc X5 (10)
R3: sc around (10)
Change to Beige/White.
R4-R9: sc around (10) (6 rounds)
Stuff it and FO. Leave a long tail to sew later.
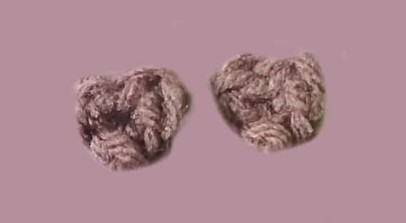
Inner Ear X2 (pink/brown)
The inner part of ear is in a heart shape. You can choose any color you wish
Make a MR, then make these stitches in the MR
sc, hdc, slst, hdc, sc. slst to the first stitch
FO and leave a tail to sew if you’re not using glue.
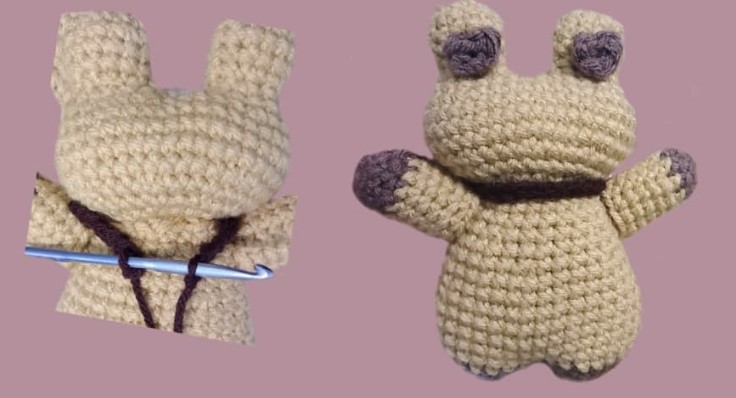
Tail (brown/pink)
R1: 7sc in MR (7)
R2: incX 7 (14)
R3-R4: sc around (14) (2 rows)
R5: (sc, dec) repeat 4 times, 2sc (10)
Stuff it and FO leaving a long tail to sew.
Sew it on the back of the body in between R6-R9.

Assembly
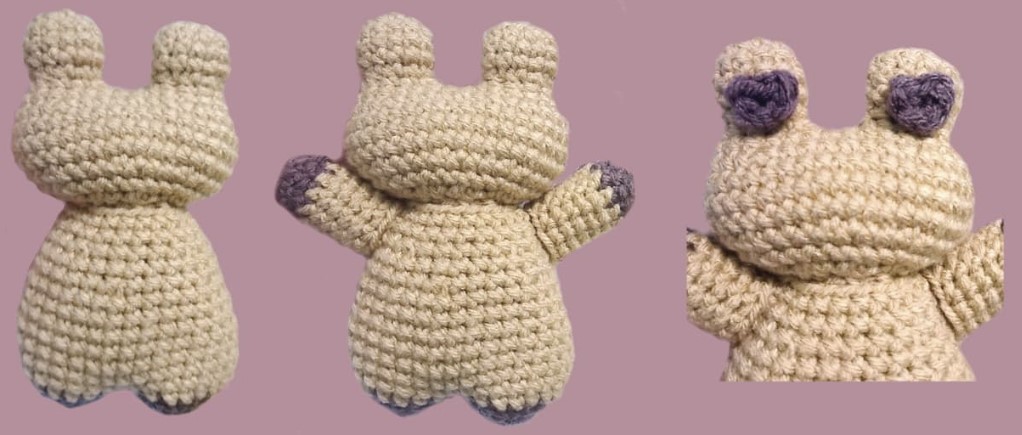
Sew head onto the body in between R14-15 of the head.
Sew the arms between R13-16 of the body.
Sew/glue the inner parts of the ears.
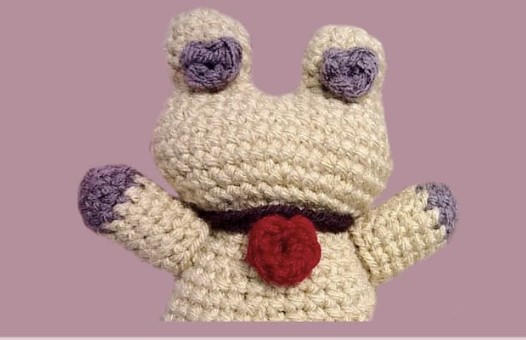
To make the heart necklace, use green/dark brown color. Ch19 and put it around her neck. Then slst to the first ch at the backside and FO.
To make the heart on necklace, use Red/Dark Red color. In a MR, sc, hdc, dc, slst, dc, hdc, sc. Slst in the first stitch and and leave a little tail to sew it on necklace.
Sew the eyes on top of R10 and R11, 9 stitches apart.
Yayyy you’ve completed the Candy Bunny!!


