


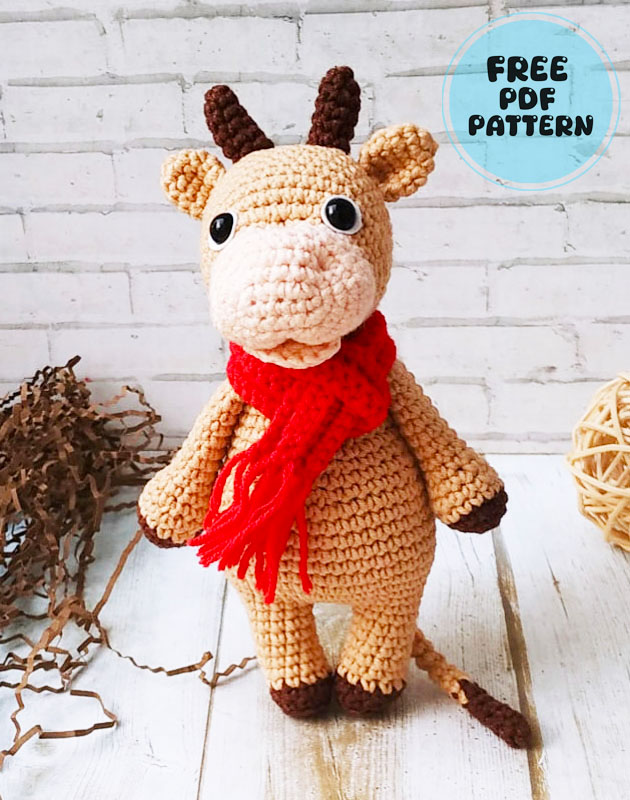
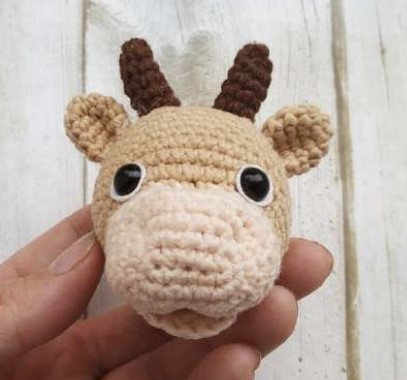
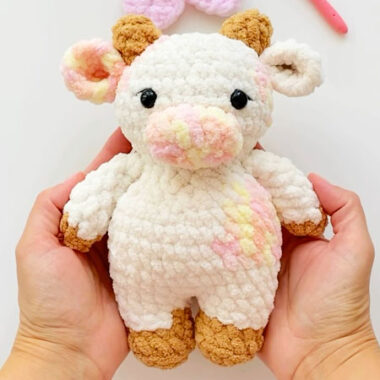
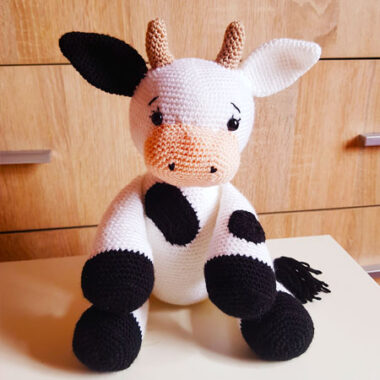
Today I would like to share with you the crochet pattern of how to make a bull named Yashka, designed by Svetlana Glotova. The height of the crochet toy is approximately 17 cm. The designer used YarnArt Jeans yarn and 2 mm crochet hook to make this bull. While the legs and body of our bull are crocheted in one piece, the other parts are made separately and sewn. You will also learn how to make a scarf to decorate our crochet toy from the explanation.
Yashka the Bull Amigurumi Pattern
Since the stages of making the bull are explained to us with many visuals, making a bull amigurumi toy will be a little easier. Now that you are ready, let’s start and make the toy by following the instructions.
With these materials, the bull is approximately 17 cm in size.
(Provided that you crochet # 2 … if your hook is larger, then the toy will turn out to be larger) You can use a different yarn and, accordingly, the toy will be of different sizes.
Designer: Glotova Svetlana
Required materials and tools:
You can choose any colors, as well as the type of yarn.
-Yarn for knitting a bull – semi-cotton YarnArt Jeans for the body color No. 86 (cream), color No. 40 (brown) and pink No. 73 for the muzzle,
– for horns color No. 40 (brown)
– for a scarf color number 69 (green), you can number 29 (light green).
-hook size: 2mm (you can 2.5)
-filling – holofiber
– Safety eyes 8 mm
– white felt for the white of the eyes,
-Sewing needle, scissors, pins, knitting marker (you can just yarn in a contrasting color)
Abbreviations
MR – Amigurumi Magic ring
sc : Single Crochet
inc : Increase
ol: ofset loops
dec : Decrease
st: Stitch
sl-st : Slip Stitch
ch : Chain
Arms
We start with brown yarn
1 Round: – 6 sc in MR (6)
2 Round: – 6 inc (12)
3 Round: – (3 sc, 1 inc) *3 (15)
Change the yarn color to beige
4 – 5 Round: 15 sc (15)
6 Round: – (3 sc, dec.)*3 (12)
7 Round: – (4 sc, dec.)*2 (10)
Fill the arm with holofiber. Further, do not fill, so that the hands do not bulge after being tied into the body.
8-16 Round: – 10 sc
17 Round: Fold the arm in half and close with 5 sc. Fasten and cut the yarn.
Crochet the second arm in the same way.

Tail
Start with brown yarn
1 p. 5 sc in MR.
2 – 5 p. – 5sc
Change yarn to body color
6-18 p. – 5 sc.
Make a tail to the desired length.
Cut the yarn, leaving the tail for sewing to the body.

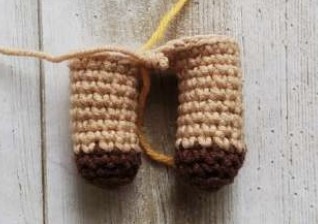
Legs (2 times)
We start with brown yarn
1 Round: – 5 sc in MR (5)
2 Round: – 5 inc (10)
3 Round:- BLO (half loops)10 sc (10)
4 Round: – 1 inc 9 sc (11)
Change the yarn to beige
5 Round:– 11 sc
6 Round: – 1 inc, 10 sc (12)
7-10 Round: -12 sc (12)
11 Round: – 6 sc., slst. These are offset loops
Fasten the yarn, cut off.
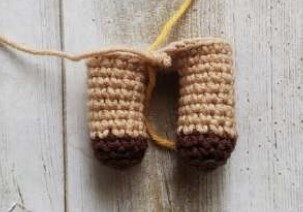
Make the second leg in the same way, only we knit 10 ol and do not cut the yarn!
Fill the legs tightly.
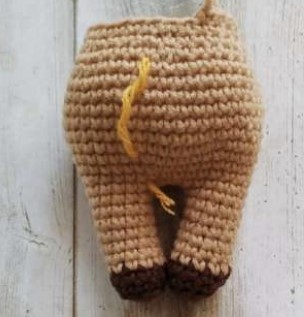
Body
Continue crocheting with beige yarn. Connect the legs: 3ch, slst at the base of the last st of the first leg, 12 sc along the first leg, 3 sc along the chain of ch, 12 sc along the second leg, 3 sc along the back of the ch. (30)
We put a marker – this will now be the beginning of crocheting the body.
1 Round: – 30 sc (30)
2 Round: – (4 sc 1inc,) * 6 (36)
3 Round: – (5 sc 1inc,) * 6 (42)
4 -10 p. – 42 sc
11 Round: – (5 sc, dec) * 6 (36)
12 – 13 Round: – 36 sc (36)
14 Round: -(4 sc, dec) * 6 (30)
15 Round: – 30 sc
16 Round: – (8 sc.dec)*3 (27)
17 Round:- 27 sc
18 Round: – (7 sc.dec)*3 (24)
19 Round: – 24 sc
20 Round: – (6 sc.dec)*3 (21)
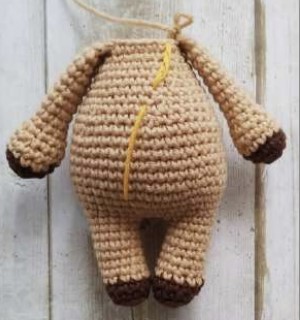
We sew the arms
21 Round: – 5 sc, 5 sc (with arm), 6 sc, 5 sc ( with arm) (21)
22 Round: – 7 sc, 1 dec., 4 sc, 1 dec., 3 sc, 1 dec., 1 sc. (18)
23 Round: – 15 sc, slst. Fasten the yarn, cut, leaving the tail of the yarn for sewing.
(thus, we do not knit to the end, this is necessary so that the back part in the neck area is higher than the front part. This way, when fastening, the head will look better)
The body is connected.
Head
We start with pink yarn.
Make 6ch
1 Round: – starting in the second loop from 4 sc., 3 sc in one st, 3 sc along the second side of the chain, 1 inc (12)
2 Round: – inc, 3 sc, 3 inc, 3 sc, 2 inc (18)
3 Round: – 1 sc, inc, 3 sc, (1 sc, inc) * 3, 3 sc, (1 sc, inc)* 2 (24)
4 Round: – 2 sc, inc, 3 sc, (2 sc, inc) * 3, 3 sc, (2 sc, inc)* 2 (30)
5 Round: – 30 sc
6 Round: – dec., 4 sc, dec, 6 sc, dec, 6 sc, dec, 6 sc (26)
7 Round: – dec, 9 sc, dec, 13 sc (24)
Make 5 ofset loop (the beginning next to it will now be in the middle of the head)
Change yarn color to body color
8 Round: – 24 sc
9 Round: – inc, 5 sc, 1 inc, 3 sc, 5 inc, 3 sc, 1 inc, 5 sc (32)
Make sure the increases are in the middle.
10 Round: – 7 sc, 1 inc, 4 sc, 1 inc, 8 sc, 1 inc, 3 sc, 1 inc, 5 sc (36)
11-17 p. – 36 sc
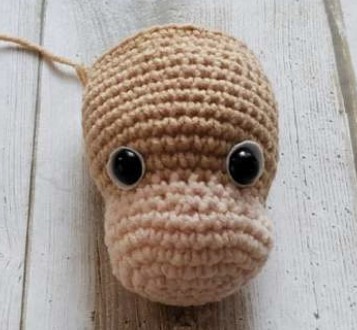
At this round, you need to insert the eyes between 9 and 10 rows at a distance of 10 st between them. (10 sts are 5 inc of the 9th row) Cut a circle out of felt (I have foamiran) as follows: put the cap from the eye on the felt, circle it, cut it out at a distance of 1 mm from the drawing line. Make a hole in the circle (not in the middle, but closer to the edge), insert the eyes. Now we insert into the head.
18 Round: – (4 sc, dec,) * 6 (30)
19 Round: – 30 sc
20 Round: – ( 3 sc, dec) * 6 (24)
21 Round: – (2 sc, dec ) * 6 (18)
22 Round: – (1 sc, dec) * 6 (12)
23 Round: – 6 dec (use a needle to close the hole)
We stuff the head as we crochet the head. Try to stuff it very tightly.
Face tightening
To begin with, we make a tightening.
We outline the places for tightening with pins (see photo).
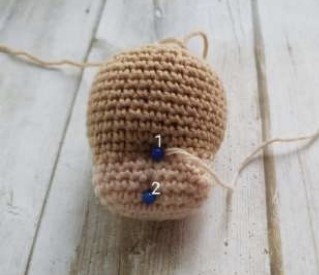
Tightening using a needle with a yarn of the color of the muzzle (the yarn with which the muzzle was knitted).
First, insert the needle from the bottom of the head (so that the tip is fixed), draw out the yarn at point 1, then insert the needle at point 3 and return to point 1.
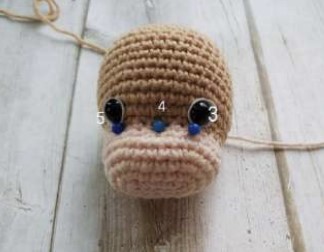
Now draw the needle at point 5 and return to point 1. These were tightenings in the eye area. The next step is to introduce the needle to point 4, then to point 2 and return to point 4. Return to point 1. Fasten the yarn.
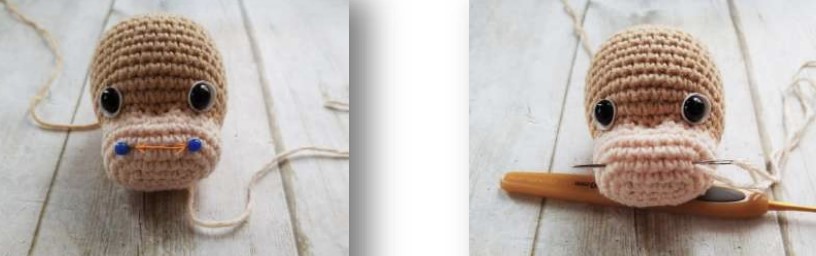
We make the nostrils.
We outline 2 points for the nostrils. We introduce the yarn at one of the points, then into the next nostril, pull it down.
Ears (2 times)
Crochet with body color
1 Round: – 5sc in MR
2 Round: – 5 inc- (10)
3-5 Round: – 10 sc (10)
6 Round:- fold the arm and close 4 sc together (attention not 5 sc, but 4sc!)
Fasten the yarn and cut off the yarn, leaving the tail for sewing.
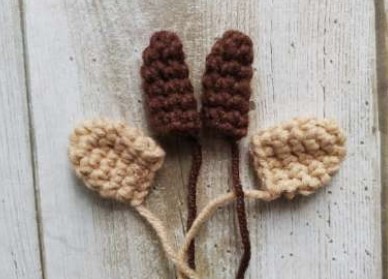
Horns (2times)
Crochet in brown
1 Round: – 5sc in MR
2 Round: – 1 inc, 4 sc (6)
3 Round: – 1 inc, 5 sc (7)
4-6 Round: – 7 sc
Fasten the yarn and cut off the yarn, leaving the tip for sewing.
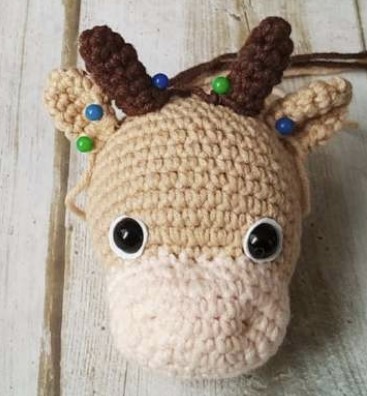
Sew on the horns on rows 18 and 19 (i.e. between rows 17 and 20) 3 sc apart.
Sew on the ears between rows 18 and 19 at a distance of 1-2 sc from the horns.
When sewing on the ears, first we pull them slightly, as if we are smoothing in half. And only then sew them on.
Mouth
1 Round: – 5 sc in MR
2 Round: – 5 inc (10)
3 Round: – (1 sc, inc)*5 (15)
4 Round: – fold in half and sew together on both sides 7 sc How to sew a mouth, look at the photo.
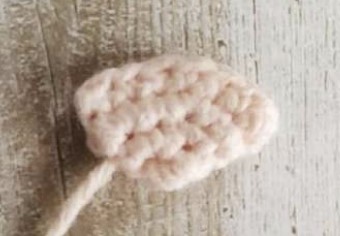
Sew on the head.
First you need to attach the head to the body with pins and only when you like the result, sew.
Sew the tail on the back. You can sew a brush to the tip of the tail.
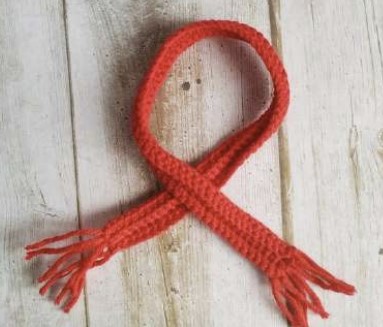
Scarf
Choose the appropriate color for the scarf.
Make the required number of loops, attach to the bull, and decide on the length. Crochet in turning rows for the back half loop 3 rows.
Bull Yashka is ready!
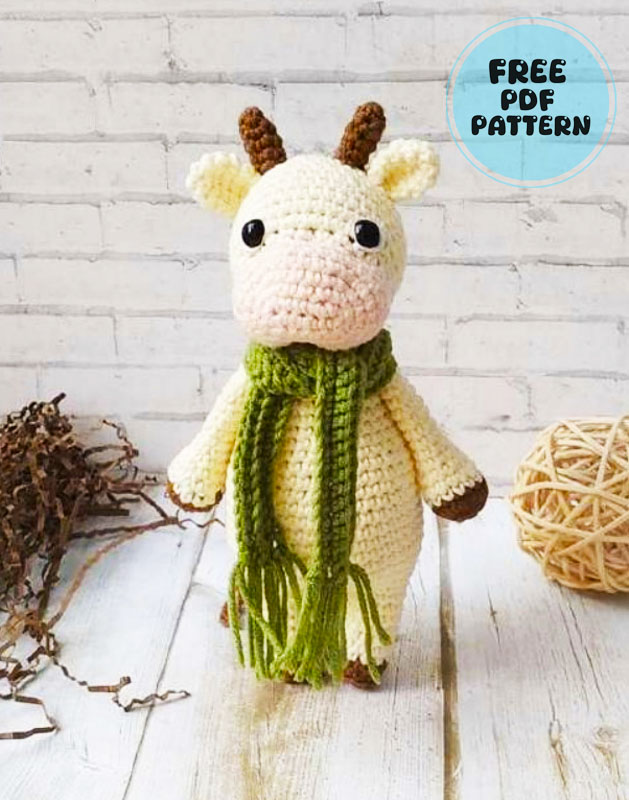
You can use any color for the bull, as well as the color of clothing.

