


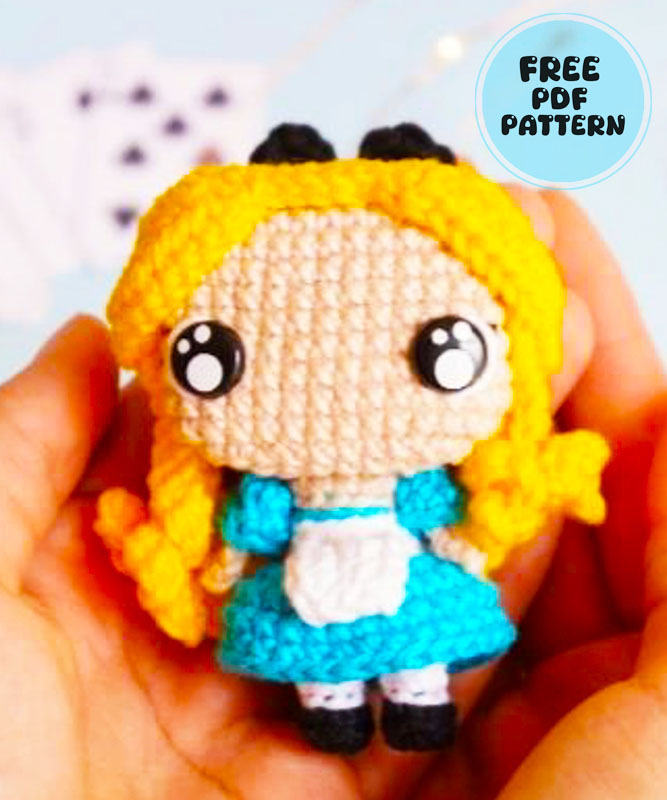
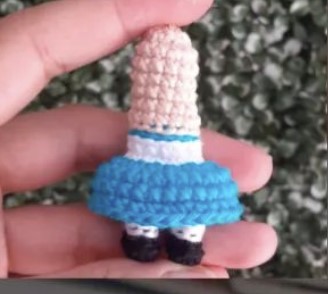
I want to share a doll pattern that will impress you with its cute dress and surprise you with its unusual design. First of all, I want to start my words by thanking the designer. I have been interested in free crochet toy designs for a long time and I bring them together with my followers. I have to say that this is the first time I share a crochet doll whose head is combined with the body in a different way.
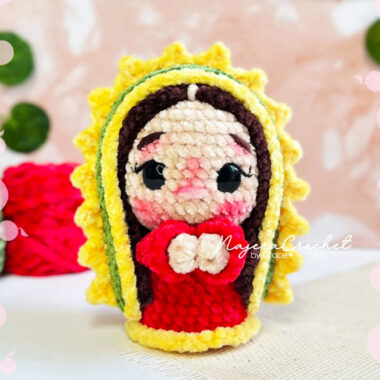
Alice in Wonderland Amigurumi Pattern
You should probably all know the character. The character is Alice. Although the doll is quite small, it has a very detailed amigurumi pattern. In this way, you can make the toy without difficulty.
Designer: crocheeeu_
MATERIALS
Crochet hook 2.5 Tapestry needle Silicone glue
Black and white Anne yarn
Stuffing
Eyes size 10mm
Turquoise
Canary
Black
White
Chantilly
ABBREVIATION
MR-magic ring
Inc-increase
Sc-single crochet
Blo-back loop
Flo-front loop
Dec-decrease
Ch-chain
slst-slip stitch
hdc-half double crochet
dc-double crochet
tr-Treble crochet
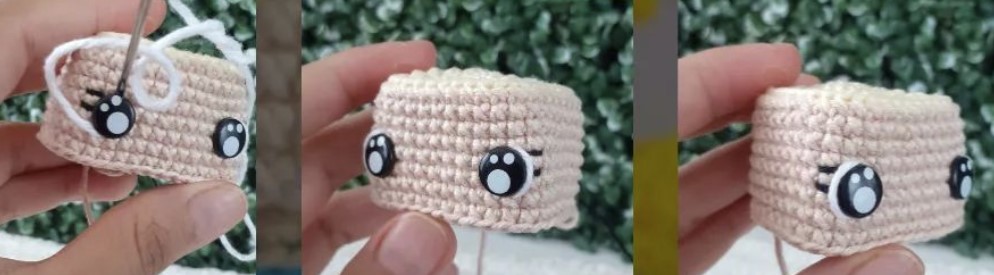
Head
Chantilly
1) 8sc in the MR=8
2) 8inc=16
3) (2inc, 2sc)4x=24
4) 1sc, 2inc, (4sc, 2inc)3x, 3sc=32
5) 2sc, 2inc, (6sc, 2inc)3x, 4sc=40
6)-13) (8rows)=40
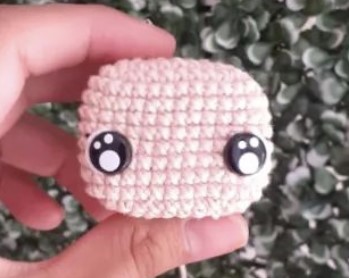
Eyes size 10mm Between rows 10 and 11 With 9sc distance Put a little stuffing so as not to lose the shape
14) 2sc, 2dec, (6sc, 2dec)3x, 4sc=32
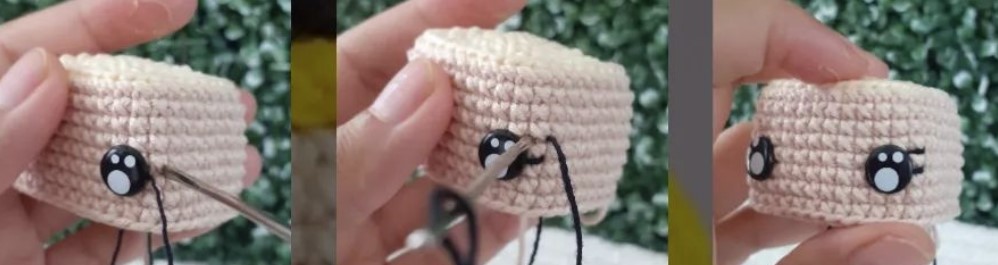
Now we can place the eyes and do the embroidery of the eyes
15) 1sc, 2dec, (4sc, 2dec)3x, 3sc=24
16) (2dec, 2sc)4x=16
17) 16sc in block =16
18) – 24) (7rows)=16
25) 8dec = 8
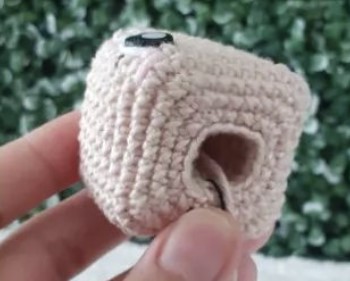
26) inverted magic ring
Sink the neck into the head.
Apron
White
4 ch from the second ch 3sc, (1ch, turn 3sc)2x, 1ch turn, slst all around. With the tapestry needle pass the end of the yarn to the other side, forming an apron.
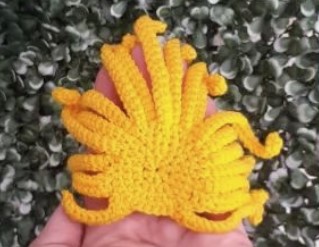
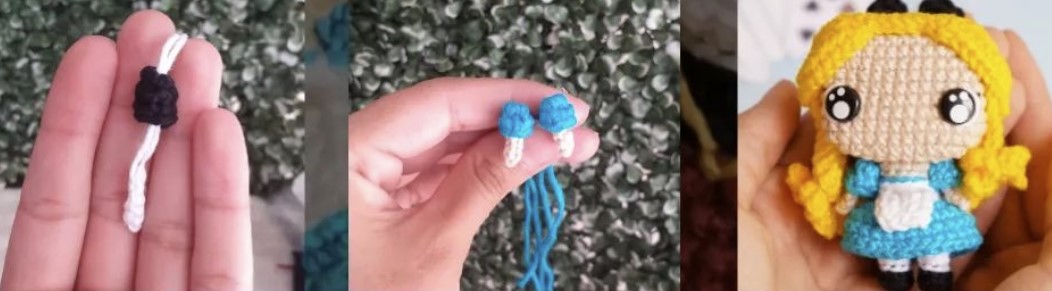
Hair
Canary
1) 8sc in the MR = 8
2) 8inc= 16
3) (2inc, 2sc)4x=24
4) 1sc, 2inc, (4sc, 2inc)3x, 3sc=32
– 1sc, (go up 21ch, from the second ch 20sc, 1slst in the base)14x
– 9ch, from the second ch 1sc, 5hdc, 2dc, skip 2sc of base, 1slst
– 12ch from the second ch 1slst, 1sc, 7hdc, 2dc, skip 2sc of base 5slst
– 12ch from the second ch 1slst, 1sc, 7hdc, 2dc, skip 2sc of base, 1slst
– 9ch, from the second ch 1sc, 5hdc, 2dc, skip 2 sc of base, 1slst
– 21ch, from the second ch 20sc, 1slst in the base, fasten off.
Glue to the wrong side of the head
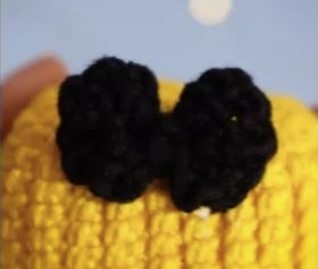
Black Bow
7ch from 5th ch, 5 tr in the same stitch, 1slst in the same stitch.
In the next stitch, which is the last one in the chain, make 6 tr in the same stitch, 1 slst in the same stitch.
Cut the long yarn and wrap it around the middle of the bow 3 times.
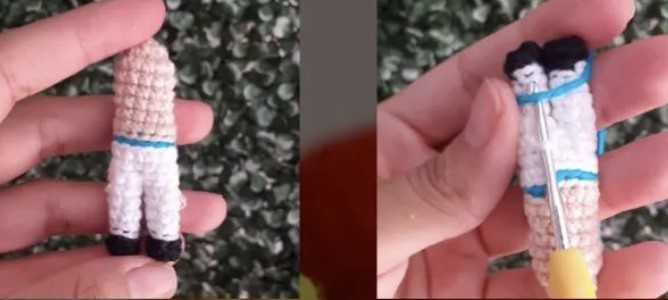
Body
Left leg
Black
1) 6 sc in MR = 6
2) 6sl st in blo=6 White
3) 6sl st in blo =6
4) 6sc in blo =6
5)-6) (2rows) =6
1sl st cut the thread and fasten off the first leg
– in the second leg we repeat the same process, however
5)-7) (3 rows) = 6 go up 1 chain
– Joining the legs
Join with 1sc, 5sc, 1sc in ch, 6sc, 1sc in ch, 6sc, insert the marker =14
1) 14sc in blo=14
2) 14sc=14
Turquoise
3) 14scx blo=14
Whipped cream
4) 14sl st blo =14
5) 14sc blo =14
6) (5sc, 1dec)2x=12
7)-10) (4rows)=12
11) 6dec + inverted magic ring finish
In row 1 of the body there is a white piece
Let’s work with the turquoise color
1) 14inc = 28
2)-4) (3rows) = 28 Fasten off and hide the thread
Arms
Chantilly
5ch from the second ch 4slst leave a long thread to join the arm with the sleeve
Sleeve
Turquoise
1) 6sc in the MR = 6
2) 6sc=6
Put love and patience into your piece
Cut a long thread With the tapestry needle, pass the thread through the sleeve, going to the side of the arm near the magic ring
Joining the Arm and Sleeve There is a video in the reels
Position for sewing the arms to the body
Position for tying the apron

