


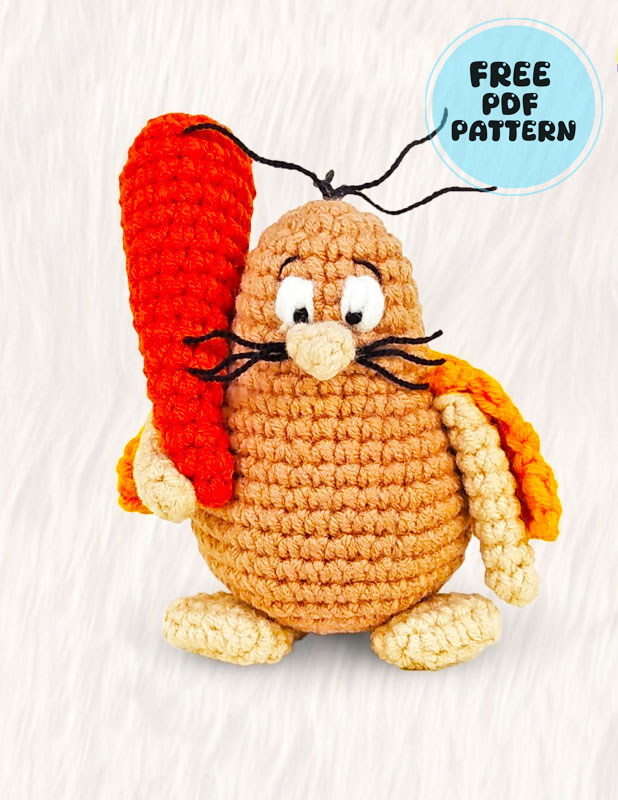
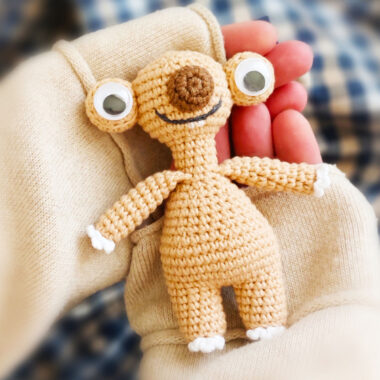
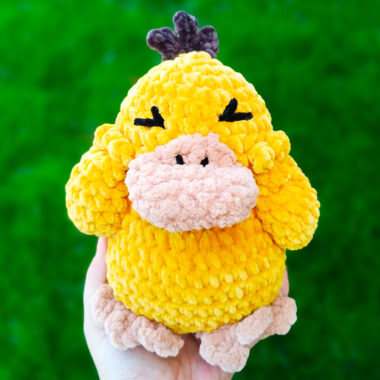
Captain Caveman is a very old cartoon that was very popular when I was a child. I think this character represents a person who lived in the Stone Age. The red thing he holds in his hand is a very thick piece of wood, which even looks like a baseball stove. I can easily say that the toy, which looks very cute with a mustache and hair, is very similar to the cartoon character. I have always loved drawings of eyes made with thread, and here we see a realistic eye drawing made with white and black thread.
Captain Caveman Amigurumi Pattern
Don’t worry about using too many colors when making the toy, because the pieces you are going to crochet are usually independent of each other and there is no need to change colors. We can see that the toy has a simple cover made in orange.
Designer: euquerocroche
Materials
Amigurumi Soft yarn, 2.25 mm needle, stuffing, tapestry needle and glue (optional).
Final information
Final size: 8 cm (body without the tack) Total stitches: 1220
Execution time: 2:30
Abbreviations
Ring – magic ring
Ch – chain
Sl – slip stitch
Sc – single crochet
Dc – double crochet
Inc – increase (2 sc in the same base stitch)
Inc-dc– make 2 dc in the same base stitch
Inc-3-sc-make 3 sc in the same base stitch
Dec – decrease (two closed stitches together or make the invisible decrease)
( ) x6 – Repeat 6 times what is between ()
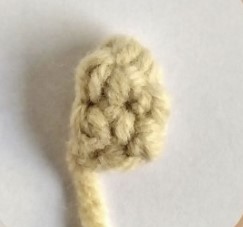
Nose
With light beige
1. 5 sc in the ring [5]
2. 5 sc [5]
3. Flatten the piece and make 2 sc closing the hole (taking the front and back stitch at the same time) [2]
Make 1 ch to make a knot and cut the thread. There is no need to leave any thread for sewing.
Arms
Make 2 with Light Beige
1. 5 sc in ring [5]
2-9. 5 sc (8 rows) [5]
10. Flatten the piece and make 2 sc closing the hole (taking the front and back stitch at the same time) [2]
Make 1 ch to make a knot and cut the thread. There is no need to leave any thread for sewing.

Body
With Dark Beige
1. 8 sc in the ring (do not close the ring completely) [8]
2. 8 inc [16]
3. 16 sc [16]
4. (3 sc, 1 inc) x4 [20]
5. 20 sc [20]
6. 2 sc, 1 inc, (4 sc, 1 inc) x3, 2 sc [24]
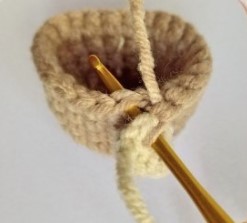
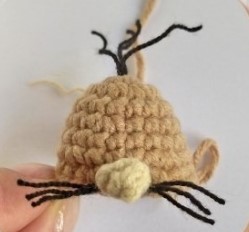
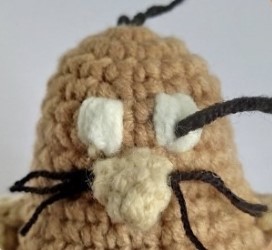
7. 11 sc, 2 sc joining the nose (pictured), 11 sc [24]
Hair
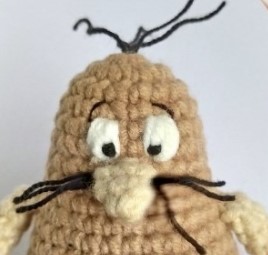
Pass 4 pieces of Black yarn through the magic ring, leaving a knot inside the doll and tighten the magic ring. (I use Soft amigurumi, which allows you to separate the twisted yarns, so I passed 1 piece of this yarn, and undid the twist on the outside.)

Mustaches
Take 3 pieces of yarn, make a knot in the middle and leave the knot inside the doll. Pull the 3 ends out of one side of the nose, and the other 3 ends out of the other side.
** You can add a drop of glue to hold the knots in place and the yarns won’t come loose.
8. (5 sc, 1 inc) x4 [28] one) x4 [28]
9. 28 sc [28]
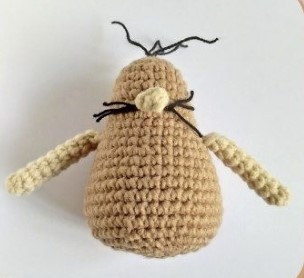
10. 5 sc, 1 inc, 2 sc joining the arm, 2 sc, 1 inc, 6 sc, 1 inc, 2 sc, 2 sc joining the arm, 1 inc, 5 sc [32]
11. 32 sc [32]
12. (7 sc, 1 inc) x4 [36]
13. 36 sc [36]
14. 4 sc, 1 inc, (8 sc, 1 inc) x3, 4 sc [40]
15-18. 40 sc (4 rows) [40]
19. (8 sc, 1 dec) x4 [36]
20. (4 sc, 1 dec) x6 [30]
21. (3 sc, 1 dec) x6 [24]
22. (1 sc, 1 dec) x8 [16]
Insert stuffing.
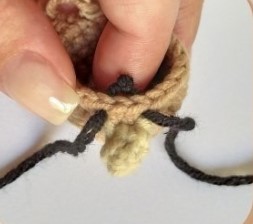
23. 8 dec (photo 11) [8]
Fasten off with inverted ring.
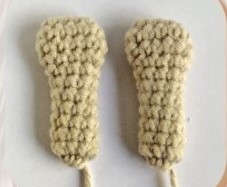
Feet
Make 2 with Light Beige
1. Ch 5, 1 inc, 2 sc, 1 inc-3-sc, continue on the other side, in the free loops of the initial ch: 3 sc [10]
2. (1 inc, 4 sc) x2 [12]
3. 12 sc [12]
4. (1 dec, 4 sc) x2 [10]
5. (1 dec, 3 sc) x2 [8]
6-11. 8 sc (6 rows) [8]
Do not stuff. Close with inverted magic ring and leave thread for sewing.
Club
With Terracotta
1. 6 sc in ring [6]
2-3. 6 sc (2 rows) [6]
4. (2 sc, 1 inc) x2 [8]
5. 8 sc [8]
6. (3 sc, 1 inc) x2 [10]
7. 10 sc [10]
8. 2 sc, 1 inc, 4 sc, 1 inc, 2 sc [12]
9. 12 sc [12]
10. (5 sc, 1 inc) x2 [14]
11. 14 sc [14]
12. 3 sc, 1 inc, 6 sc, 1 inc, 3 sc [16]
13. 16 sc [16]
14. (7 sc, 1 inc) x2 [18]
15. 18 sc [18]
Add stuffing
16. (1 sc, 1 dec) x6 [12]
17. 6 dim [6]
Close with inverted magic ring.

Cape
With Orange
Work in straight rows: turn the work and make 2 ch or false dc to start the next row.
Leave a tail of yarn at the beginning to sew later.
1. Ch 16, 16 dc [16]
2. (3 dc, 1 inc-dc) x4 [20]
3. (4 dc, 1 inc-dc) x4 [24]
4. (5 dc, 1 inc-dc) x4 [28]
Fasten off.

Patches: You can cut pieces of felt and glue them to the cover, or paint them with acrylic paint, fabric pen or permanent marker. I used permanent marker.
Assembly
>> Embroider the eyes with White on rows 5 and 6 with 2 stitches between them, centering with the nose. With thick Black thread, embroider the pupil on the eyes.
>> Embroider the eyebrows with thinner Black thread, on row 4 with 1 stitch long.
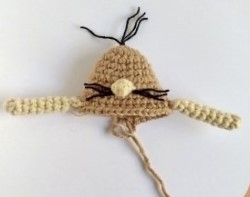
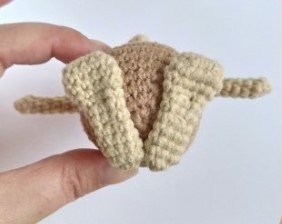
>> Sew or glue the feet with the heels together, centering the “V” under the body so that it can stand on its own, as shown in the photo.
>> Sew the cape above the arms, behind the doll.

>> Sew attaching the club to the doll’s hand, bending the arm, and with the club resting on the shoulder.
