


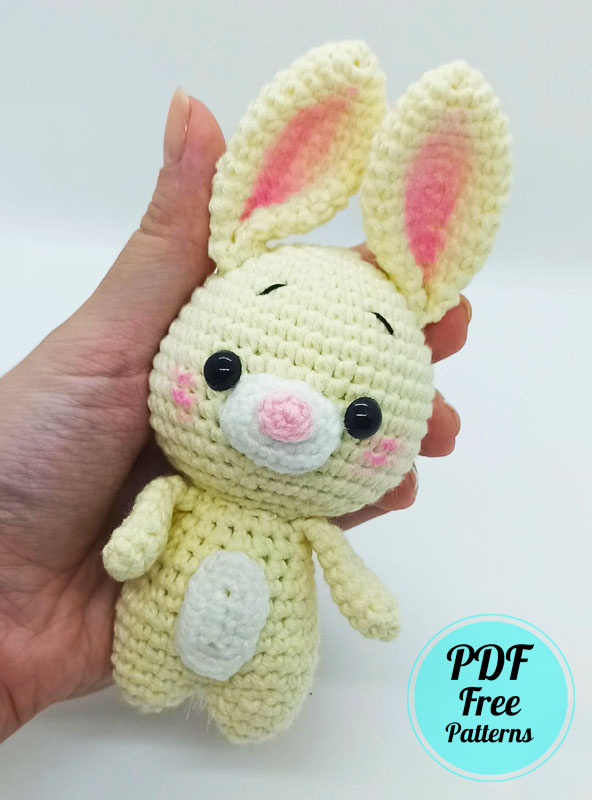
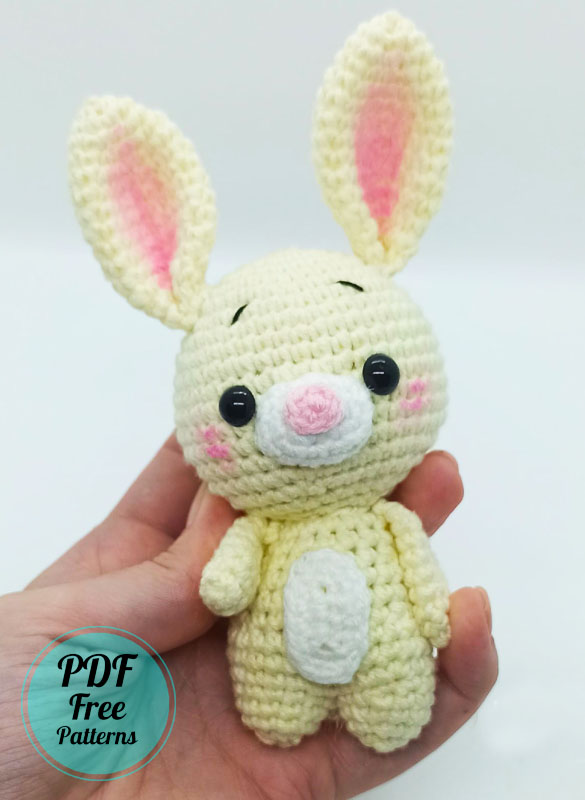
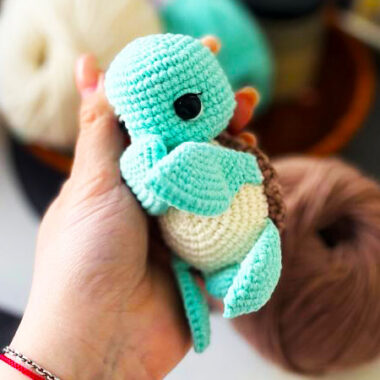
Hello my dears, you will really like the bunny amigurumi toy that I will share today. Amigurumi toy bunny is very easy to make and its name is momo. He has very cute ears and a white belly. Also, I can’t help but remind you that it is a small detail. How do you think the inside of the toy’s ears and cheeks are pink? I think it looks very nice. Such new decorations on amigurumi toys are really impressive.
Bunny Momo Amigurumi Pattern
Amigurumi bunny momo has very tiny feet. Also, the bunny has very thin arms. Although it’s a standard image of the Momo bunny, I have to admit that I really like the color tone of the yellow yarn. Also, the inside of the bunny’s ears are painted really well.
Designer: bystefi
List of materials
– Yellow (or milky) yarn, white yarn, a little pink yarn (for the spout). Suitable acrylic (for example, “Children’s novelty”), semi-cotton or cotton.
– Hook No. 1.5 (or any other suitable for your chosen yarn)
– Filler (holofiber)
– Half beads black (8-10 mm)
– Pompom (for ponytail)
Abbreviations
MR – Amigurumi Magic ring
sc : Single Crochet
inc : Increase
dec : Decrease
st: Stitch
sl-st or Slst: Slip Stitch
ch : Chain
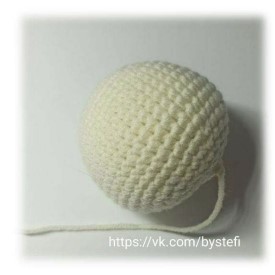
Head
Yellow (milky):
1 Rnd: 6 sc in MR (6)
2 Rnd: inc. in every st. (12)
3 Rnd: ( sc, inc) x 6 times (18)
4 Rnd: (2 sc, inc) x 6 times (24)
5 Rnd: (3 sc, inc) x 6 times (30)
6 Rnd: (4 sc, inc) x 6 times (36)
7 Rnd: 36 sc (36)
8 Rnd: (5 sc, inc) x 6 times (42)
9-16 Rnd: 42 sc (42) – 8 rnds
17 Rnd: (5 sc, dec) x 6 times (36)
18 Rnd: (4 sc, dec) x 6 times (30)
Add filler.
19 Rnd: (3 sc, dec) x 6 times (24)
20 Rnd: (2 sc, dec) x 6 times (18)
21 Rnd: ( sc, dec) x 6 times (12)
22 Rnd: dec. in every st. (6)
Pull the hole, hide the thread.
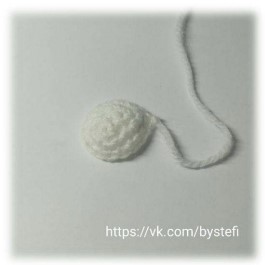
Muzzle
White:
1 Rnd: we make chain of 4 ch, we crochet (from the second loop from the hook): 2 sc, 3 sc in the last st of the chain, 2 sc on the other side of the chain, etc. in the last st. (8)
2 Rnd: inc, sc, 3 inc, sc, 2 inc (14)
3 Rnd: 14 sc (14)
Leave a thread for sewing
Legs, Body
Yellow (milky):
We crochet the first leg.
1 Rnd: 6 sc in MR (6)
2 Rnd: inc. in every st (12)
3-4 Rnd: 12 sc (12) – 2 rnds
We cut the thread.
We crochet the second leg.
1 Rnd: 6 sc in MR (6)
2 Rnd: inc. in every st (12)
3-4 Rnd: 12 sc (12) – 2 rnds
We do not cut the thread! We continue crocheting (we will crochet the torso).
5 Rnd: we crochet sc in the first leg, we continue crocheting on two legs (23 more sc). In total, in a row you should get 24 sc.
6 Rnd: (3 sc, inc) x 6 times (30)
7-8 Rnd: 30 sc (30) – 2 rnds
9 Rnd: (3 sc, dec) x 6 times (24)
10-11 Rnd: 24 sc (24) – 2 rnds
12 Rnd: (2 sc, dec) x 6 times (24)
13-14 Rnd: 18 sc (18) – 2 rnds
Leave a thread for sewing on the head. Add filler.
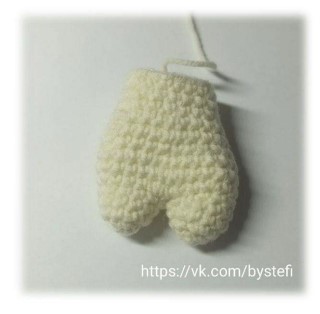
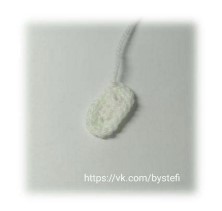
Tummy
White:
1 Rnd: we make a chain of 5 ch, we crochet 3 sc along the chain (from the second loop from the hook), 4 sc in the last st, we continue crocheting on the other side of the chain: 2 sc, 3 sc in the last st (12)
2 Rnd: inc, 2 sc, 3 inc, 4 sc, 2 inc (18)
Leave a thread for sewing.
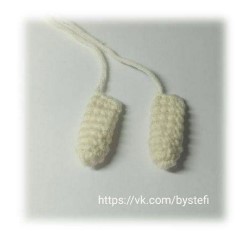
Arms (2 parts)
yellow (milky)):
1 Rnd: 6 sc in MR (6)
2 Rnd: (2 sc, inc) x 2 times (8)
3-8 Rnd: 8 sc (8) – 6 rnds
Fold the edge in half, crochet 4 sc for both sides of the part. Leave a long tail for sewing.
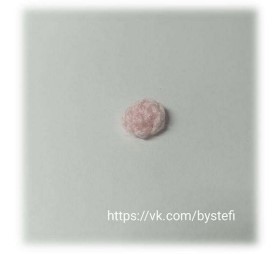
Spout
pink:
1 Rnd: 6 sc in MR (6), slst. to the beginning of the row.
Leave a long tail for sewing.
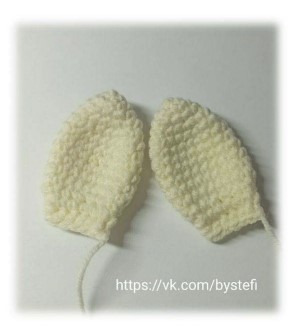
Ears (2 parts)
yellow (milky):
1 Rnd: 5 sc (5)
2 Rnd: inc. in every st. (10)
3 Rnd: (4 sc, inc) x 2 times (12)
4 Rnd: 12 sc (12)
5 Rnd: ( sc, inc) x 6 times (18)
6-12 Rnd: 18 sc (18) – 7 rnds
13 Rnd: ( sc, dec) x 6 times (12)
14 Rnd: 12 sc (12)
Fold the edge in half, crochet 6 sc for both sides of the part. Similarly, we crochet the second ear. Sew to the bunny.
Glue the tail (pompom). We glue the eyes, sew on all the details, you can tint the ears and cheeks, decorate the bunny with a carrot)


