


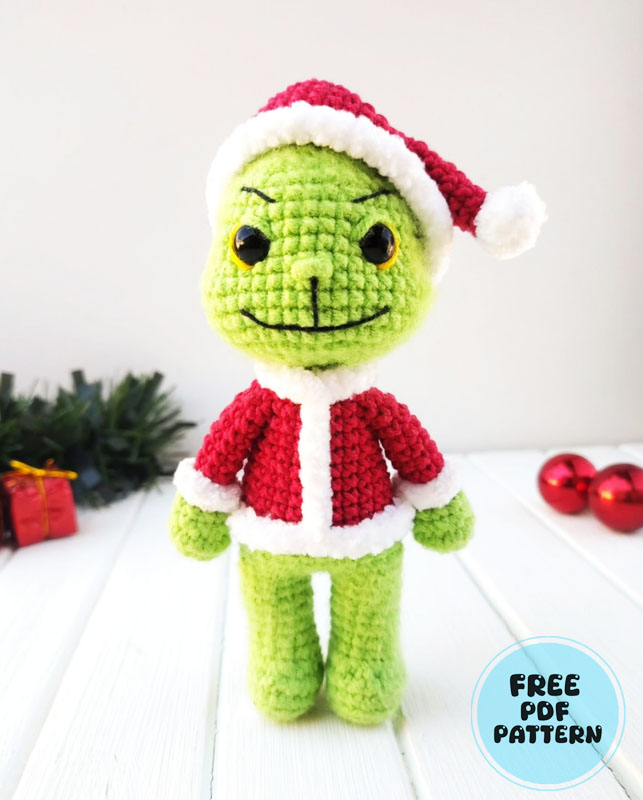
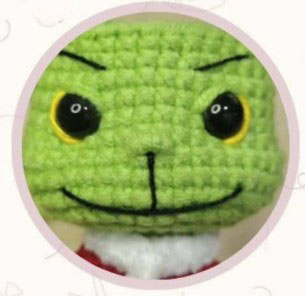
This year, I will introduce you to one of the most amazing Grinch crochet doll patterns. The crochet Grinch amigurumi toy is made using red, white, green, and black yarn. The number of stitches in the making of the amigurumi toy is quite high, so it may take a bit of time to complete. The finished amigurumi doll measures 15 cm in height. 9 mm black safety eyes are surrounded with yellow yarn, which emphasizes the Grinch’s grumpy yet sweet expression.
There are also details on the face of the amigurumi toy made using black yarn. The eyebrows embroidered with black thread are raised upwards, giving the typical Grinch facial expression. The mouth is embroidered in a slightly curved way, which will be enough to create a smiling facial expression. If the combination of frowning eyebrows and a smile seems inconsistent to you, you can change the Grinch’s facial expression as you wish. So, if you’re ready, let’s begin.
Designer: mommyatelier
MATERIALS AND TOOLS
• Yarn in the following colors: green, red, white, and scraps of yellow
• 9mm safety eyes
• Thin black thread for embroidery
• Fiberfill stuffing
• Liquid silicone glue
• Crochet hook
• Tapestry needle
• Thin embroidery needle
• Stitch marker
• Scissors
• Velcro or slicker brush (optional)
SIZE 15CM
I used 3 types of yarn:
• green – mixed 55% acrylic and 45% cotton (Tex 434)
• red – 100% cotton (Tex 492)
• white – 100% polyester (Tex 645.16)
For all yarns, I worked with a 2.0 mm hook and fake X stitch.
ABBREVIATIONS
mr: magic ring
ch: chain
sc: single crochet
slst: slip stitch
inc: increase
dec: decrease
incT: triple increase (three stitches in the same base stitch)
BLO: back loop only
FLO: front loop only
ARM (2X)
With green yarn
Round 1. 6sc in mr [6]
Round 2. 6inc [12]
Round 3. 12sc [12]
Round 4. 3sc, 3dec, 3sc [9]
Round 5. 9sc [9]
Stuff with fiber
Switch to red yarn
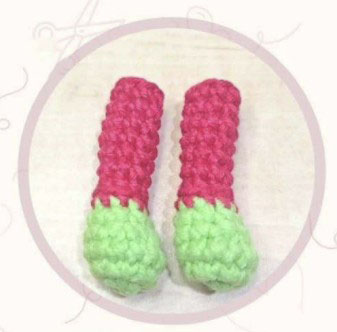
Round 6. 9sc [9]
Round 7. BLO 7sc, dec [8]
Round 8-13. 8sc [8] (6 rnds)
Cut the yarn and finish off with an invisible finish. No need to leave a tail for sewing.
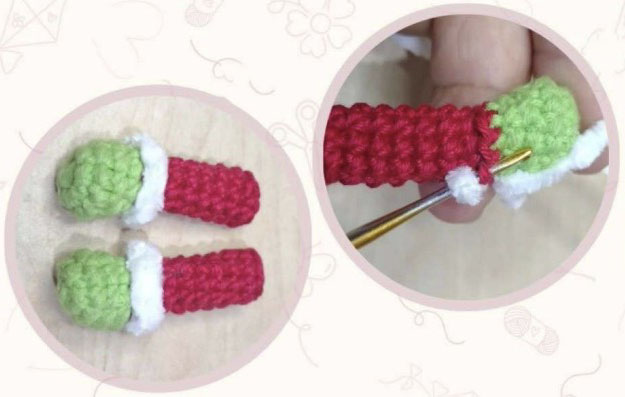
Return to rnd 6, with white yarn, hook facing down, and do:
Round 1. FLO 9sc [9]
Cut the yarn and finish off with an invisible finish.
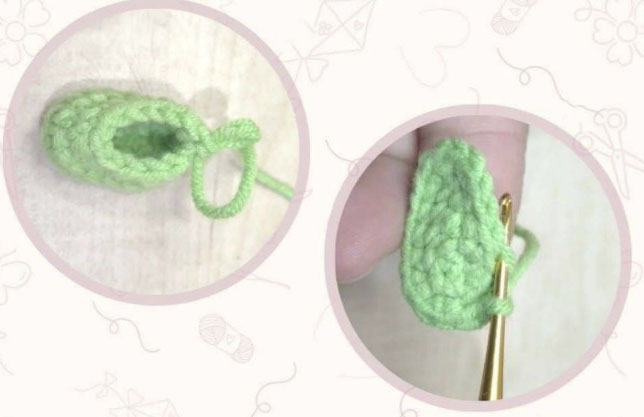
LEG (2X)
With green yarn
Round 1. Ch 6, starting from the second ch from the hook: 4sc, incT in the last ch, on the other side of the chains: 3sc, inc [12]
Round 2. inc, 3sc, 3inc, 3sc, 2inc [18]
Round 3. BLO 18sc [18]
Round 4. 18sc [18]
Round 5. 2sc, 6dec, 4sc [12]
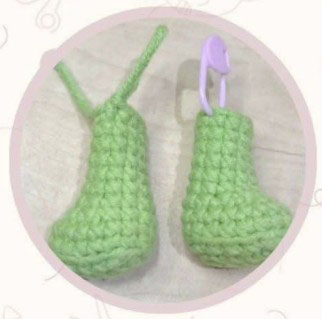
Round 6-11. 12sc [12] (6 rnds)
Stuff with fiber
On the first leg, mark the inner center stitch, cut the yarn and finish off with an invisible finish. Do not cut the yarn on the second leg.
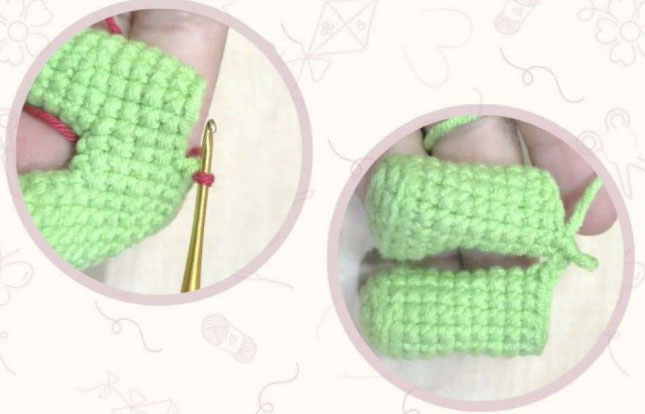
JOINING THE LEGS AND BODY
Round 12. On the second leg, sc until the inner side to center the stitches, then ch 2 (do not count in the final stitch count), make 1sc in the marked center stitch of the 1st leg, then 11sc on the 1st leg, 2sc in the chains, 12sc on the 2nd leg, 2sc in the chains (this is the new end of the round, move the marker) [28]
Round 13-16. 28sc [28] (4 rnds)
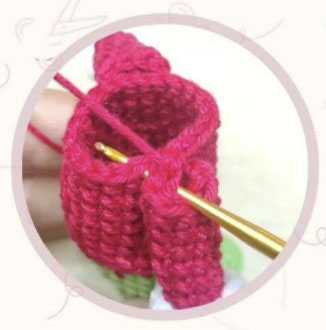
Switch to red yarn
Round 17. 28sc [28]
Round 18. BLO 28sc [28]
Round 19. (5sc, dec) repeat 4 times [24]
Round 20-21. 24sc [24] (2 rnds)
Round 22. (6sc, dec) repeat 3 times [21]
Round 23-24. 21sc [21] (2 rnds)
Round 25. 4sc, 4sc with the arm, 6sc, 4sc with the arm, 3sc [21]
Round 26. 4sc, 4sc with the arm, 6sc, 4sc with the arm, 3sc [21]

Round 27. (5sc, dec) repeat 3 times [18]
Stuff with fiber
Switch to green yarn
Round 28. BLO (1sc, dec) repeat 6 times [12]
Round 29. (2sc, dec) repeat 3 times [9]
Round 30. 9sc [9]
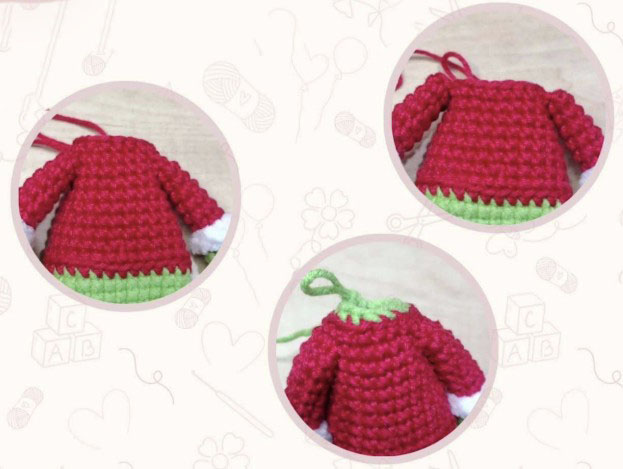
CLOTHING DETAILS
Before starting the head, make the clothing details.
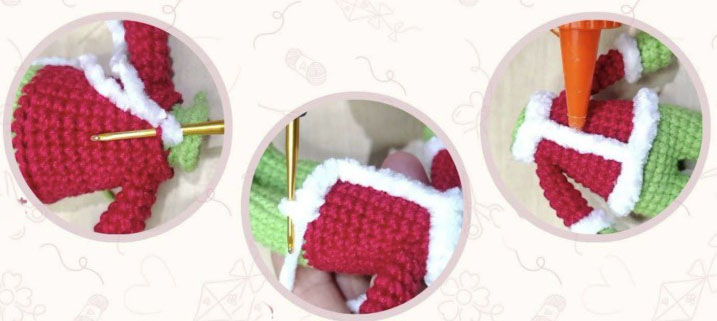
Work into the front loops left free in rnds 13 and 23.
With the hook facing down, insert the white yarn into the central front stitch of rnd 23.
Make 18sc and finish with 1slst in the first stitch.
Next, ch 7 (or as many as needed to reach rnd 13).
Attach the yarn to the central front stitch of rnd 13.
Make 28sc and finish with 1slst in the first stitch.
Cut the yarn and fasten off.
Apply a bit of glue under the central chains.
HEAD
Round 31. 9inc [18]
Round 32. 1sc, inc, (2sc, inc) repeat 5 times, 1sc [24]
Round 33. (3sc, inc) repeat 6 times [30]
Round 34. 2sc, inc, (4sc, inc) repeat 5 times, 2sc [36]
Round 35. (5sc, inc) repeat 6 times [42]
Round 36-38. 42sc [42] (3 rnds)
Round 39. 10sc, 3dec, 12sc, 3dec, 8sc [36]
Round 40-42. 36sc [36] (3 rnds)
Round 43. 2sc, dec, (4sc, dec) repeat 5 times, 2sc [30]
Round 44. 4sc, dec, (8sc, dec) repeat 2 times, 4sc [27]
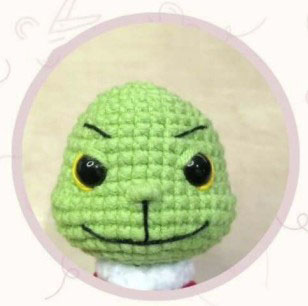
Insert the eyes between rnds 36 and 37 with 7 stitches between them.
Make the waterline with yellow yarn.
With thin black thread, embroider the mouth and eyebrows.
With green yarn, make the nose and eyelids.
Round 45. (7sc, dec) repeat 3 times [24]
Round 46. 1sc, dec, (2sc, dec) repeat 5 times, 1sc [18]
Round 47. 18sc [18]
Stuff with fiber
Round 48. (1sc, dec) repeat 6 times [12]
Round 49. 6dec [9]
Cut the yarn and fasten off with an inverted magic ring.
HAIR
With green yarn
Round 1. Ch 5, starting from the second ch from the hook: 4slst [4]
Round 2. Ch 5, starting from the second ch from the hook: 4slst [4]
Round 3. Ch 4, starting from the second ch from the hook: 3slst [3]
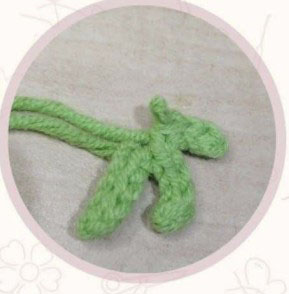
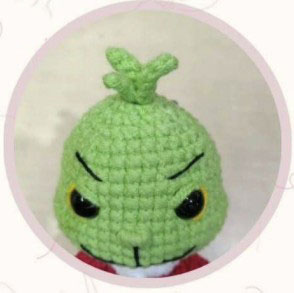
Cut the yarn leaving a long tail for sewing. Sew to the top of the head.
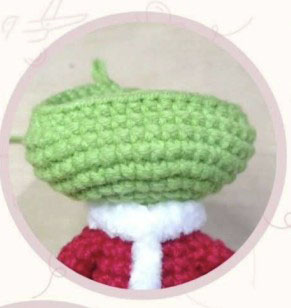
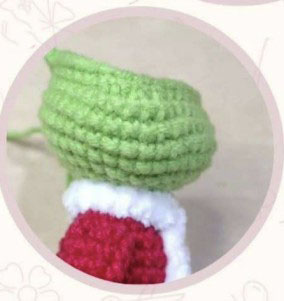
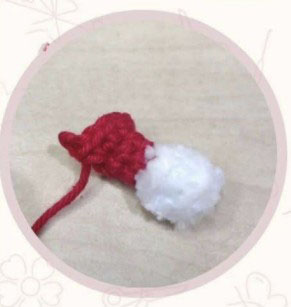
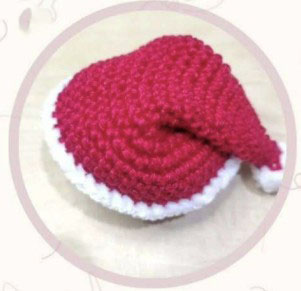
HAT
With white yarn
Round 1. 6sc in mr [6]
Round 2. 6sc [6]
Switch to red yarn
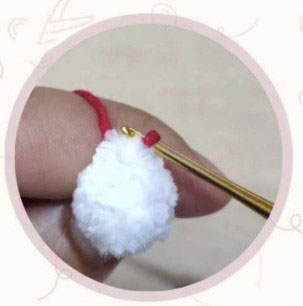
Round 3. BLO 6sc [6]
Round 4-5. 6sc [6] (2 rnds)
Round 6. (1sc, inc) repeat 3 times [9]
Round 7-8. 9sc [9] (2 rnds)
Round 9. 1sc, inc, (2sc, inc) repeat 2 times, 1sc [12]
Round 10-11. 12sc [12] (2 rnds)
Round 12. (3sc, inc) repeat 3 times [15]
Round 13-14. 15sc [15] (2 rnds)
Round 15. 2sc, inc, (4sc, inc) repeat 2 times, 2sc [18]
Round 16-17. 18sc [18] (2 rnds)
Round 18. 1sc, inc, (2sc, inc) repeat 5 times, 1sc [24]
Round 19. (3sc, inc) repeat 6 times [30]
Round 20. 2sc, inc, (4sc, inc) repeat 5 times, 2sc [36]
Round 21. (5sc, inc) repeat 6 times [42]
Round 22-25. 42sc [42] (4 rnds)
Switch to white yarn
Round 26. 42sc [42]
Cut the yarn and finish off with an invisible finish.
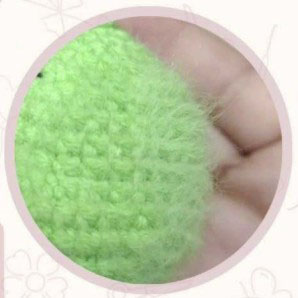
FUR
To give my Grinch a furry look, I used mixed yarn (you can also use 100% acrylic) for the body and brushed it with the rough side of a velcro strip (or a slicker brush).
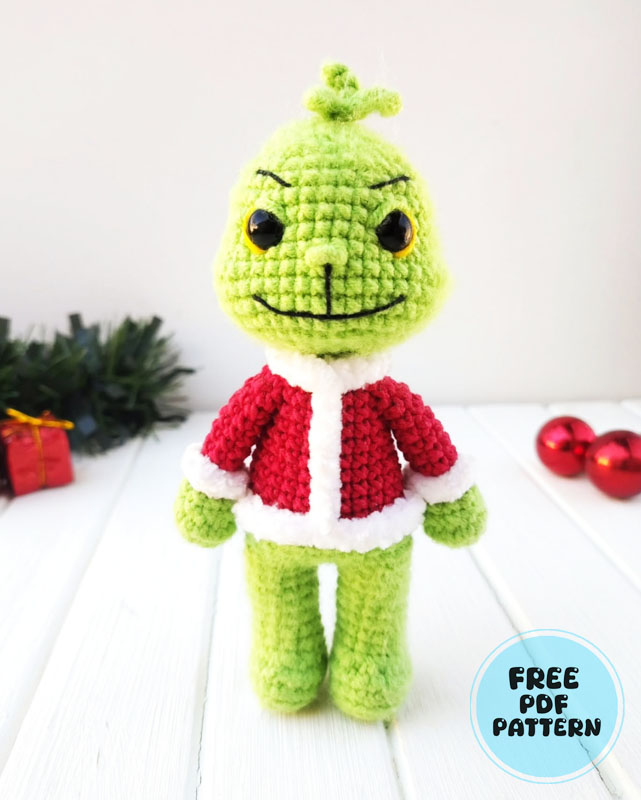
ALL DONE
Your Grinch is ready!
I hope you enjoyed making it.
Keep following my blog for more free amigurumi patterns.

