


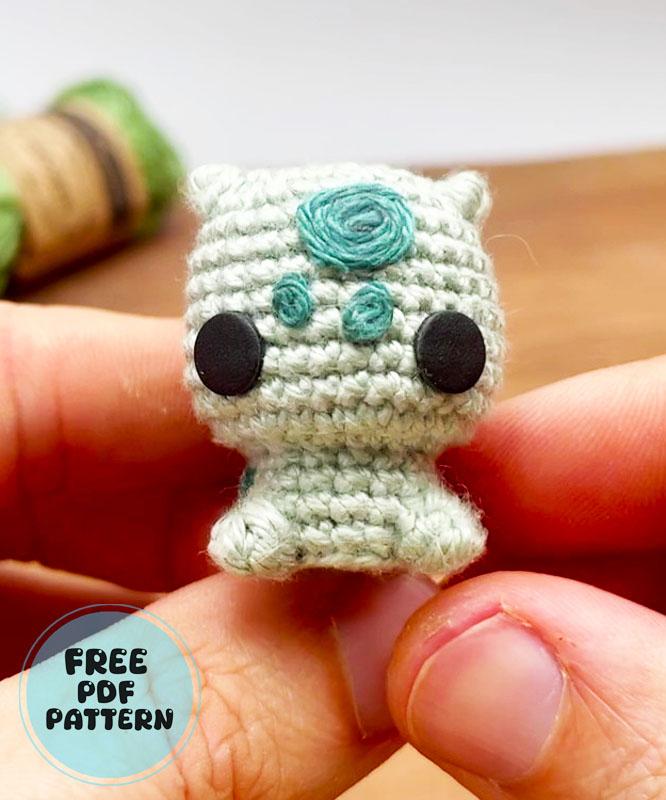
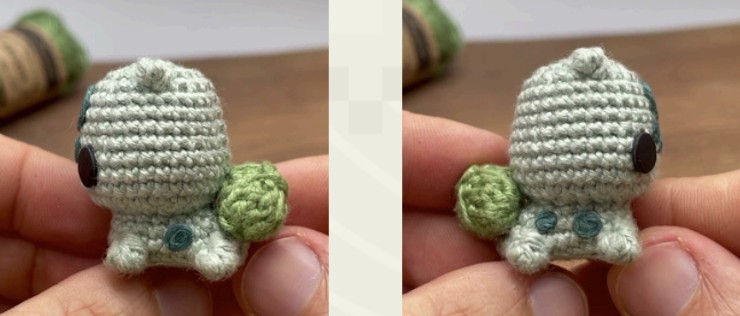
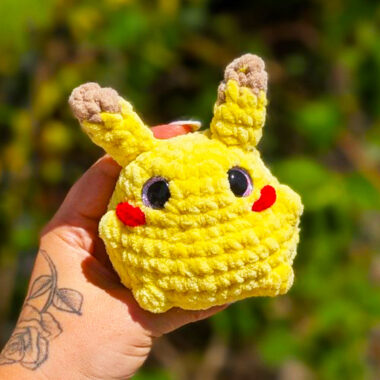
Today, thanks to the pattern I will introduce to you, you will learn how to make a tiny Bulbasaur amigurumi toy in a short time. The list of materials you need to prepare to make this tiny figure is provided below, but first there are some things you need to know. This toy is made using quite a number of crochet techniques, and you need to be skilled in this area to be able to make it.
Little Bulbasaur Amigurumi Pattern
Thanks to its tight stitch structure and symmetrical appearance, the toy looks flawless. The designer made this toy using a 2.5mm crochet hook and a very fine yarn. It is truly surprising to have so much detail in such a limited space. Now, let’s take a look at the details.
Designer: levelup.crochet
Materials
Crochet hook 2.25mm
Polyester filling
6mm eyes
Textil glue or hot silicone
Scissors
Pins
Needle
Yarn
Brand: “Scheepjes”
Model: “Catona”
Recommended hook: 2.5-3.5mm
100% mercerized cotton
100gr – 250m
Colours:
402 – Silver Green, 212 – Sage Green, 391 – Deep Ocean Green

4.5cm approx. (Using the specified materials)
Abbreviations:
C: colour
MR: magic ring
BLO: back loop only
FLO: front loop only
ch: chain
sc: single crochet
sl st: slip stitch
hdc: half double crochet
dc: double crochet
dec: decrease from 2 stitch to 1 stitch
inc: 2 single crochet into 1 stitch
bbs: bobble stitch (5 double crochet)
bbs3:bobble stitch (3 double crochet)
inc3:3 single crochet into 1 stitch
inc4: 4 single crochet into 1 stitch
inchdc: 2 half double crochet into 1 stitch
dechdc: decrease from 2 stitch to 1 stitch using hdc
Notes:
YU (Yarn Under) or X stitch style.
The crochet hook to be used will be 2.25mm unless otherwise indicated.
This pattern will be worked in the round unless otherwise indicated. This means that each time a round is finished, it is joined with a slip stitch to the first stitch of that round and 1 chain is worked. The next round is started from this same stitch.
It is recommended to work with a tight yarn tension, as this will help the stitches to be tight and the amigurumi will not lose its shape.
It is recommended to use markers (yarn or plastic) to avoid mistakes if it is not possible to keep count of the stitches.
Keep in mind:
The stitches indicated in gray at the end and beginning of a round refer to working in the round. At the end of a round, slip stitch into the first stitch of that round, and at the beginning of the next round, chain one.
Continue the round starting at the same stitch where the slip stitch was made.
The symbol / at the end of each round indicates the number of stitches for that round.
Parentheses () followed by x4 (for example) indicate that the stitches within the parentheses will be done 4 times.
Square brackets [] such as HT[] (for example) indicate that all stitches within the brackets will be done only on the back loop.
Braces {} such as {C212} (for example) are indicated at the end of one or more stitches to indicate that those stitches in the round are made with a color other than the one established in the round.
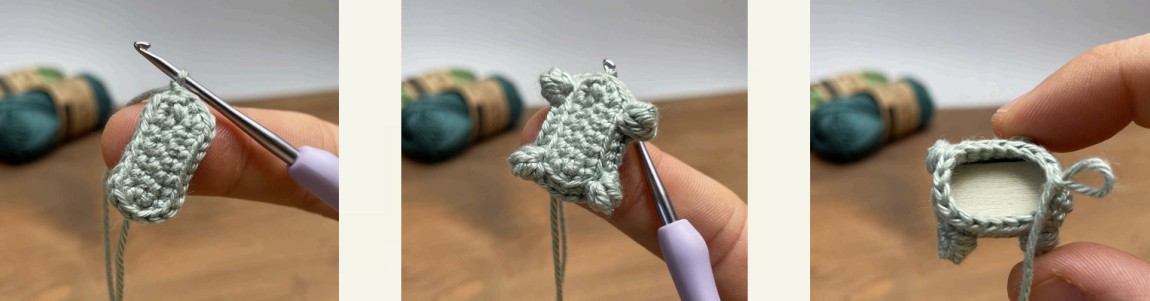
Body and head:
C402
Round 0: 7ch
Start R1 on the second BLO from the hook.
Round 1: 5sc, 1inc4, 4sc, 1inc3, 1sl st /16
Round 2: 1ch, 1inc3, 4sc, 1inc3, 2sc, 1inc3, 4sc, 1inc3, 2sc, 1sl st /24
Round 3: 1ch, BLO[2sc, 1bbs+1sl st, 5sc, 1bbs+1sl st, 4sc, 1bbs+1sl st, 5sc, 1bbs+1sl st, 4sc], 1sl st /28
Round 4: 1ch, 2sc, 1dec, 5sc, 1dec, 4sc, 1dec, 5sc, 1dec, 4sc, 1sl st /24
Insert a piece of wood or plastic to make a flat base.
Round 5: 1ch, 1sc, 2dec, 12sc, 2dec, 1sc, 1dec, 1sl st /19
Round 6: 1ch, 2dec, 10sc, 2dec, 1sc, 1sl st /15
Round 7: 1ch, FLO[2sc, 1inc, 1sc, 6inc, 1sc, 1inc, 1sc, 1inc, 1sc], 1sl st /24
Round 8: 1ch, (1sc, 1inc, 1sc)x8, 1sl st /32
Round 9: 1ch, 32sc, 1sl st /32
Round 10: 1ch, 32sc, 1sl st /32
Round 11: 1ch, 32sc, 1sl st /32
Round 12: 1ch, 2sc, 1dec, 5sc, 1dec, 8sc, 1dec, 5sc, 1dec, 4sc, 1sl st /28
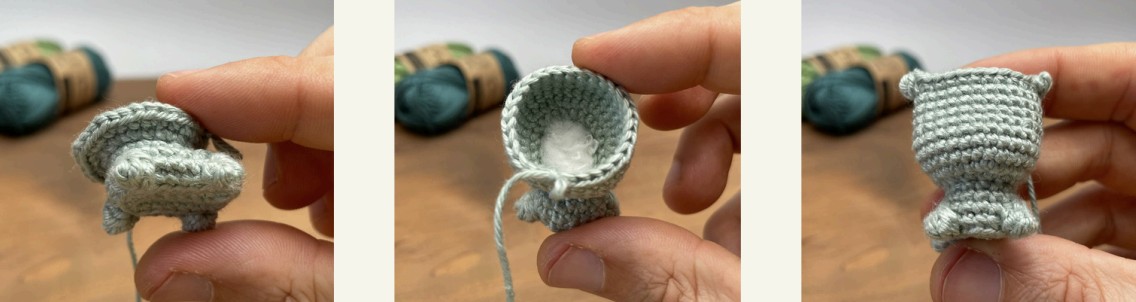
Fill the body part.
Round 13: 1ch, 28sc, 1sl st /28
Round 14: 1ch, 28sc, 1sl st /28
Round 15: 1ch, 28sc, 1sl st /28
Round 16: 1ch, 2sc, 1dec, 1sc, FLO[1bbs3+1sl st], 2sc, 1dec, 6sc, 1dec, 2sc, FLO[1bbs3+1sl st], 1sc, 1dec, 4sc, 1sl st /26
Go to the EYES section on the next page.
Round 17: 1ch, 1dec, 1sc, 2dec, (1sc, 1dec)x4, 1dec, 1sc, 2dec, 1sl st /16
Fill the head before the next round and finish filling before closing.
Round 18: 1ch, 8dec /8
Cut the thread and use the needle to close.
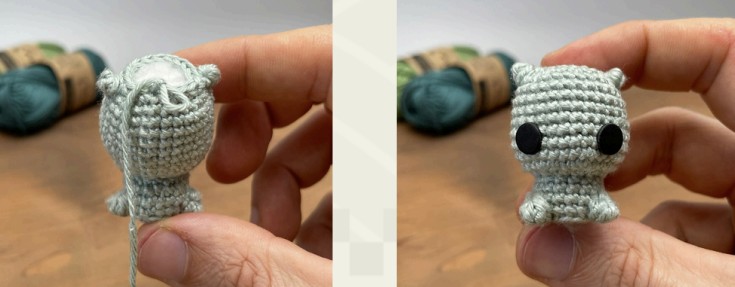
Eyes:
I use eyes cut from 6mm leather, but you can use eyes cut from 6mm black felt or 6mm safety eyes.
If you decide to use safety eyes, they should be placed between R10 and R11 with 6 points of separation.
If you decide to use eyes cut from leather, you can glue them on at the end.
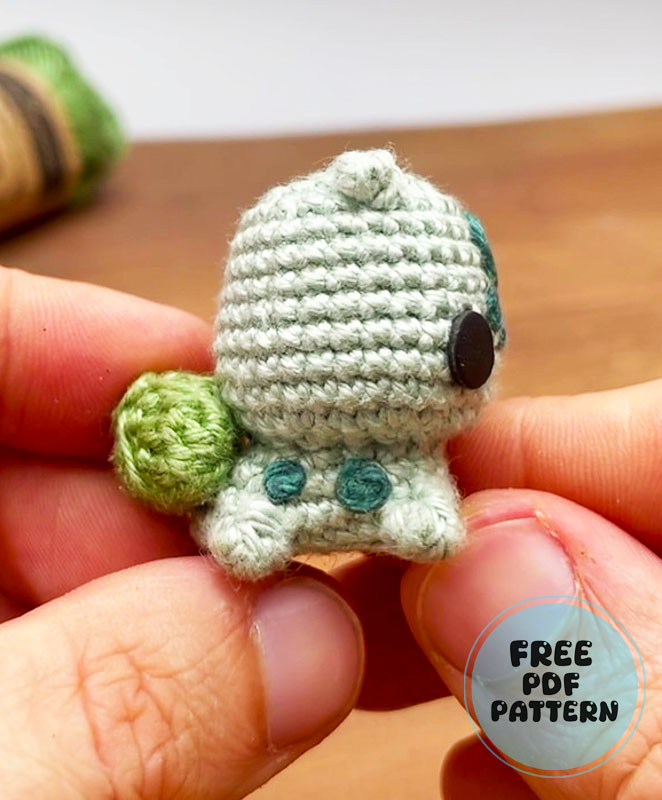
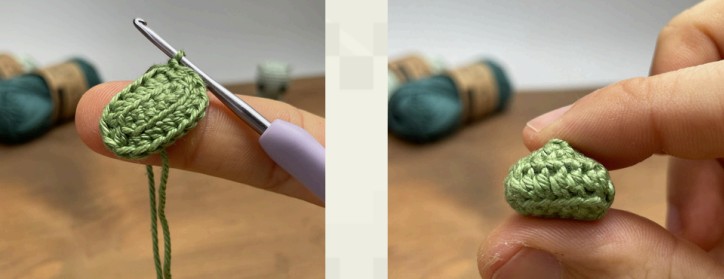
Bulb:
C212
Round 0: 6ch
Round 1: 4sc, 1inc4, 3sc, 1inc3, 1sl st /14
Round 2: 1ch, BLO[5hdc, 2inchdc, 5hdc, 2inchdc], 1sl st /18
Round 3: 1ch, 1dechdc, 2sc, 3dechdc, 4sc, 2dechdc, 1sl st /12
Round 4: 1ch, 6dec /6
Fill the bulb, cut the long thread (approx. 40 cm), and use the needle to close the BLO, leaving the FLO free.
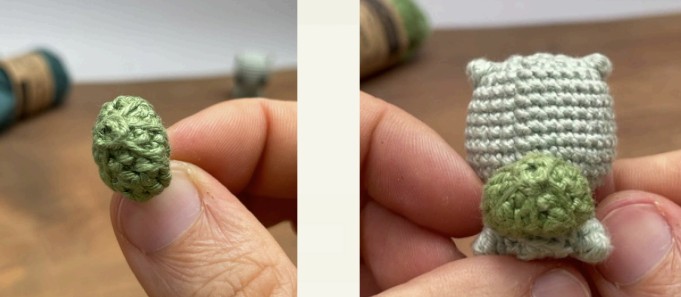
Insert hook into next FLO and, using the thread we have cut, do the following:
Round 5: FLO[6sl st]
Use the remaining thread to make 6 vertical lines as shown in the image.
Sew or glue onto the back of the body.
Marks:
C391
You can cut out pieces of felt and glue or sew them on.
You can embroider with thread.
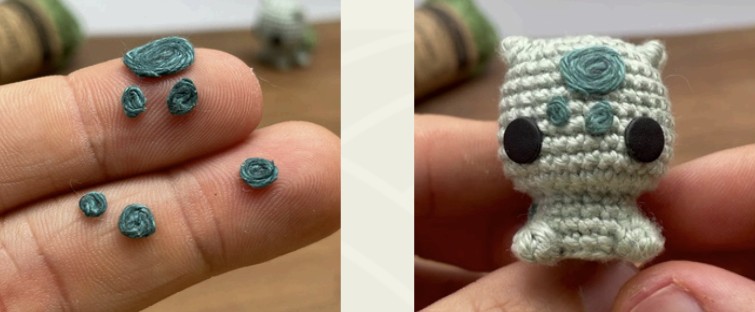
You can use glue and stick the thread onto itself to make the shapes of the marks
(the technique I use).
CONGRATULATIONS! You have completed your own Bulbasaur.
