


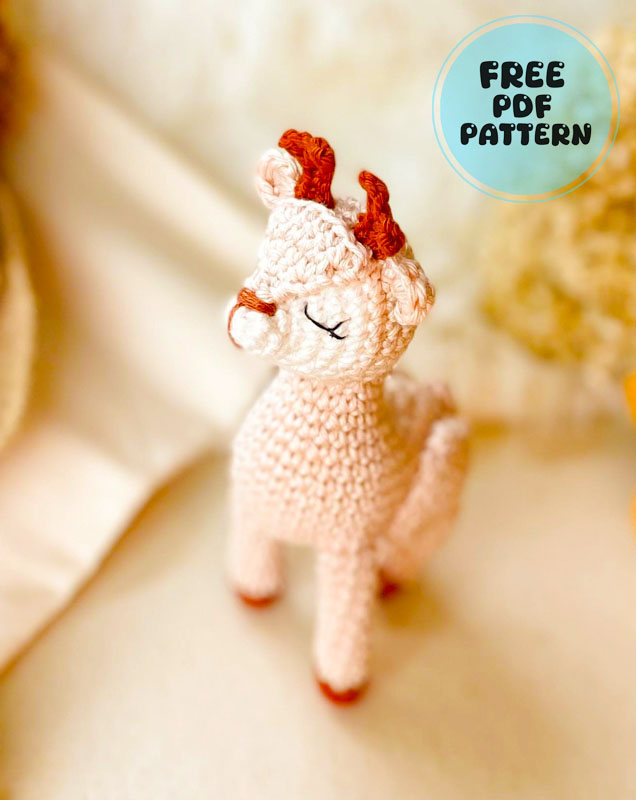
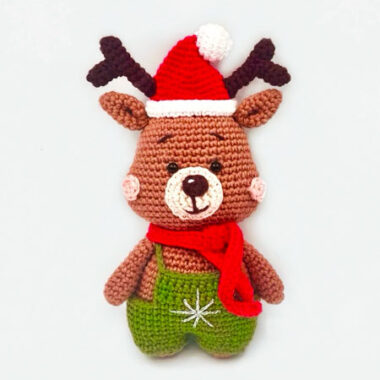
The deer amigurumi toy has a very noble posture, doesn’t it? If you like it, let’s take a look at the amigurumi pattern together. If you are not curious about my ideas, you can access the amigurumi pdf pattern directly by clicking the link below. This noble deer has antlers made with a color that is very close to red. We also see that this color is used in some more points of the deer. The amigurumi toy has a rather unusual and layered face design. The long eyelashes of the deer, which has a very pleasant face, are also quite impressive.
Deer of Noble Posture Crochet Pattern
Although the toy is designed as if its eyes were closed, the fact that it was made like a real deer impressed me a lot. It had been a long time since I had come across such toys.
Designer: miudinhocroche
Materials list
Amigurumi yarn in 3 colors
Free Teddy Bear Pattern
2.5mm crochet hook
Stuffing (silicon fiber)
Tapestry needle
Abbreviations
am: magic ring
sc: single crochet
sl st: slip stitch
dec: decrease
ch: chain
COLORS
Chantilly
Tamara
Off White
SIZE
HEIGHT: 14cm
WIDTH: 4cm
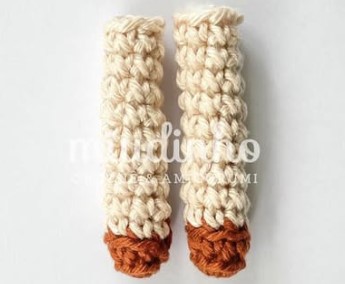
Front Legs (make 2)
Free Pattern Deer
Start with color Tamara
1. 8sc in the MR (8)
2. 8sc in the back loops (8)
Change to color Chantilly
3-11. 8 sc (8) [9 rows]
As you weave, add stuffing. Finish to join with the body.
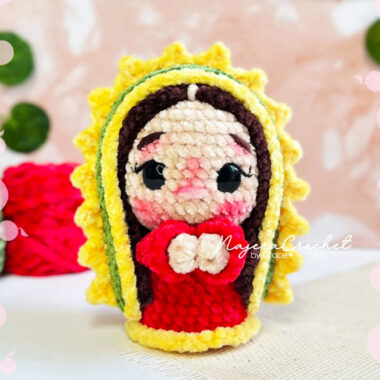
Hind legs (make 2)
Start with Tamara color
1. 8 sc in the MR (8)
2. 8 sc in the back loops (8)
Change to Chantilly color
3. 8 sc (8)
4. 1 dec, 2 sc, 2 inc, 2 sc (9)
5. 1 dec, 3 sc, 1 dec, 3 sc (9)
6. 1 dec, 3 sc, 1 dec, 3 sc (9)
7. 1 dec, 3 sc, 1 dec, 3 sc (9)
8. 1 dec, 2 sc, 3 inc, 2 sc (11)
9. 1 dec, 2 sc, 3 inc, 2 sc, 1 dec (12)
10. 3 sc, 6 inc, 3 sc (18)
11. 18 sc throughout the row (18)
12. 1 inc, 7 sc, 1 dec, 7 sc, 1 inc (19)
13. 1 inc, 7 sc, 2 dec, 7 sc (18)
14. 1 sc, 1 dec 6x (12)
15. 1 dec 6x (6)
Add stuffing as you go. Don’t put it on the thighs, so it will be easier to sew onto the body.

Tail
Start with Chatilly
In the magic ring, make 2 ch., 1 tr, 2 ch. and secure in the magic ring with 1 slip stitch.
Leave a long thread for sewing.
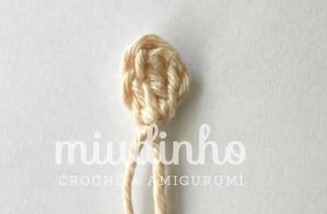
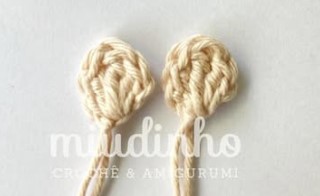
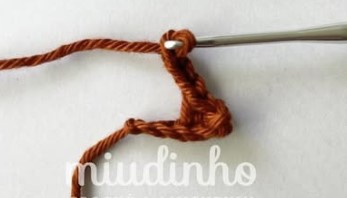
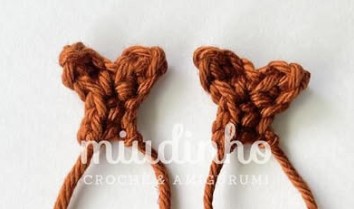
Ears (make 2)
Start with Chatilly
In the magic ring, make 2 ch., 1 dc, 1 tr, 1 dc, 2 ch. and secure in the magic ring with 1 slip stitch.
Leave a long thread for sewing.
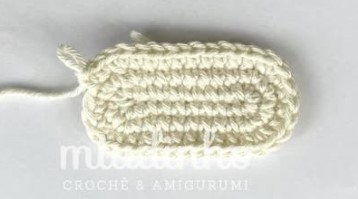
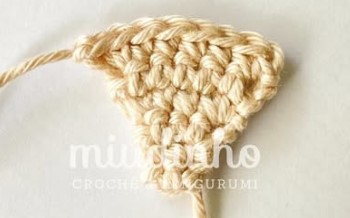
Belly Base
Start with the color Off White
1. Make 10 ch, start from the 2nd ch with 1 inc, 7 sc, 2 inc, 7 sc, 1 inc (22)
2. 2 inc, 7 sc, 4 inc, 7 sc, 2 inc (30)
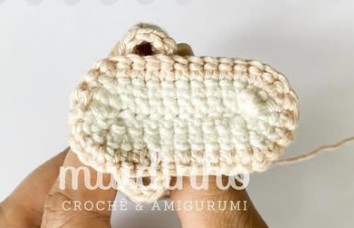
Change to Chantilly color
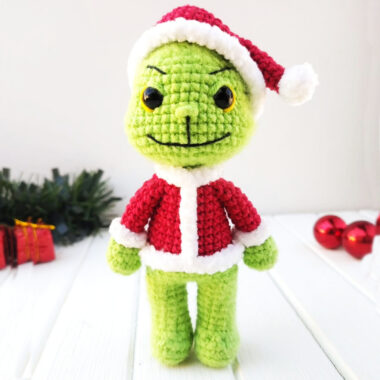
From the row 3 we will join the body with the front paws.
3. 2 sc, 1 inc [3 sc taking the loops of the leg of the 1st leg], 6 sc, 1 inc, 4 sc, 1 inc, 5 sc [3 sc taking the loops of the 2nd leg] 1 sc, 1 inc, 2 sc (34)
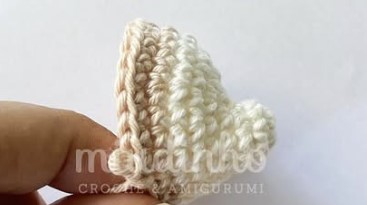
4. 38 sc around the remaining stitches of each paw (38)
5-7. 38 sc across the row (38)
8. 4 sc, 1 dec, 10 sc, 1 dec, 4 sc, 1 dec, 10 sc, 1 dec, 2 sc (34)
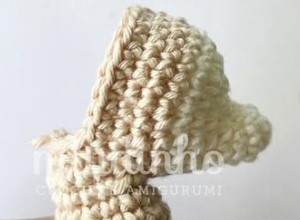
9. 1 dec, 15 sc, 1 dec, 15 sc (32)
10. 11 sc, 5 dec, 11 sc (27)
11. 7 sc, 6 dec, 8 sc (21)
12. 6 sc, 5 dec, 5 sc (16)
13-14. 16 sc across the row (16)
Undo the last 4 stitches and wait to attach the head.

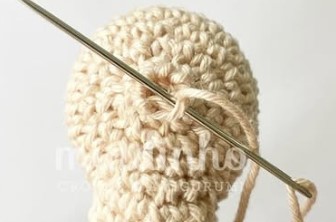
Head
Start with Off White
1. 6 sc in MR (6)
2. 1 sc, 1 inc 3x (9)
3. 9 sc (9)
4. 2 sc, 5 inc, 2 sc (14)
5. 2 sc, [1 inc, 1 sc] 5x, 2 sc (19)
6. 2 sc, [1 inc, 1 sc] 5x, 2 sc (24)
7. 4 sc, 1 inc, 14 sc, 1 inc, 4 sc (26)
Change to Chantilly
8. 4 sc, 1 inc, 5 sc [6 sc in back loops], 5 sc, 1 inc, 4 sc (28)
Undo the last 2 stitches, cut and finish the yarn. Now let’s attach the head to the body.
Joining the head with the body Align the head with the neck well. Take as a base the row with the 6 sc made in the back loops so that they are well centered.
9. [7 sc taking the head and neck loops], 9 sc (16)
10. 22 sc (around the head), 9 sc (31)
11. 22 sc (around the head), [1 sc, 1 dec] 3x (28)
12. 2 sc, 1 dec 7x (21)
13. 1 dec, 1 sc 7x (14)
14. 1 dec 7x (7)
Finish the piece with an inverted magic ring.
Detail of the face
Start with the color Chatilly
Do in the magic ring:
1. 2 sc, turn the piece (2)
2. 2 sc, turn the piece (2)
3. 2 inc (4)
4. 1 inc, 2 sc, 1 inc (6)
5. 6 sc (6)
6. 1 inc, 4 sc, 1 inc (8)
Leave a long thread for sewing.
Horns (make 2)
Start with the color Tamara
Make 5 chains, start in the 2nd chain with 2 sc, go up 3 chains, start in the 2nd chain and make 2 sc, 2 sc.
Leave a long thread for sewing.
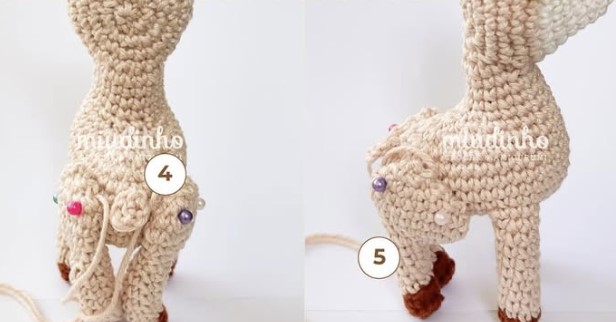
Assembly
1. Sewing face detail: Sew between rows 3 and 5.
2. Sewing ears: Sew in row 9 with 7 sc between them.
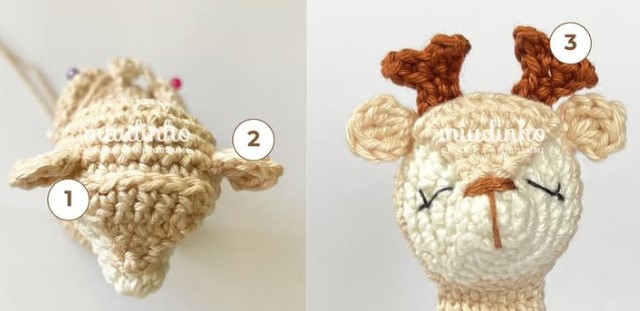
3. Sewing horns: Sew between rows 8 and 9 with 2 sc apart.
Embroidery Snout: Embroider the snout between rows 2 and 3.
Embroidery Eyes: Embroider the eyes in rows 5 and 6, with 2 sts.
4. Sewing tail: Sew between rows 7 and 8.
5. Sew paws: Sew between rows 3 and 8.

