


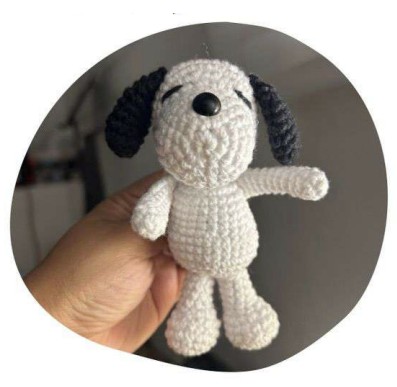
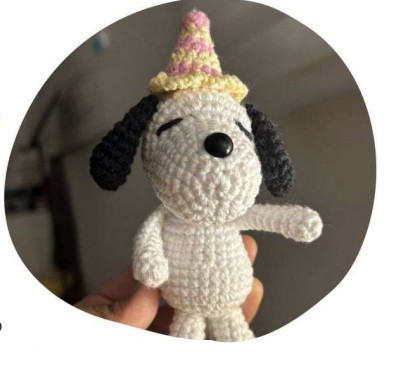
Snoopy is perhaps one of the most popular dog cartoon characters in the world, and today I will introduce you to the pattern of a Snoopy amigurumi toy holding a birthday cake. The Amigurumi Snoopy is designed in a very standard way and closely resembles the original character. All parts of the toy are made using very simple crochet techniques, but there are two different alternatives when making the toy. If you are only crocheting the Snoopy toy, you need to position the arms correctly. If the toy is going to hold a cake, you need to sew the arms to the body in a different position.
Snoopy for Birthday Party Amigurumi Pattern
To make the Snoopy amigurumi toy and the cake, the designer recommends using a 2.00 mm crochet hook and 6 different colors of yarn. Honestly, I think making Snoopy’s hat and cake is much more complex than making Snoopy himself. That’s why I’ll only choose to make Snoopy. Let’s get started.
Designer: garazucrochet
Materials
• Cotton yarn in colors: white, black, light pink, light yellow, light brown, and orange.

• 2.0 mm crochet hook
• 1 safety eye 10mm
• Wire
• Yarn needle
• Scissors
• Silicone
• Stuffing
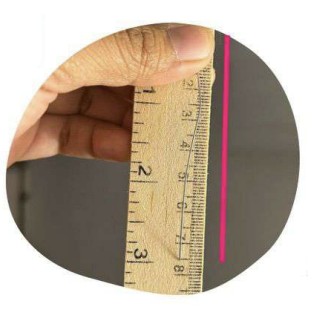
The size will depend on the tension and material you use.
I crocheted it in “x”faux and used cotton yarn.
This pattern is designed for crocheters with basic knowledge of amigurumi.
Abbreviations
MR: Magic Ring
Ch: Chain
Sc: Single crochet
Inc: Increase
Dec: Decrease
BLO: Back loop only
FLO: Front loop only
Slst: Slip stitch
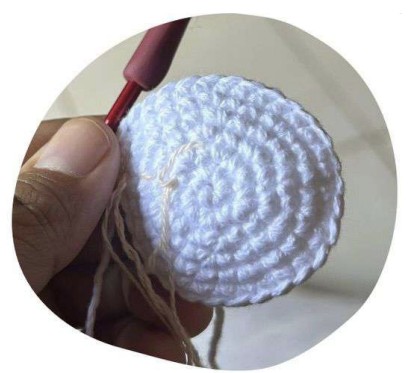
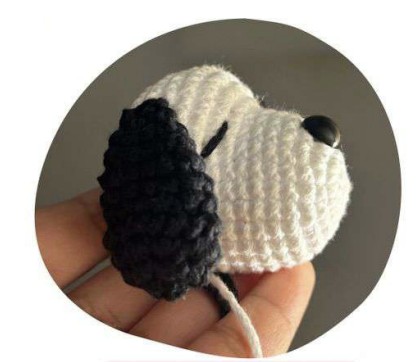
Head
COLOR WHITE
Round 1. MR 6sc (6sc)
Round 2. 6inc (12sc)
Round 3. (1sc, 1inc) repeat 6 times (18sc)
Round 4. (1sc, 1inc, 1sc) repeat 6 times (24sc)
Round 5-8. 24sc (3 rounds)
Round 9. 9sc, 6inc, 9sc (30sc)
Round 10. 9sc, (1sc, 1inc) repeat 6 times, 9sc (36sc)
Round 11-15. 36sc (5 rounds)

Place the 10 mm safety eye between rounds 3 and 4, it should be centered with the increases we made in rounds 9 and 10.

we begin with the decreases
Round 16. 9sc, (1sc, 1dec) repeat 6 times, 9sc (30sc)
Round 17. (3sc, 1dec) repeat 6 times (24sc)
Start stuffing
Round 18. (2sc, 1dec) repeat 6 times (18sc)
Round 19. (1sc, 1dec) repeat 6 times (12sc)
Round 20. 6dec (6sc)
Close the round with a yarn needle, hide the tail.
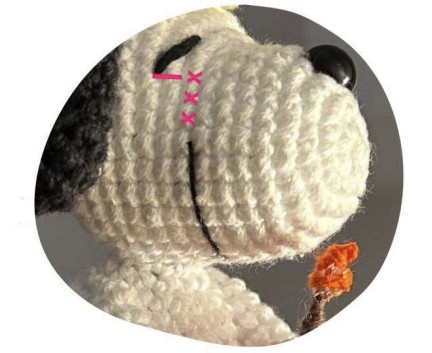
Using black yarn, make the eye lines between round 9-10, spaced 6 stitches apart between both eyes.

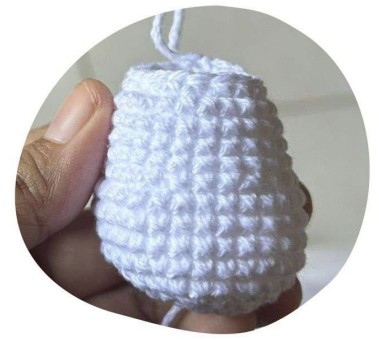
Body
COLOR WHITE
Round 1. MR 6sc
Round 2. 6inc (12sc)
Round 3. (1sc, 1inc) repeat 6 times (18sc)
Round 4. (2sc, 1inc) repeat 6 times (24sc)
Round 5. (3sc, 1inc) repeat 6 times (30sc)
Round 6-9. 30sc (4 rounds)
we begin with the decreases
Round 10. (3sc, 1dec) repeat 6 times (24sc)
Round 11-13. 24sc (3 rounds)
Round 14. (2sc, 1dec) repeat 6 times (18sc)
Round 15. (1sc, 1dec) repeat 6 times (12sc)
Start stuffing
Cut and leave a long tail to sew the head
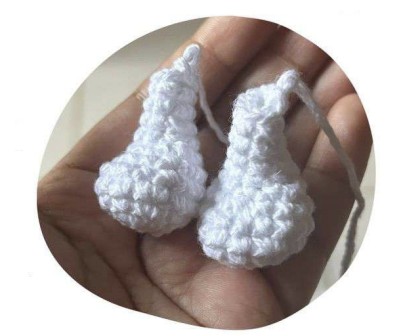
Legs x2
COLOR WHITE
Start with 4 ch.
Round 1. Skip 1ch and crochet 2sc, in the last ch make 3sc, turn to the other side and crochet 1sc and 1inc (8sc)
Round 2. 1inc, 2sc, 2inc, 2sc, 1inc (12sc)
Round 3. 1sc, 1inc, 3sc, 1inc, 1sc, 1inc, 3sc, 1inc (16sc)
Round 4-5. 16sc (2 rounds)
we begin with the decreases
Round 6. 2dec, 8sc, 2dec (12sc)
Stuff lightly
Round 7. (2sc, 1dec) repeat 3 times (9sc)
Round 8-11. 9sc (4 rounds)
Do not close the round, cut and leave a long tail to sew to the body.
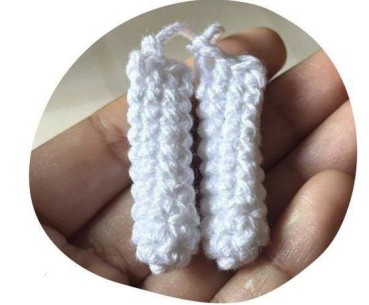
Arms x2
COLOR WHITE
Round 1. MR 6sc
Round 2. 1inc, 5sc (7sc)
Round 3-11. 7sc (8 rounds)
Fold in half and close with 3sc, leave a long tail to sew to the body
Do not stuff. Flatten slightly before sewing.
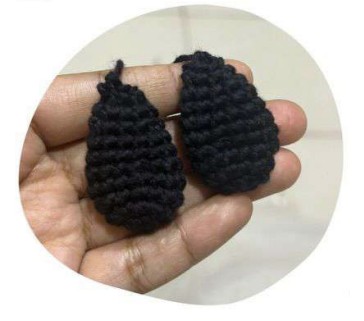
Ears x2
COLOR BLACK
Round 1. MR 6sc
Round 2. 6inc (12sc)
Round 3. (3sc, 1inc) repeat 3 times (15sc)
Round 4. 15sc
Round 5. (3sc, 1dec) repeat 3 times (12sc)
Round 6-7. 12sc (2 rounds)
Round 8. (2sc, 1dec) repeat 3 times (9sc)
Round 9. 9sc
Round 10. (1sc, 1dec) repeat 3 times (6sc)
Close with a yarn needle and leave a long tail
Do not stuff
Sew the ears between rounds 13-14
Assembly
Sew the arms between rounds 14-15 of the body slightly diagonally, NOT STRAIGHT (this will make it easier to place the cake later).

Sew the legs between rounds 2-4 of the body (separated by 1-2 sc)
Sew the head to the body aligning the nose with the center of the body.
Tip: Before sewing, pin everything in place and check from the front and side to ensure it’s straight.
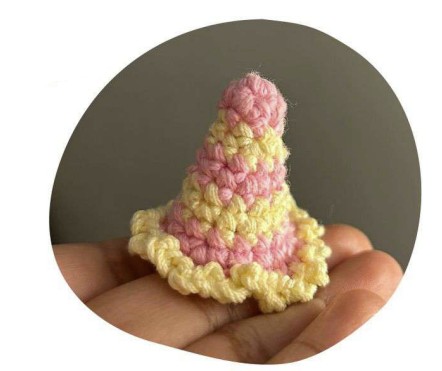
Party Hat
COLOR PINK AND YELLOW
Start with pink
Round 1: MR 4sc
Round 2: (1sc, 1inc) repeat 2 times (6sc)
Switch to yellow
Round 3. 6sc
Round 4. (1sc, 1inc) repeat 3 times (9sc)
Switch to pink
Round 5. 9sc
Round 6. (2sc, 1inc) repeat 3 times (12sc)
Switch to yellow
Round 7. 12sc
Round 8. (3sc, 1inc) repeat 3 times (15sc)
Switch to pink
Round 9. 15sc
Round 10. (4sc, 1inc) repeat 3 times (18sc)
Switch to yellow
Round 11. FLO: Take 1 sc through the front loop only and chain 3, make a slip stitch in the next stitch (repeat this sequence all around the round)
No stuffing needed
After finishing round 11:
If you want to sew the hat: leave a long tail.
If you want to glue it with silicone or glue: it is not necessary to leave a long tail.
Tip: first secure the hat with pins before gluing or sewing it to the head.
Place the hat in the center of the head between the 2 ears.
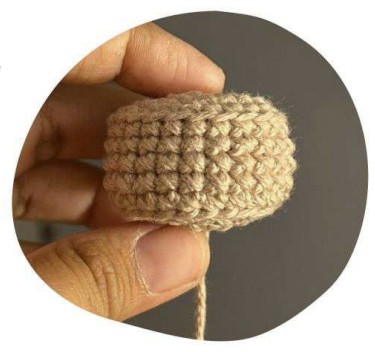
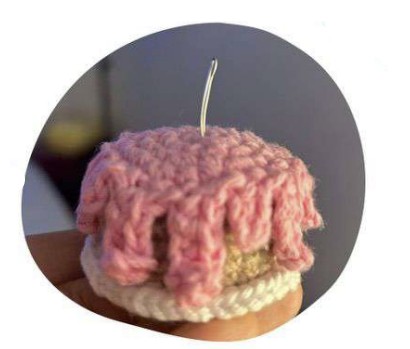
Cupcake
COLOR BROWN
Round 1: MR 6sc
Round 2: 6inc (12sc)
Round 3: (1sc, 1inc) repeat 6 times (18sc)
Round 4: (2sc, 1inc) repeat 6 times (24sc)
Round 5: BLO 24sc
Round 6-9: 24sc (4 rounds)
Round 10: BLO 24sc

we begin with the decreases
Round 11: (2sc, 1dec) repeat 6 times (18sc)
Round 12: (1sc, 1dec) repeat 6 times (12sc)
Start stuffing
Round 13: 6dec (6sc)
Close the round with a yarn needle, hide the tail.
COLOR WHITE
In round 5 (in the front loop) make 1 chain in each sc.
Close with slst and hide the tail.
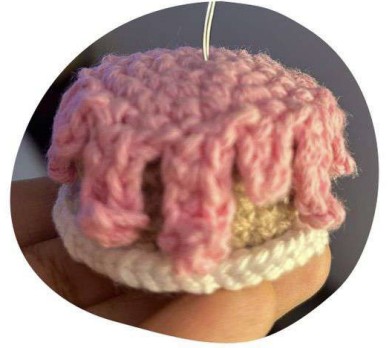
COLOR PINK
Round 1: MR 6sc
Round 2: 6inc (12sc)
Round 3: (1sc, 1inc) (18sc)
Round 4: (2sc, 1inc) (24sc)
Round 5: In the first sc: chain 3 and go back with 2sc; skip 1 sc;
in the next sc: chain 5 and go back with 4sc; skip 1 sc;
Repeat the sequence until the round is complete.
Make a slst and cut.
Glue on top of the cupcake with hot silicone or glue.
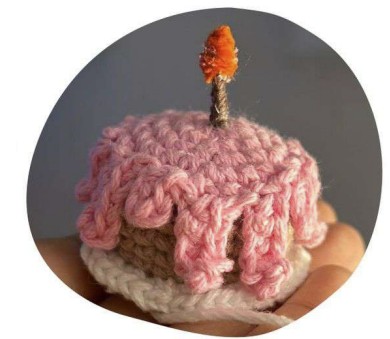
Cupcake Candle
WIRE
Cut approximately 8cm of wire.
Fold the wire in half and insert it into the center of the cupcake, leaving the tip visible at the top.
COLOR BROWN
With hot silicone, wrap brown yarn around the bottom part of the wire.
COLOR ORANGE
With hot silicone and orange yarn, wrap several turns around the tip of the wire to create the wick effect.
Cupcake Assembly
COLOR WHITE
With white thread, sew the cupcake to Snoopy’s arms.
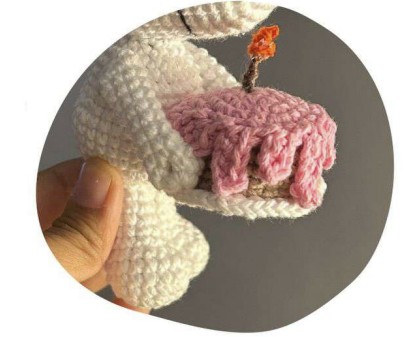
Optional: you can also glue the cupcake to the arms with hot silicone or craft glue.
Smile
COLOR BLACK
Between rounds 8 and 9, embroider Snoopy’s smile.
Leave a 3sc gap from the start of the eye.
Congratulations, you’ve finished your birthday Snoopy!
