


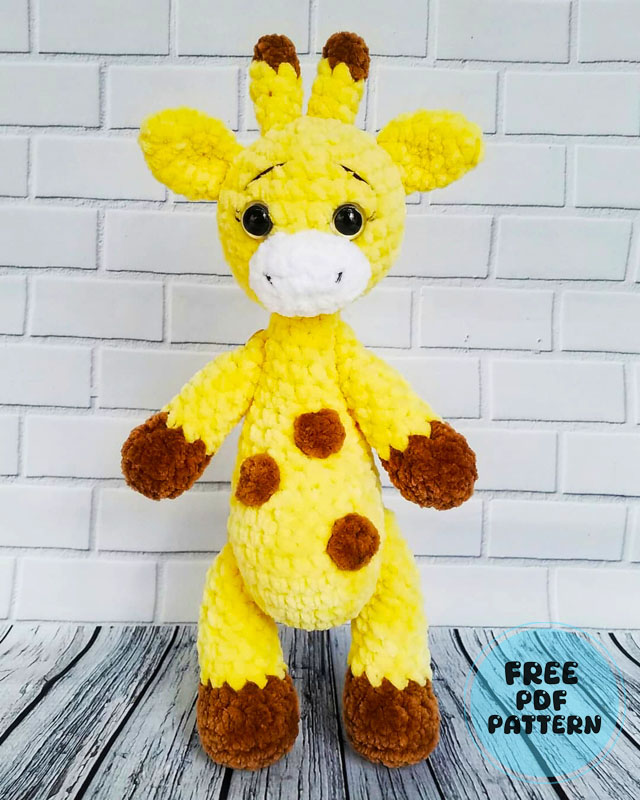
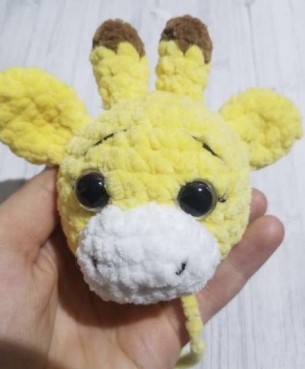
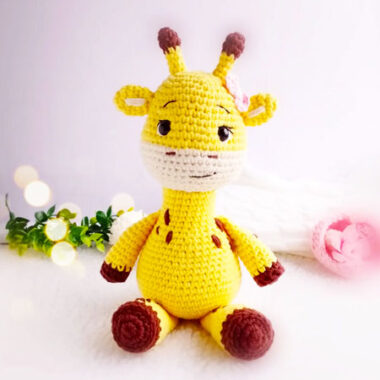
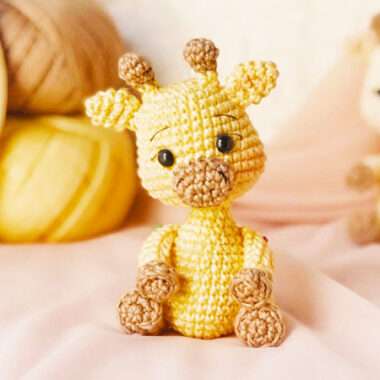
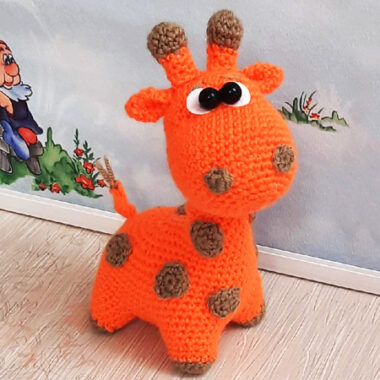
Hello friends. Are you ready to make an amazing giraffe amigurumi? When you examine the crochet giraffe pattern, I can say that it is an easy pattern in general. It is also a very large amigurumi due to the use of velvet rope. This free amigurumi pattern you see has been shared with all its details. I hope you will like it. By the way, you are free to choose the color. You can make magnificent giraffe amigurumis using the colors you want.
Plush Velvet Giraffe Nakita Crochet Pattern
The spots of the giraffe are quite easy to make, but I think it would be better to position these spots asymmetrically. If you’re ready, let’s start.
Designer: kiseleva_toys
Materials for crocheting toys:
– Yarn Himalaya DOLPHIN BABY or YarnArt Dolce (100g / 120m) 1 skein of the main color (I used yellow for the boy and pink for the girl), 1/3 additional (brown), a little white for the muzzle
– 4 buttons for attaching legs and handles
– Hook number 4
– Filler (holofiber)
– Safety eyelets (12mm-14mm)
– Sewing needle, scissors, nylon yarn or matching yarn for sewing details
– a little yarn for the nose, eyebrows and eyelashes.
– for a girl, a little yarn for a bow
Abbreviations
MR – Amigurumi Magic ring
sc : Single Crochet
inc : Increase
dec : Decrease
st: Stitch
sl-st or Slst: Slip Stitch
ch : Chain
BLO : Crochet into back loops only

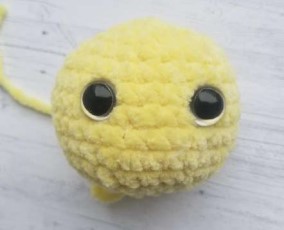
Head
We crochet with the main color, stuff as we crochet.
1. 6 in MR
2. 6inc =12sc
3. (1sc inc)*6 =18sc
4. (2sc.inc)*6 =24sc
5. (3sc.inc)*6 =30sc
6-10. 30sc (5 rows)
insert eyes between 7 and 8 side by side (distance 3-4sc)
11. (3sc.dec)*6=24sc
12. (2sc.dec)*6=18sc
13. (sc.dec)*6=12sc
14. 6dec=Slst
Muzzle
We crochet in white (I advise you to put a marker so that the muzzle turns out to be the desired shape)
5ch in the second from the hook we crochet
1. 3sc ,3sc in last st, 2sc on other side, inc = 10sc
2. 2.inc 2sc inc inc inc 2sc inc inc =16sc
3. 16sc + Slst
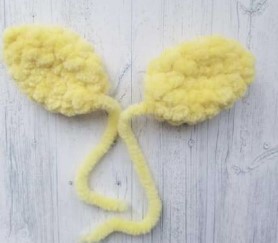
Ears
We crochet with the main color, do not stuff
1. 4sc in MR
2. 4inc=8sc
3. (3 sc inc)*2 = 10sc
4. 10 sc
5. 10 sc
6. (3sc dec)*2=8 sc
7. 4dec =4sc +Slst
HORNS
crochet in brown
1. 4sc in MR
2. 4sc
Change yarn to main color
3. (1sc inc)*2=6sc
4. 6sc
5. 6sc
6. (1sc.dec)*2= 4sc
Stuff a little when sewing.

Spots
quantity as you wish
small 4 sc in MR +Slst
Large 6sc in MR +Slst
Arms
We crochet in brown, stuff as we crochet tightly, but do not overdo it
1. 6sc in MR
2. 6inc =12sc
3. 12sc
4. 4sc 2dec 4sc= 10sc
5. 3sc 2dec 3sc= 8sc
Change yarn to main color
6-10 (5rows) = 8sc
11. 2sc dec 2sc dec =6sc
12. -14. = 6sc(3 rows)
15. 3dec pull off the hole.
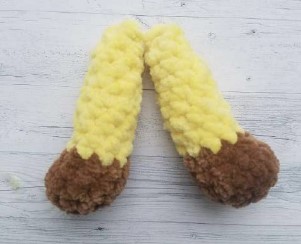
Legs
crochet in brown
we stuff as we crochet tightly, but do not overdo it
1. 6 sc in MR
2. 6inc= 12sc
3. (1sc inc)*6= 18sc
4. 18sc BLO
5. 18sc
6. 5sc 4dec 5sc =14sc
7. 4sc 3dec 4sc =11sc
Change yarn to main color
8. 10. 11sc (3 rows)
11. 3sc dec 3sc dec 1sc =9sc
12-14. =9 sc(3 rows)
15. 2sc dec 2sc dec 1sc =7sc
16-18 =7sc (3 rows)
19. 3 dec,Slst pull off the hole.

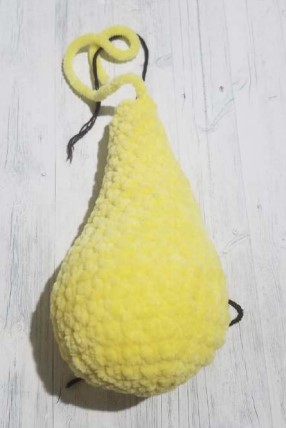
Body
We crochet with the main color, we stuff it tightly as we crochet, but do not overdo it.
We fill evenly forming the tummy of the Giraffe, pay special attention to the neck area, stuff tightly so that when sewing on the head it does not hang out.
You can use a wire, a pencil, a sushi stick, I just stuff it tightly.
1. 6sc in MR
2. 6inc =12sc
3. (1sc.inc)*6= 18sc
4. (2sc.inc)*6= 24sc
5. (3sc.inc)*6= 30sc
6-10= 30 sc (5rows)
11.(3sc.dec)*6 =24sc
12. 24 sc
13. 7sc 5dec 7sc =19sc
14. -15 = 19sc
16. 4sc.dec 4sc dec 4sc dec 1sc =16 sc
17-18 =16sc
19. 3sc dec 3sc dec 3sc dec 1sc =13sc
20. 13 sc
21. 2sc dec 2sc dec 2sc dec 1sc =10sc
22.-24 10sc (3rows)
25. 1sc.dec.1sc.dec.1sc.dec 1sc=7sc
26. 4sc+Slst
We proceed to the design of the muzzle of the Giraffe.
We sew the horns to the crown, you can adjust the distance yourself at will, I have it close to each other, between 1 and 3 next. Ears between 5 and 7.
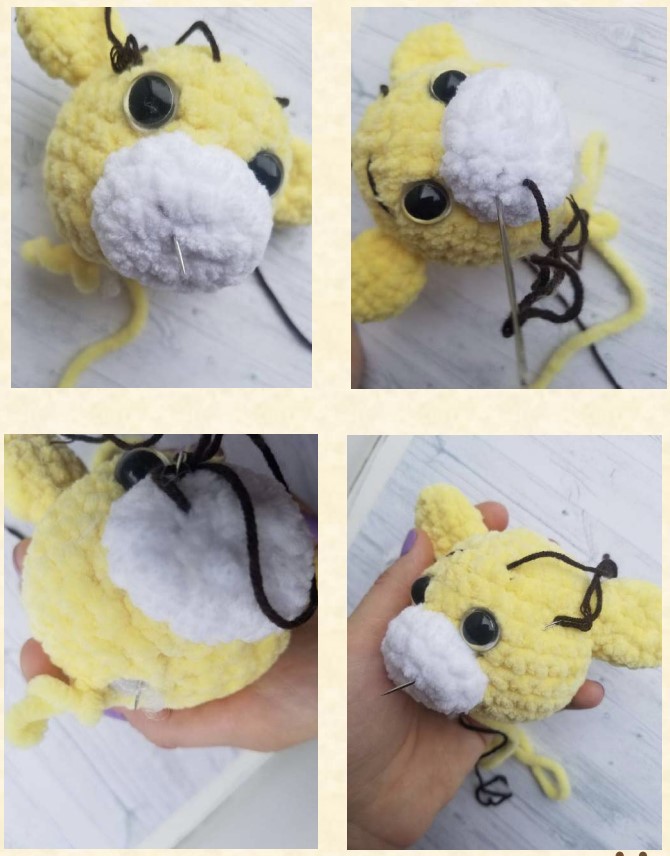
Sew on the muzzle and stuff it a little.
We make a tightening look below, and then we embroider the eyebrows and nose.
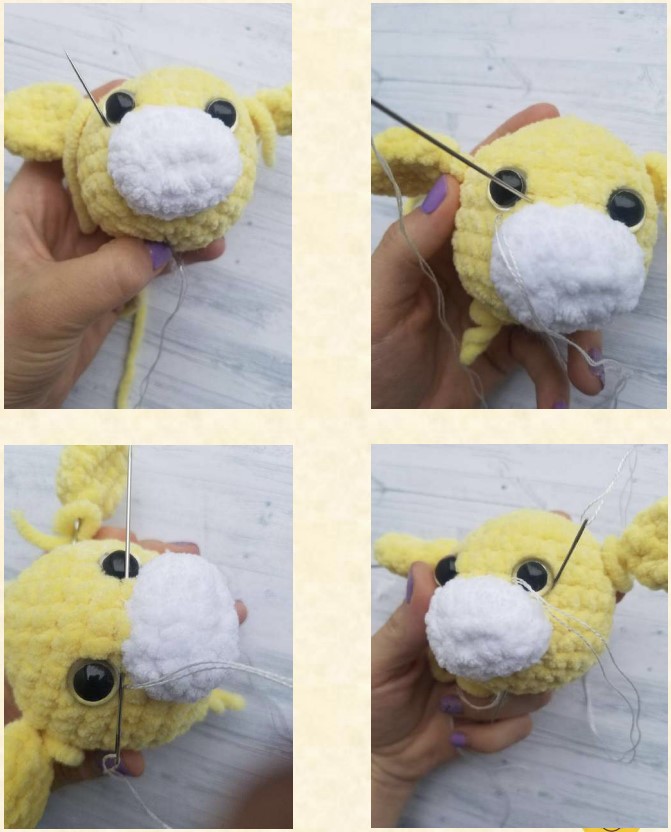
We make a slight tightening of the muzzle, tie the ends of the yarns into several knots at the base of the head.
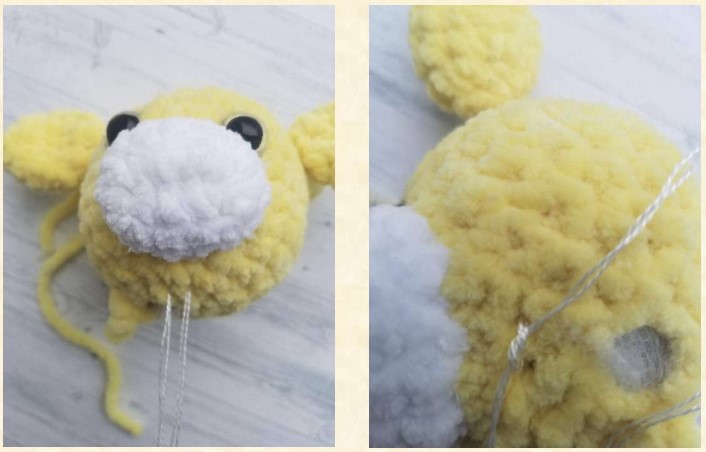
Embroider eyebrows, nose and eyelashes (for girls)
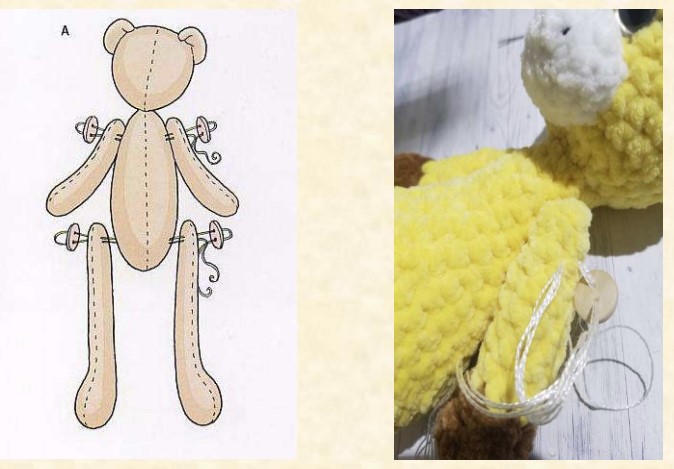
On the button fastening of the hand, stepping back 1 row and legs about 7 rows from the bottom. I recommend trying everything on, securing it with needles or a crocheting needle, if you need to adjust the height, we sew the tags in any order.
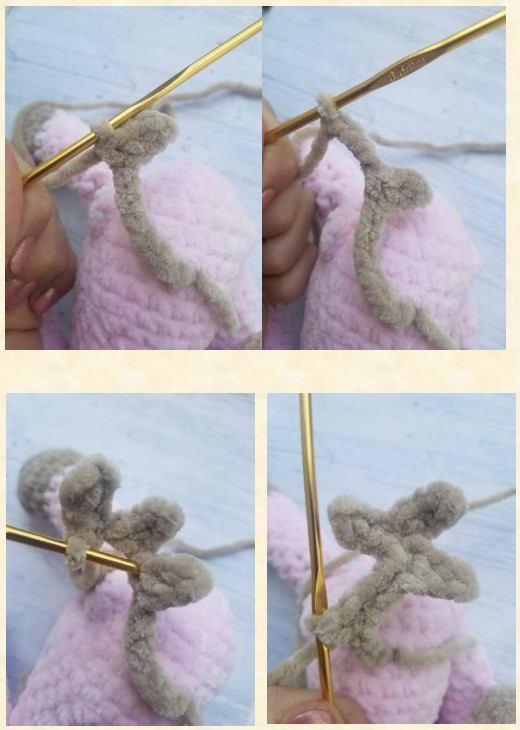
It remains to make a ponytail.
at a distance between 7 and 8 next, (orient yourself on the legs in the middle), make 10 ch. In the second from the hook we crochet 3slst, make 4 ch, crochet 3 slst, make another 4ch, crochet 3slst, connect everything to the base of the first loop of the tail and crochet to the end of slst, fasten the yarn. You can adjust the length by typing more ch.
