


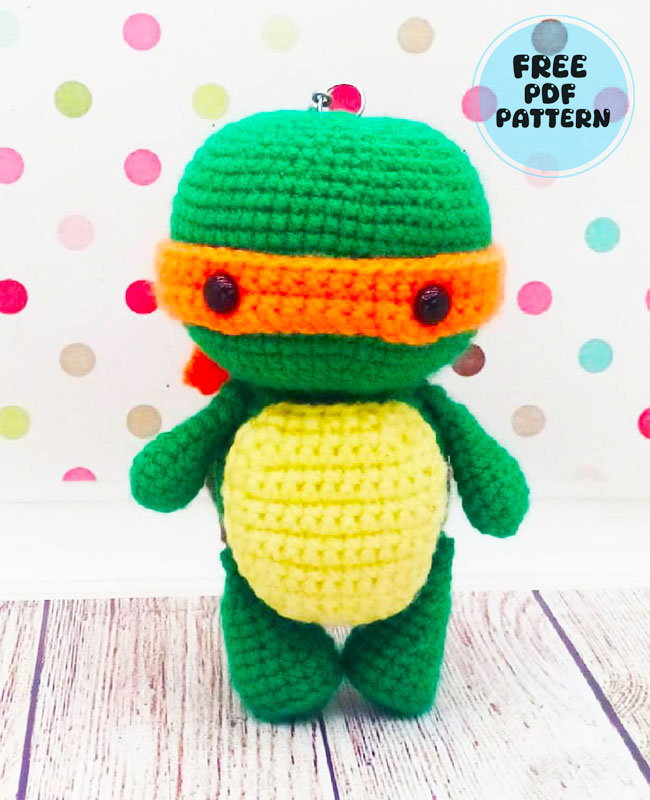
Hello friends. I’m making a first on my blog today. I share a great turtle amigurumi free pattern. First of all, I would like to thank to @ksanna_toys_hm who prepared this design. In fact, the turtle used to be very popular. Especially thanks to the ninja turtles. But it is no longer known as before. This blindfolded turtle is familiar to fans of the Ninja Turtles comics and cartoons. Oksana Sonnova shared the description of knitting ninja turtles amigurumi. To create the character for the children’s cartoon of Michelangelo’s turtle, the author used a hook number 2.5 and acrylic yarn.
Ninja Turtle Keychain Crochet Pattern
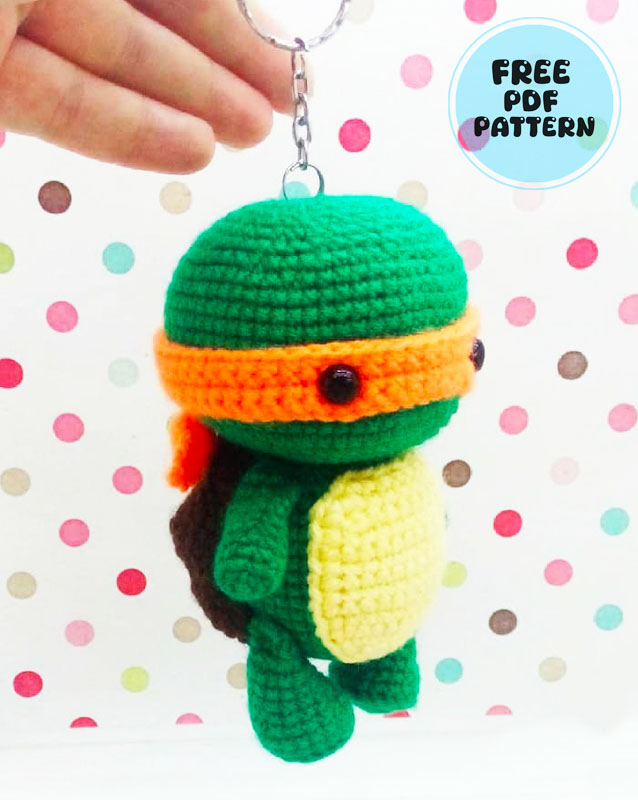
You can connect all four friends of turtles at once: Leonardo, Donatello, Michelangelo and Raphael with blue, purple, orange and red bandages. From the toy you can make a keychain and decorate a backpack or a car with it. The size of the finished product is about 13 cm in height.
I will be very happy if you share it with me after the friends have completed the amigurumi. May it be easy for all of you.
For work you will need:
Yarn Pekhorka “Children’s novelty” or your choice
Hook 2.5 mm
Safety eyes or half beads
Needle and scissors
Holofiber
Abbreviations
MR : Magic Ring
sc : Single Crochet
inc : Increase
dec : Decrease
st: Stitch
ch : Chain
Body
With green yarn.
1 Row: sc in MR (6)
2 Row: 6 inc (12)
3 Row: (1 sc, inc)*6 (18)
4 Row: (2 sc, inc)*6 (24)
5 Row: (3 sc, inc)*6 (30)
6 Row: (4 sc, inc)*6 (36)
7 Row: (5 sc, inc)*6 (42)
8-17 Row: 42 sc (42)
18 Row: (5 sc, dec)*6 (36)
19 Row: (4 sc, dec)*6 (30)
20 Row: (3 sc, dec)*6 (24)
21 Row: (2 sc, dec)*6 (18)
22 Row: (1 sc, inc)*6 (12)
23 Row: 6 dec (6)
The body is ready. It is necessary to close the hole, then cut the yarn.
Head
With green yarn.
1 Row: 7 sc in MR (7)
2 Row: 7 inc (14)
3 Row: (1 sc, inc)*7 (21)
4 Row: (2 sc, inc)*7 (28)
5 Row: (3 sc , inc)*7 (35)
6 Row: (4 sc, inc)**7 (42)
7 Row: (6 sc, inc)*6 (48)
8 Row: (7 sc, inc)*6 (54)
9 Row: (8 sc, inc)*6 (60)
10-18 Row: 60 sc (60)
19 Row: (8 sc, dec)*6 (54)
20 Row: (7 sc, dec)6 (48)
21 Row: (6 sc, dec)*6 (42)
22 Row: (5 sc, dec)*6 (36)
23 Row: (4 sc, dec) 6 (30)
24 Row: (3 sc, dec) 6 (24)
25 Row: (2 sc, dec)6 (18)
26 Row: (1 sc, inc)*6 (12)
27 Row: 6 dec (6)
Blindfold
Crochet in the chosen color (Leonardo – blue, Donatello – purple, Michelangelo – orange, Raphael – red).
The blindfold is crocheted in turning rows with turing chain.
1 Row: 72 ch., 1 turning chain (73)
2-4 Row: 72 sc (72)
Arms (2 times.)
With green yarn.
1 Row: 5 sc in MR (5)
2 Row: 5 inc (10)
3 Row: (inc, 4 sc)*2 (12)
4-5 Row: 12 sc (12)
6 Row: (dec, 4 sc)*2 (10)
7-9 Row: 10 sc (10)
10 Row: Fold in half, sew 5 sc on two sides (5)
11 Row: turning chain, unfold, 5 sc (5)
Legs (2 times)
1 Row: 6 sc in MR (6)
2 Row: 6 inc (12)
3 Row: (1 sc, inc)*6 (18)
4 Row: 18 sc embossed purl sc (18)
5-6 Row: 18 sc (18)
7 Row: (4 sc, dec)*3 (15)
8 Row: (3 sc, dec)*3 (12)
9-11 Row: 12 sc (12)
12 Row: (1 sc, dec)*4 (8)
13 Row: 8 sc
14 Row: Fold in half, sew 4 sc on two sides (4)
Shell (belly)
With yellow yarn in turning rows.
1 Row: 7 ch, 1 turning chain (8)
2 Row: 7 sc (7)
3 Row: inc, 5 sc, inc (9)
4 Row: inc, 7 sc, inc (11)
5-11 Row: 11 sc (11)
12 Row: dec, 7 sc , dec (9)
13 Row: dec, 5 sc, dec (7)
Sew in a circle. Leave the yarn for sewing.
Shell (back)
With brown yarn.
Sew 7 hexagons according to the pattern:
1 Row: 6 sc in MR (6)
2 Row: 6 inc (12)
3 Row: (1 sc, inc)*6 (10)
Sew – one in the center, six around. Sew two rows in a circle.
Assembly
Sew the bandage to the head at eye level, sew the eyes on top of the bandage. Tie the ends of the bandage in a knot at the back of the head.
Sew the head, arms and legs to the body.
Sew the shell (stomach) to the stomach. Sew the shell (back) to the back, adding a little stuffing. Embroider eyebrows and a mouth if desired.
I hope you like the turtle amigurumi pattern I shared before. That’s all for now. If you want to see more amigurumi toys, please stay tuned!


